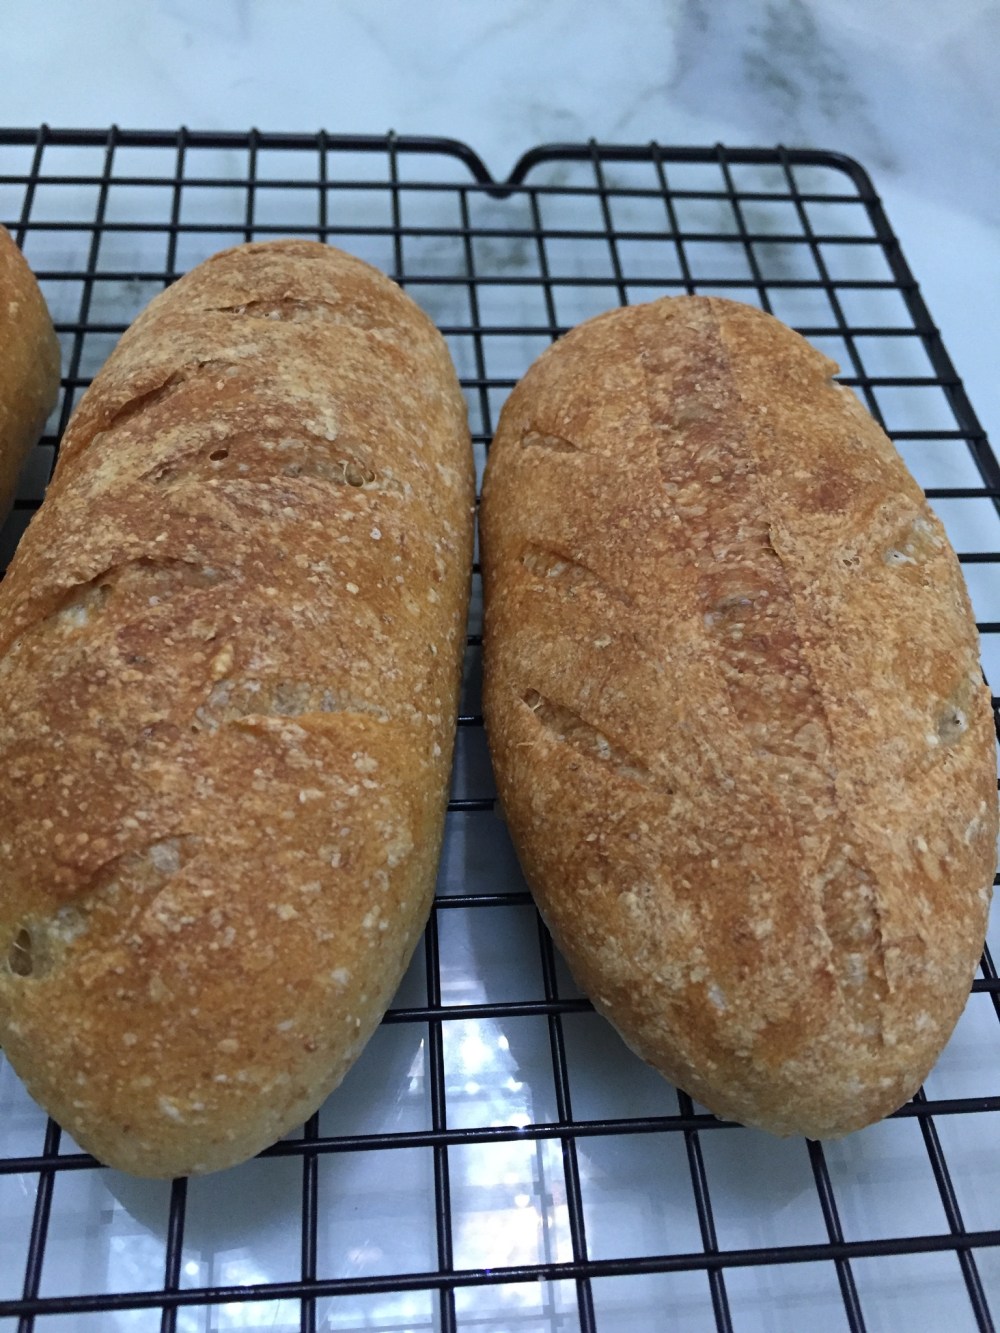
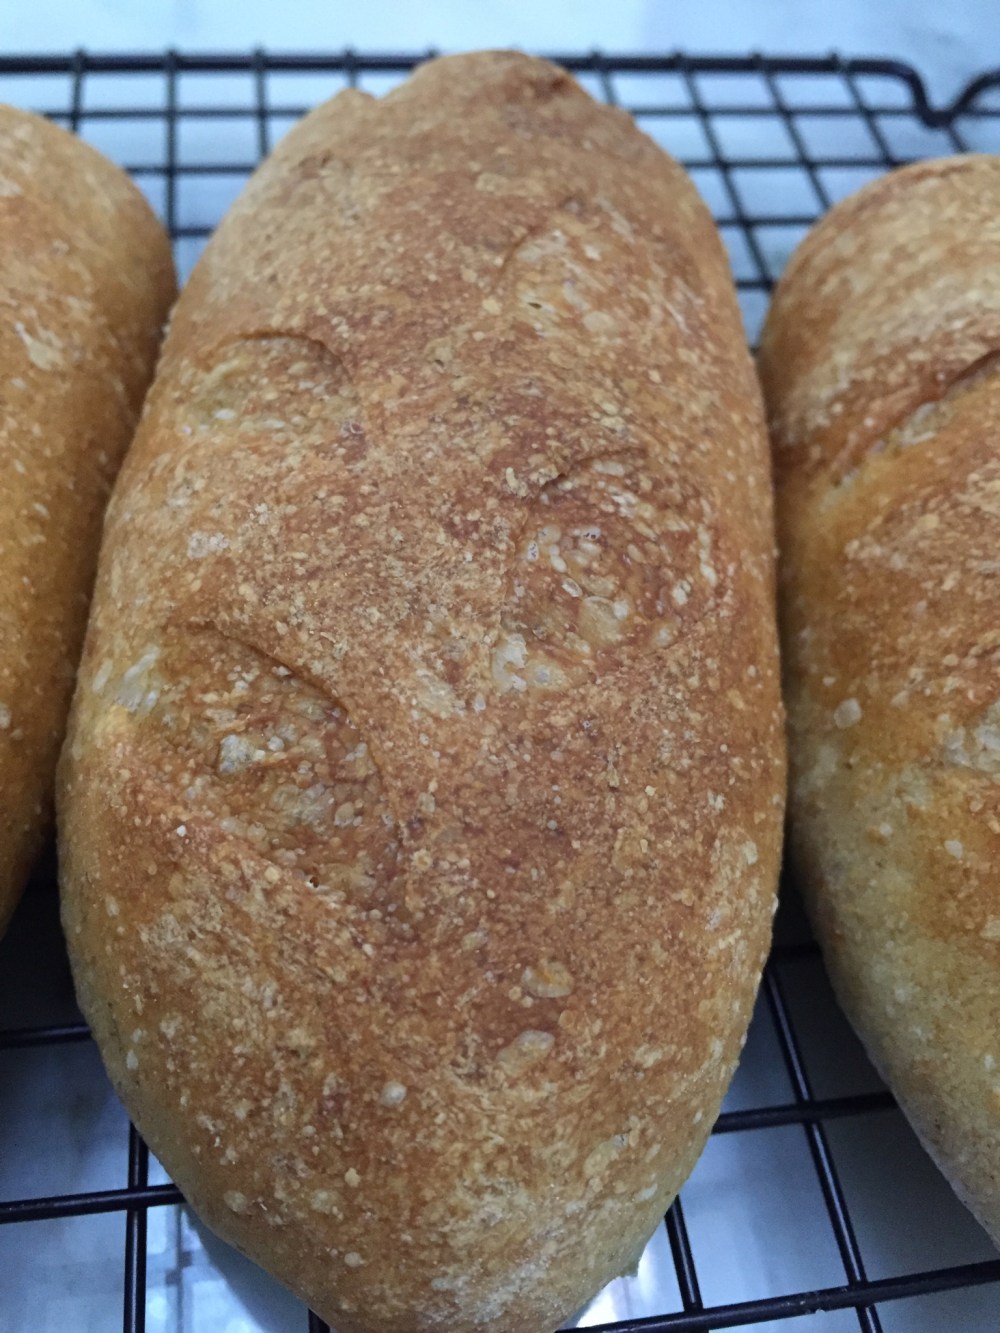
I made these for my parents. They have 0g sugar and only 2g olive oil. But they don’t lose out in flavour at all, the long starter fermentation gives it depth and the crusty and soft chewy bite makes it great for eating on its own or dipping in sauces.
Before you start, note that the dough is wet and sticky, try to do more “stretch and fold” rather than kneading action, and flour lightly if necessary. Good news is you don’t need window pane for this types of bread.

Recipe
Starter
- 60g bread flour
- 1/4 tsp yeast
- 35g water
Main dough
- 140g bread flour
- 50g wholemeal flour
- 4g salt
- 2g or about 1/2 tsp olive oil or cooking oil
- 1/4 tsp yeast
- 130g water
Method
1. Prepare starter 1 day before. Dissolve yeast in water, than add in flour. Mix till a rough dough. Place 1 hour in room temperature, than overnight in the fridge (at least 16 hours). Dough should look like below, very bubbly.

2. Mix starter and all main dough ingredients in a mixer. Knead for about 15 min, stopping to scrape every 1-2 min. Dough will be still very wet and sticky.
3. Turn out onto counter top to knead by hand, using stretch and fold, alternating with slamming on surface. You should get a smooth elastic dough, that is less sticky and can pull a thick pane.

4. Proof the dough, covered in an oiled mixing bowl, for 1 hour.
5. Dive into 5 parts about 80g. Roll into rough doughs and rest for 15min. You need to lightly flour your hands and the working surface.
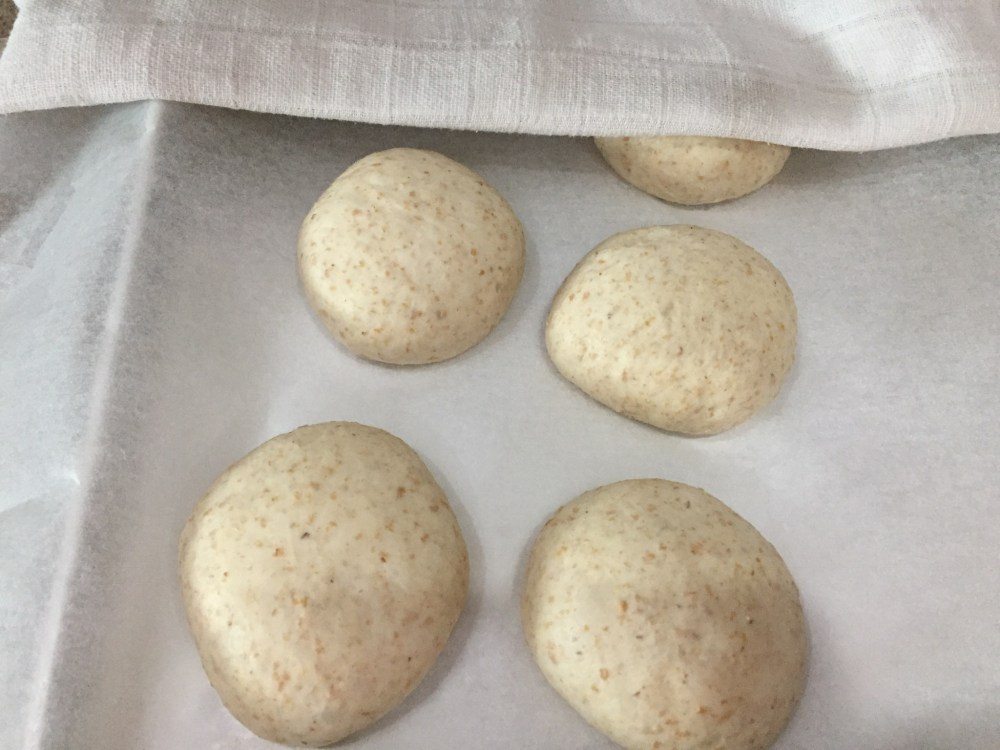
6. After resting, flatten each dough with your palm and pat away bubbles at edges. Fold 1/3 up and down. Then in half again and pinch to close. Place seam side down on baking tray. Proof for 45 min.
7. After proofing, use a spray bottle and spray the dough and the tray area generously with water. Use a lame to score the bread surface as you like.

8. Bake at 220 deg C for 20 – 25 min. If you like a very crusty, almost crispy skin, put in a tray of water to steam bake for the first 10 min. Remove the tray and continue baking for about 15 min. Cool for at least 1 hour before eating.