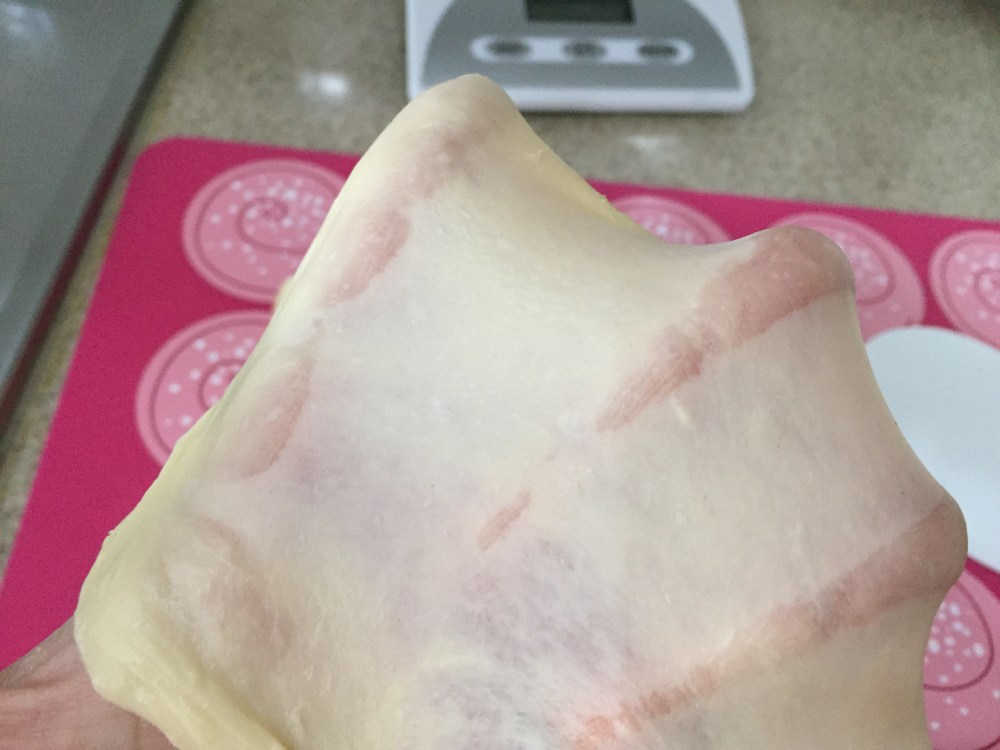
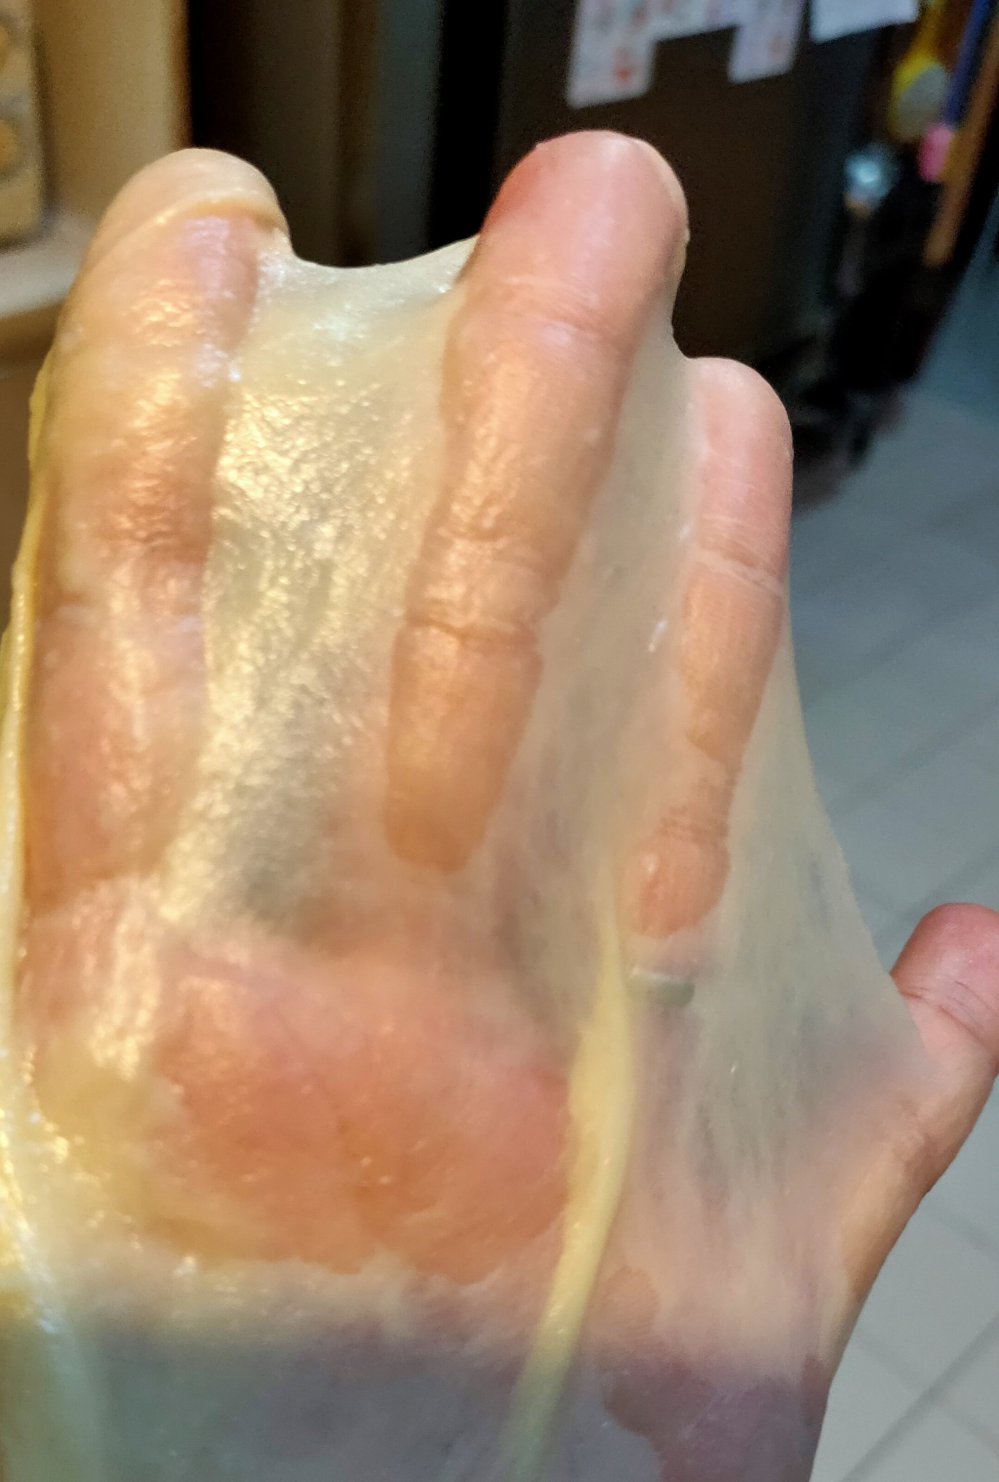
Feeling delighted. I have been trying to get this glove membrane since I started making bread again recently and it has always eluded me.

It doesn’t help that my Philips mixer is really taking a beating from all the heavy bread mixing. Serendipitously, we came across a Mayer sale selling the white (yes, only white) classic KitchenAid at sgd399. Whoa, big discount from $699, and so we bought it.
Long story short, this 手套膜 or glove membrane was achieved in under 20 – 30 min, using the killer toast recipe (see recipe further down this post).
Here are the steps:
0. Autolyse (optional) – I call this step 0 because it’s optional, but also a great way to shorten machine kneading time. Add all ingredients except yeast, salt and butter, roughly mix with spatula, and let the dough rest for 15 to 30 min. The flour will absorb water during this period, and it will be much much easier to knead. This way, your machine will also not have such a long kneading time and less chance of getting heated up.
1. First 5 min – At speed 1 & 2, knead all ingredients except butter and salt. Dough will be very sticky. Knead till a rough, elastic dough is formed. Scrape down sides and hook with silicone spatula to ensure even mixing every time you stop the mixer. At the last 1-2 min, you can increase to speed 4.
2. Next 2-3 min – Add in butter and salt, knead using speed 1-2 for the first few mins. The dough will break up again and look oily and lumpy due to butter. Knead till it comes together again and start to climb up dough hook. You should see most of the butter has been absorbed.
3. Next 10 min – Use up to speed 4, stopping every few mins or so to scrape down and turn dough – dislodge dough from hook using silicone spatula and try to turn it around, otherwise dough seems to be spinning around with hook and not kneaded. Dough should become increasingly soft and elastic and smooth. Another way to see is that there are no more or just very little dough sticking to bottom of mixing bowl when hook is turning, they have all come together around the hook.
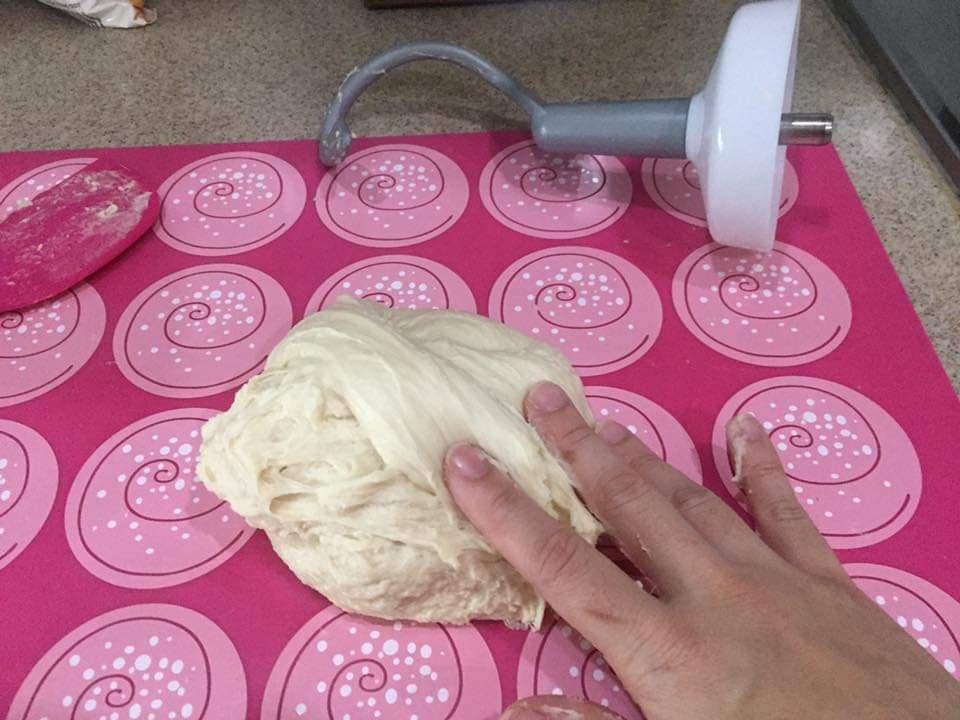
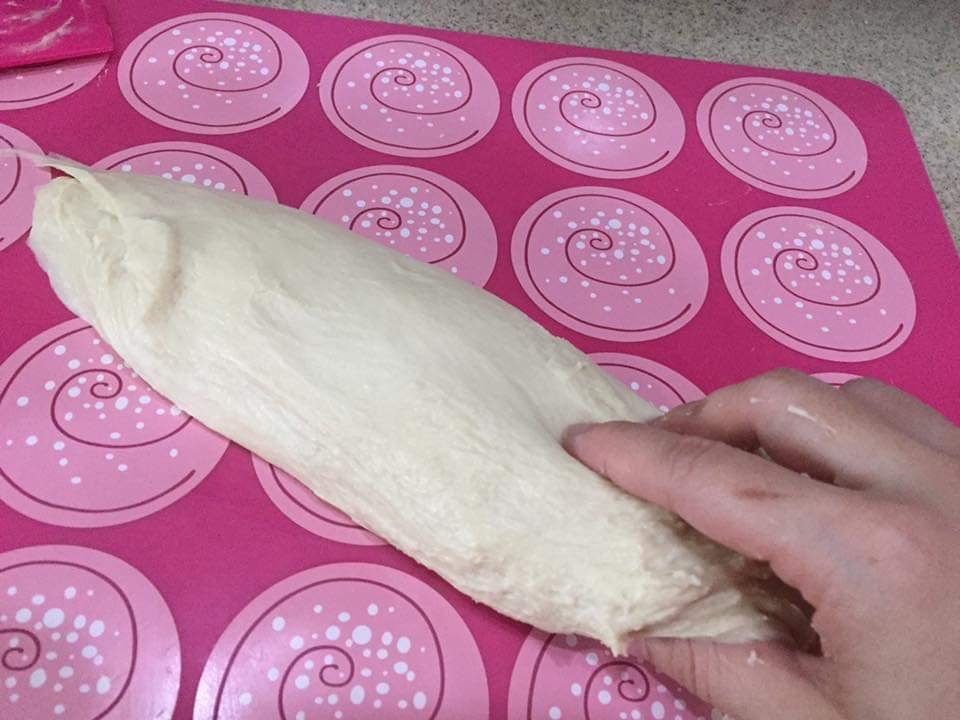
4. Hand kneading (the last part) – If after some time, the dough is soft, but doesn’t come together well, OR still very sticky, OR you know are dealing with a high hydration dough which is just very wet, OR like me, you don’t want to overwork the machine, take the dough out of the machine after at most 30 min, and hand knead on the counter.
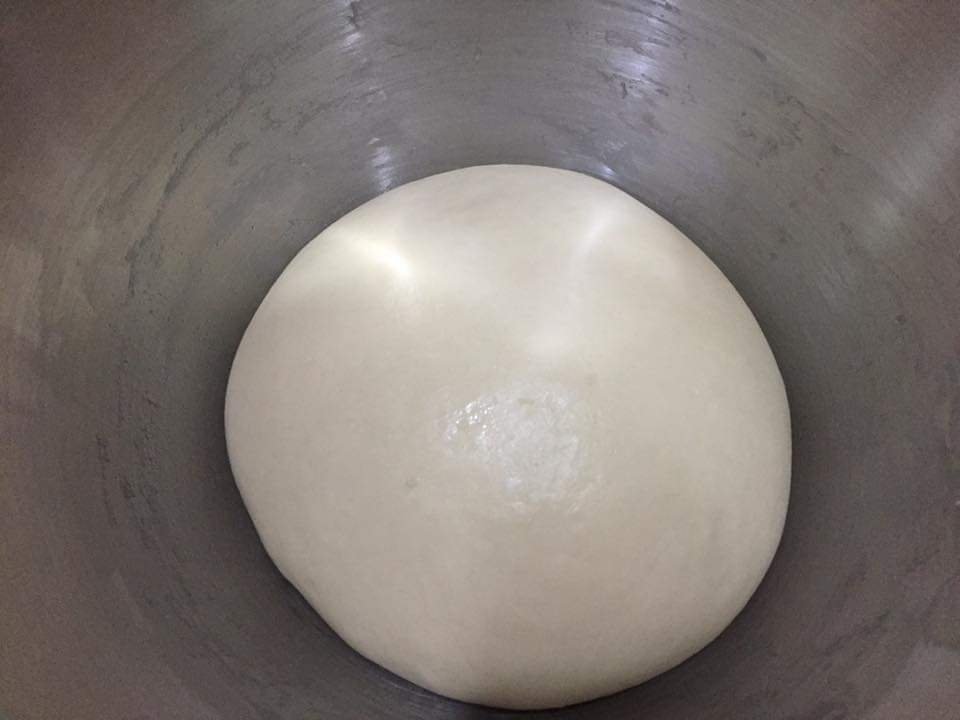
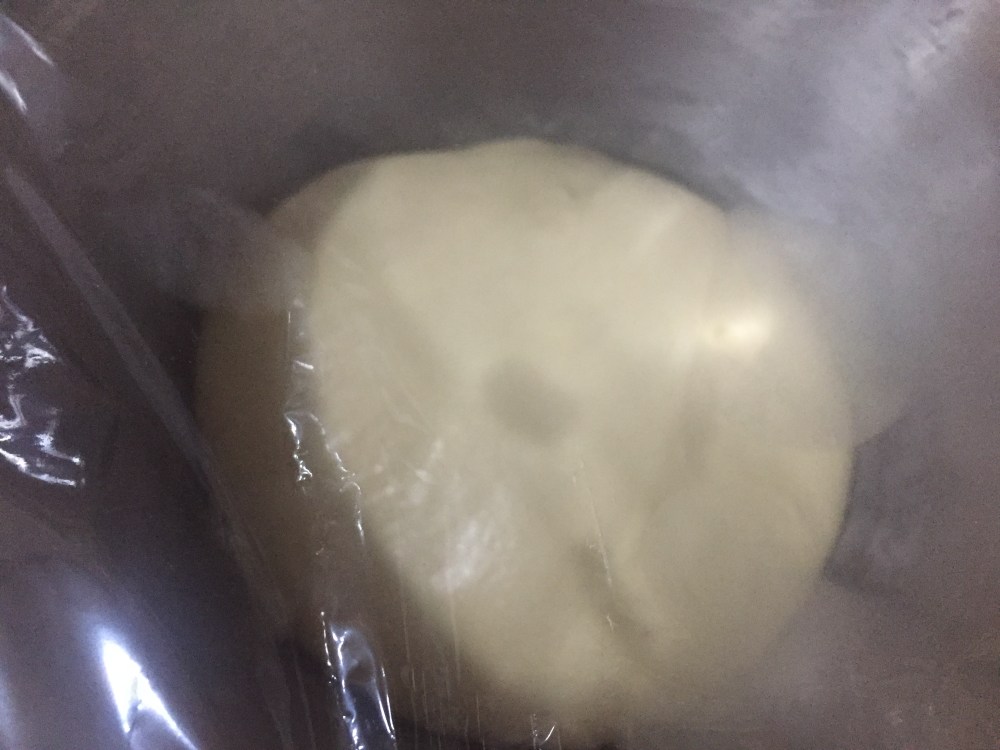
Do the following: SLAM-STRETCH-FOLD, turn the dough 90 deg and repeat. This is very effective. After 5-10 min, the dough will be really smooth and elastic. I do this as a default for every dough I make and you should have a round, smooth ball like below.


Notes:
- Disclaimer: I need to highlight that KA only recommends up to speed 2 for kneading bread dough, for fear of damaging the machine. Please try at your own risks. Personally I use speed 4 at short bouts of a few minutes, before I stop and scrape down sides. Never continuously for long durations. High speed kneading may also lead to over kneading where all gluten is destroyed. So use sparingly.
- Don’t be too fixated with timing, it varies due to a variety of factors like weight of eggs, humidity, temperature of surrounding and ingredients and brand of flour (different brands have different protein content).
- While a full membrane glove is ‘fun’ to achieve, it is not a must. A reasonable sized window pane is good enough. Most buns (because of small volume) and whole meal loaf (because of weight of mixed grains) do not require full window pane. Depend more on your sense of sight and touch to gauge. Just by scrutinizing the dough surface, you can see the coarse fibers slowly kneaded away to complete smoothness. Below is the picture of a smooth elastic dough that will surely give a good window pane, so there are other signs to tell if dough is ready.

- Please also do not go into long kneading times of more than an hour, where your machine will still get heated at speed 2 and the yeast would have been fully activated and your dough is actually proofing. Even hand knead doughs do not take so long. Even if you succeed, there will be a strong yeasty smell in the baked bread.
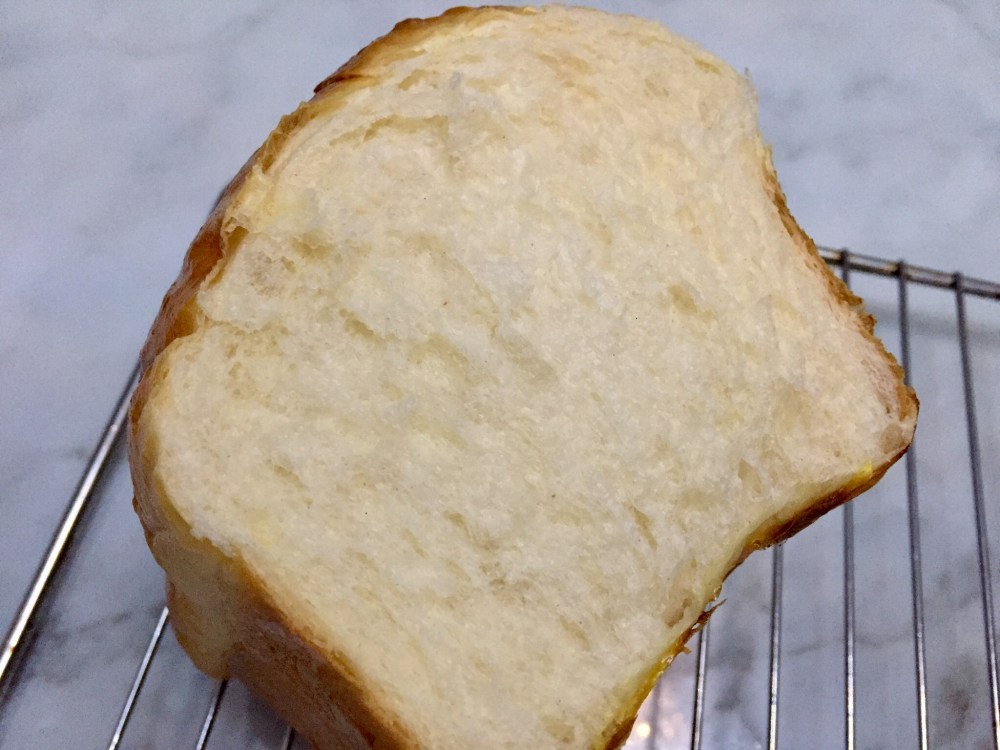
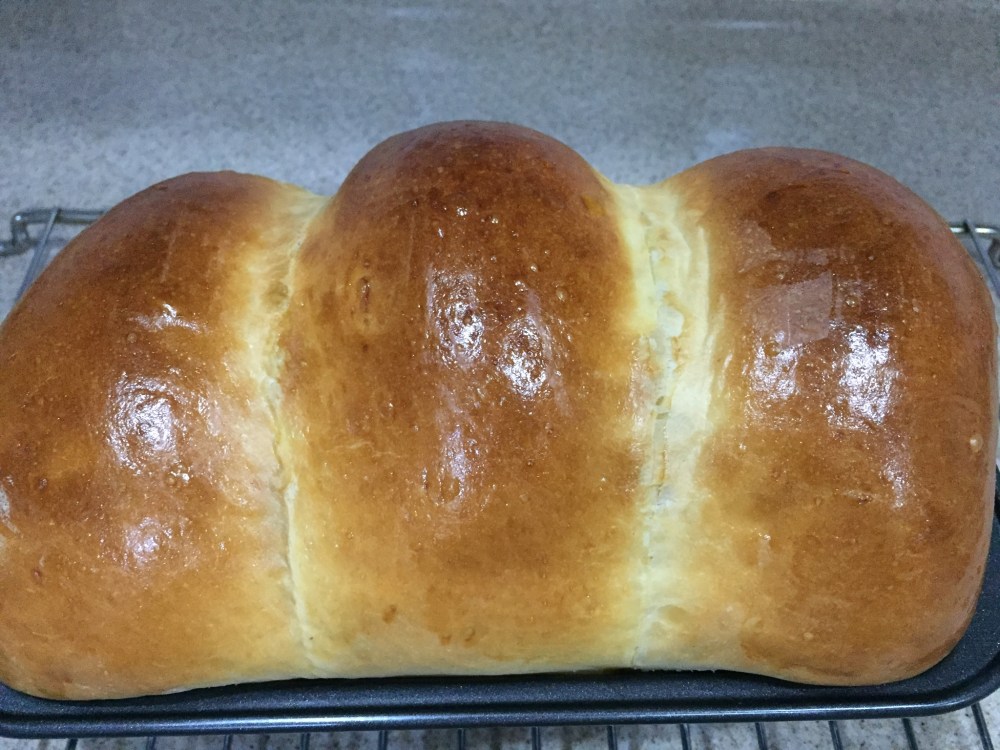
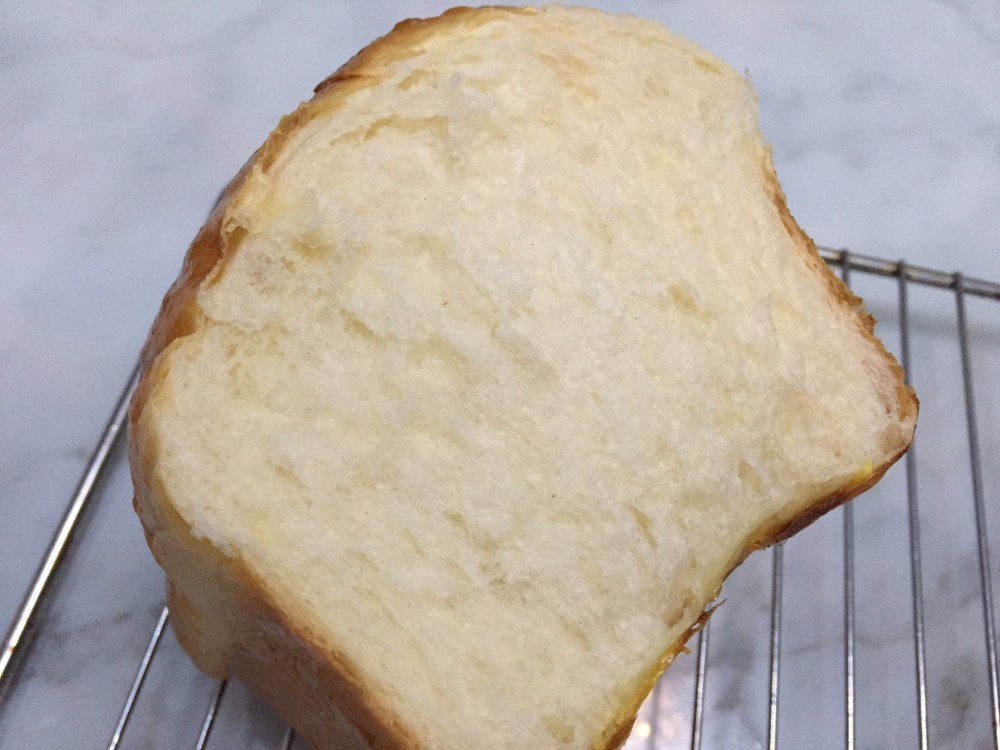
After baking, this truly is the tallest and fluffiest loaf of bread I have ever baked. It rose to double the height of my tin, the bread had no yeasty smell and did not have a doughy bite where it would stick to the teeth.
Killer Toast Recipe (adapted with double proofing, see original here.)
- 260g bread flour
- 180g (1 egg plus milk)
- 30g sugar
- 3g yeast
- 2g salt
- 30g butter
Mix all ingredients except butter and salt, till dough comes together.
Add in butter and salt and knead till pass window pane test.
Proof for 1 hour or double in size.

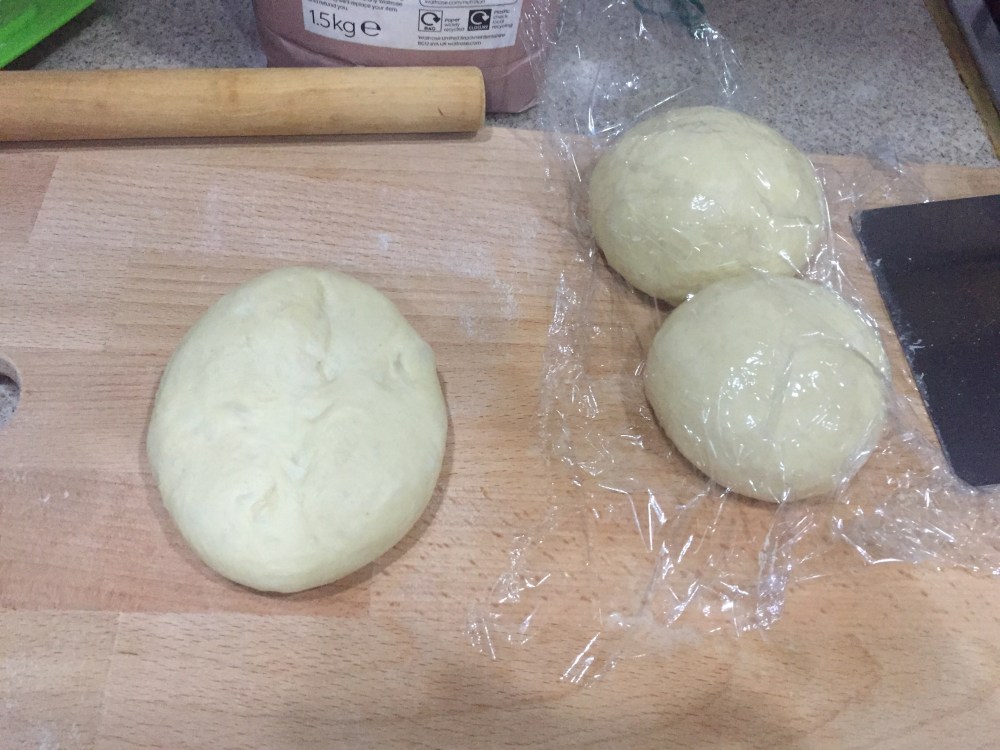
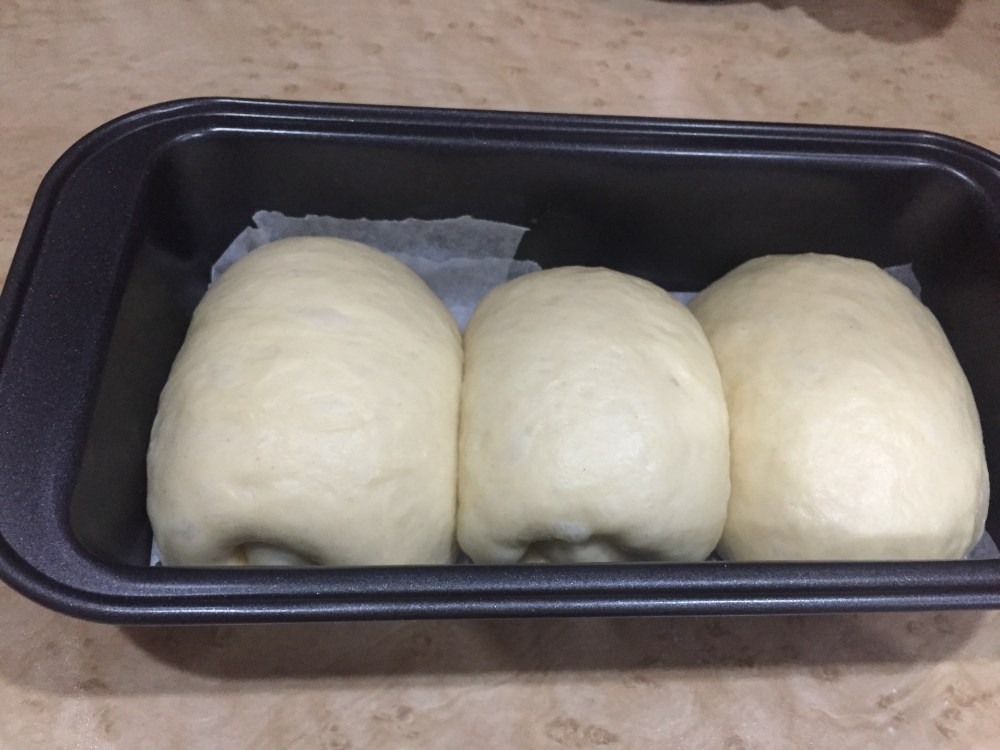
Flatten and divide into 3 portions, rest for 10 min. Dough is elastic but sticky. Use very lightly floured hands and surface and try your best not too use too much flour.
Roll out dough and then roll up each portion and place in loaf tin.
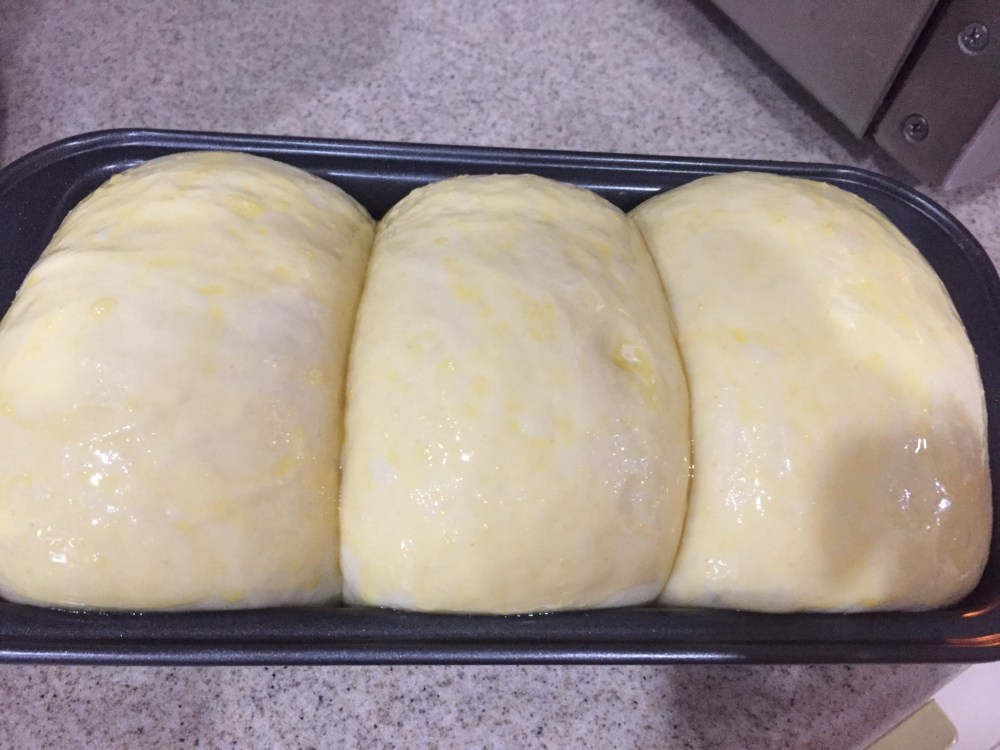
Proof till double then eggwash.

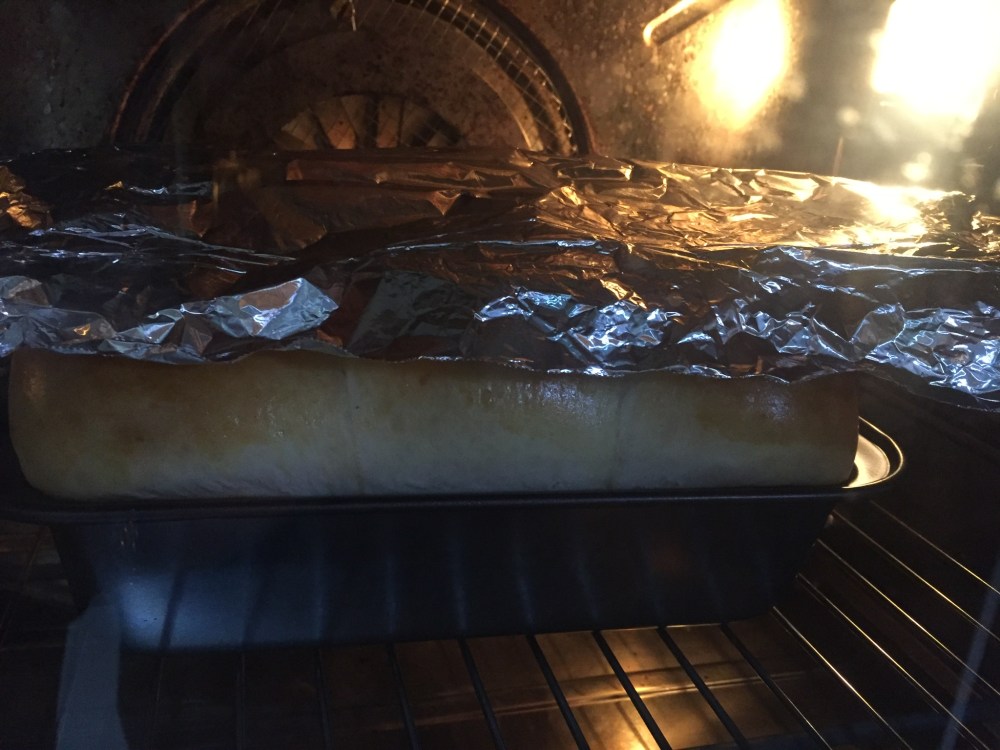
Bake at 170 deg C for about 30 min. I had to tent after 10 min as top was getting brown. Not sure if it’s due to the successful kneading, this is the highest I have ever seen my dough rise from the tin. Especially, considering this is only a 260g bread flour recipe.

Remove from tin to cool, before slicing.


May I know when must I add the yeast using the autolyse method?
LikeLike
Hi, add at step 1. Just after autolyse.
LikeLike
Hi Tq for sharing your beautiful bake always. Your First 5 mins says add all ingredients except yeast salt and butter. Next 2 to 3 mins to add butter and salt. So when do we add in the yeast please? Thank you.
LikeLike
At step 1, first 5 min.
LikeLike
I’m sorry I didn’t see the previous question answered. Tq
LikeLike
Can I use breadmaker from autolyze till finish kneading?
LikeLike
Er, think so, if you can control the machine.
LikeLike