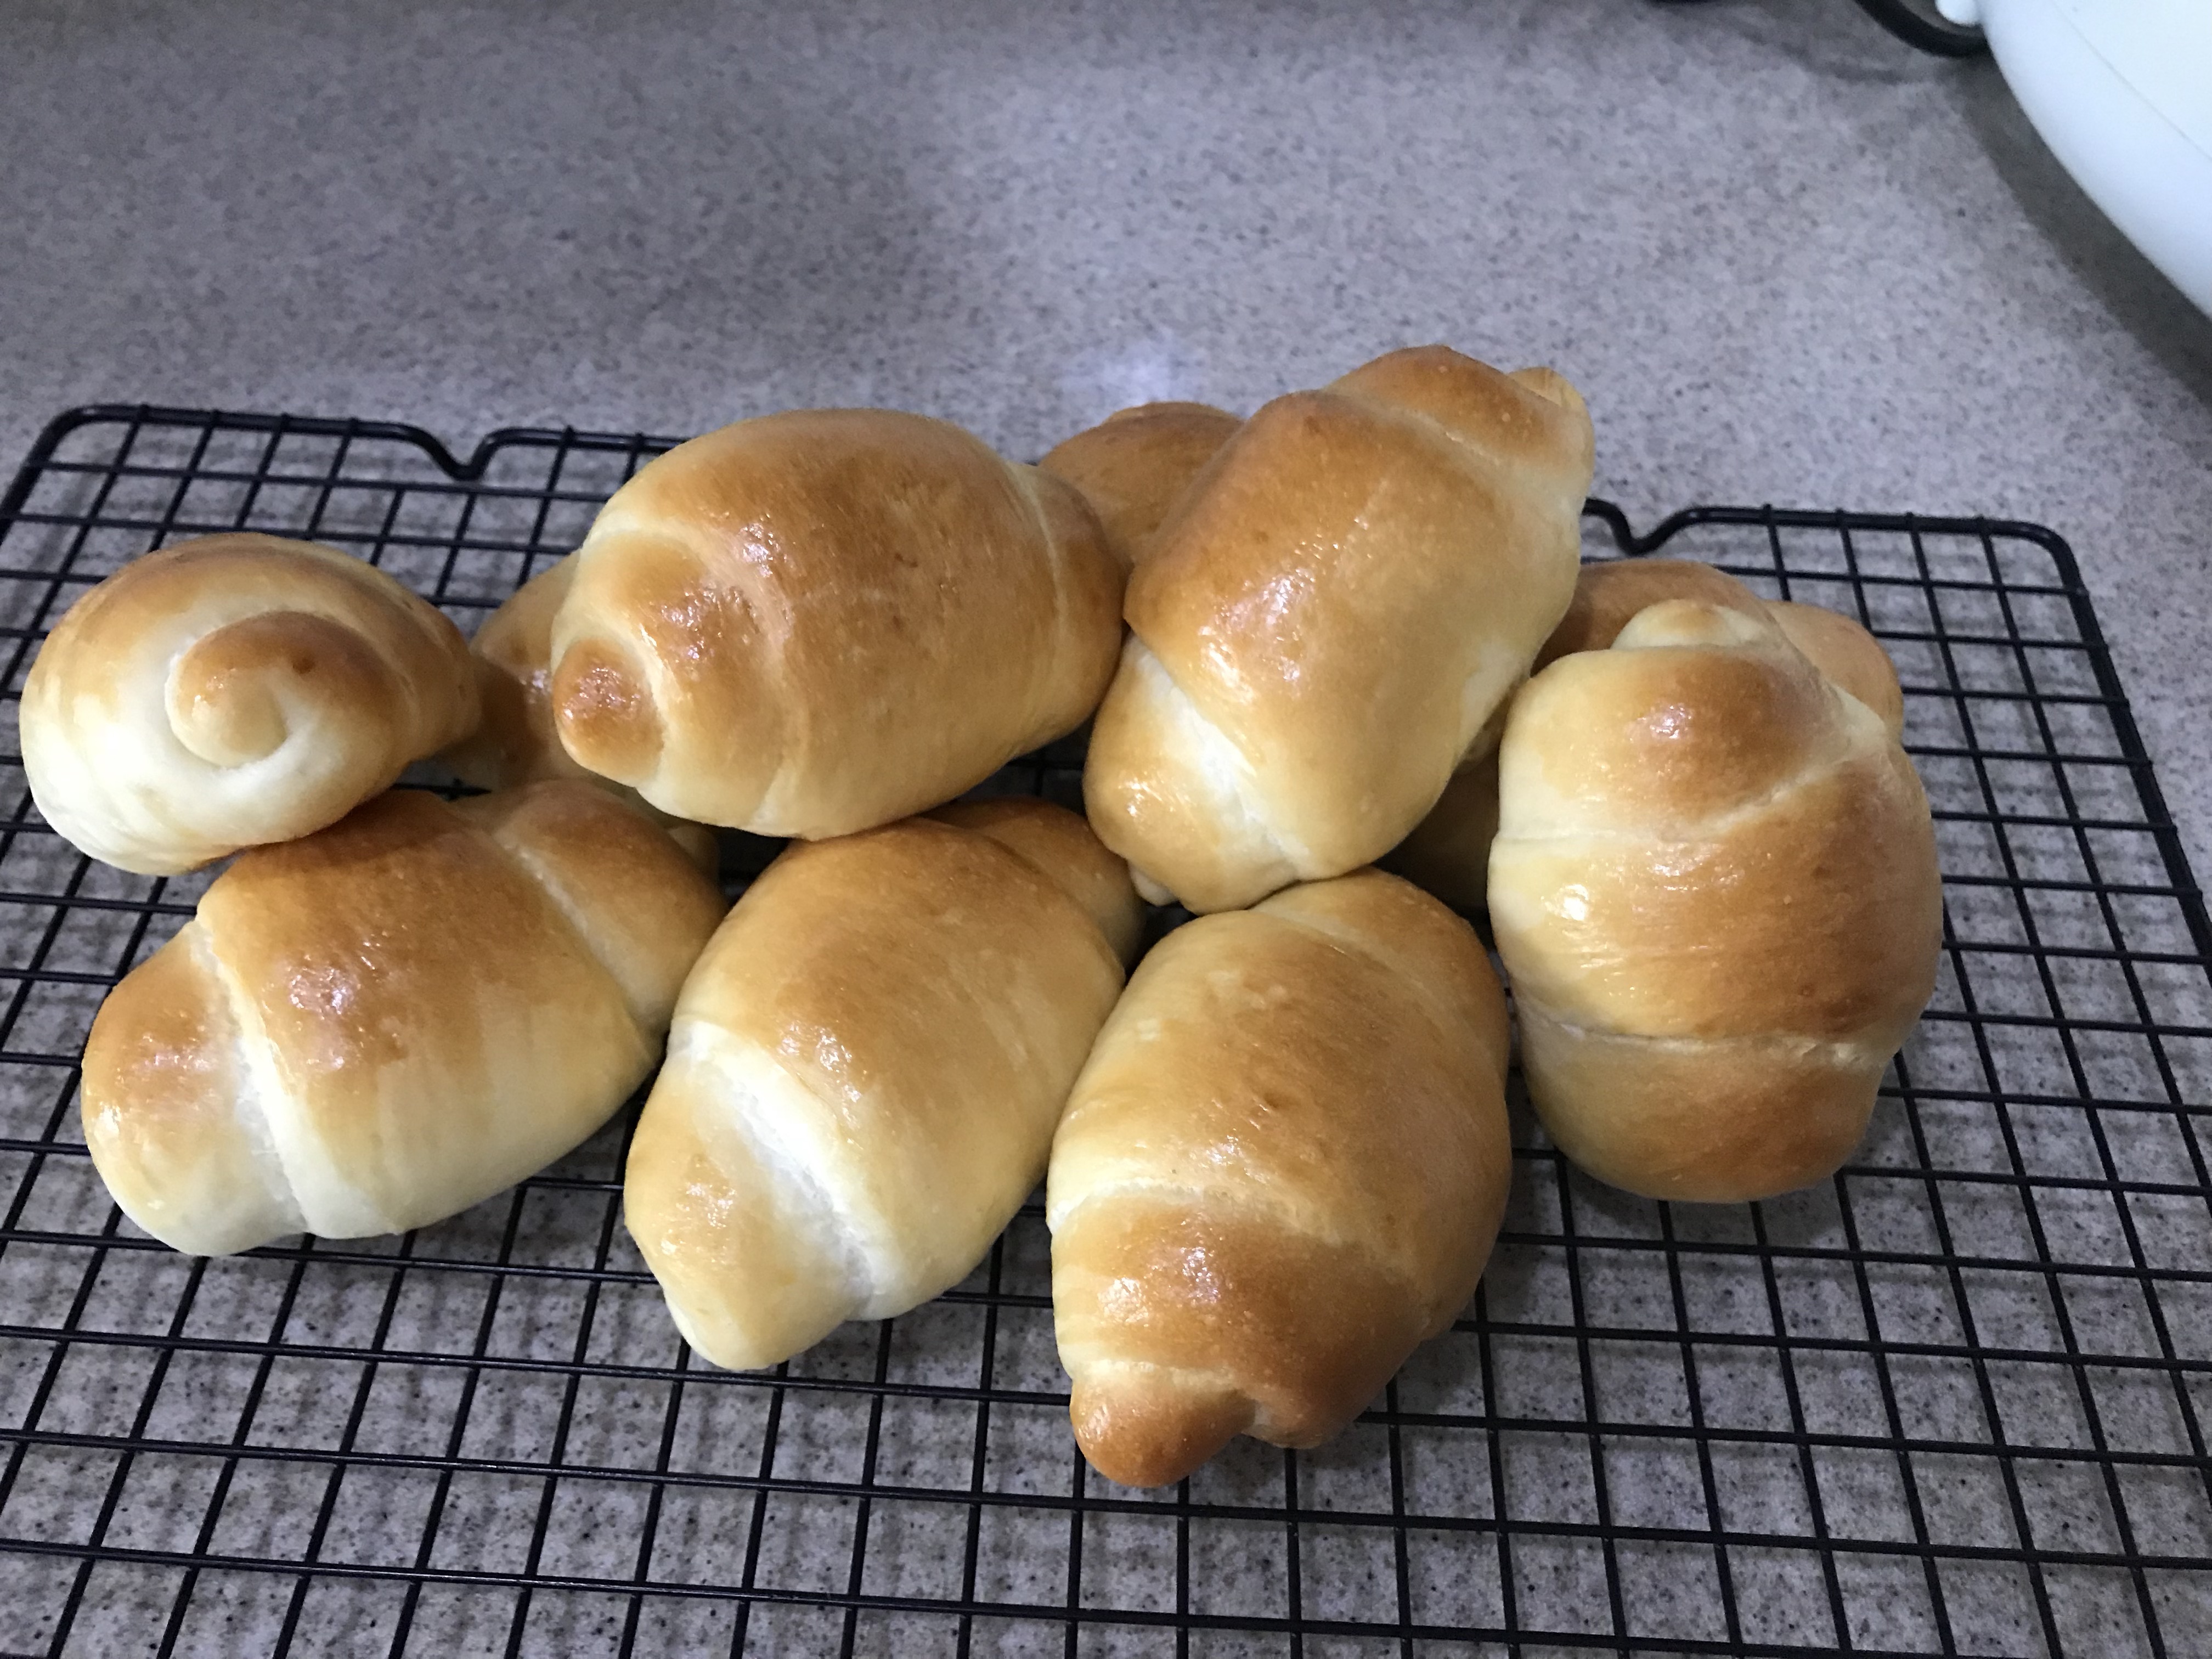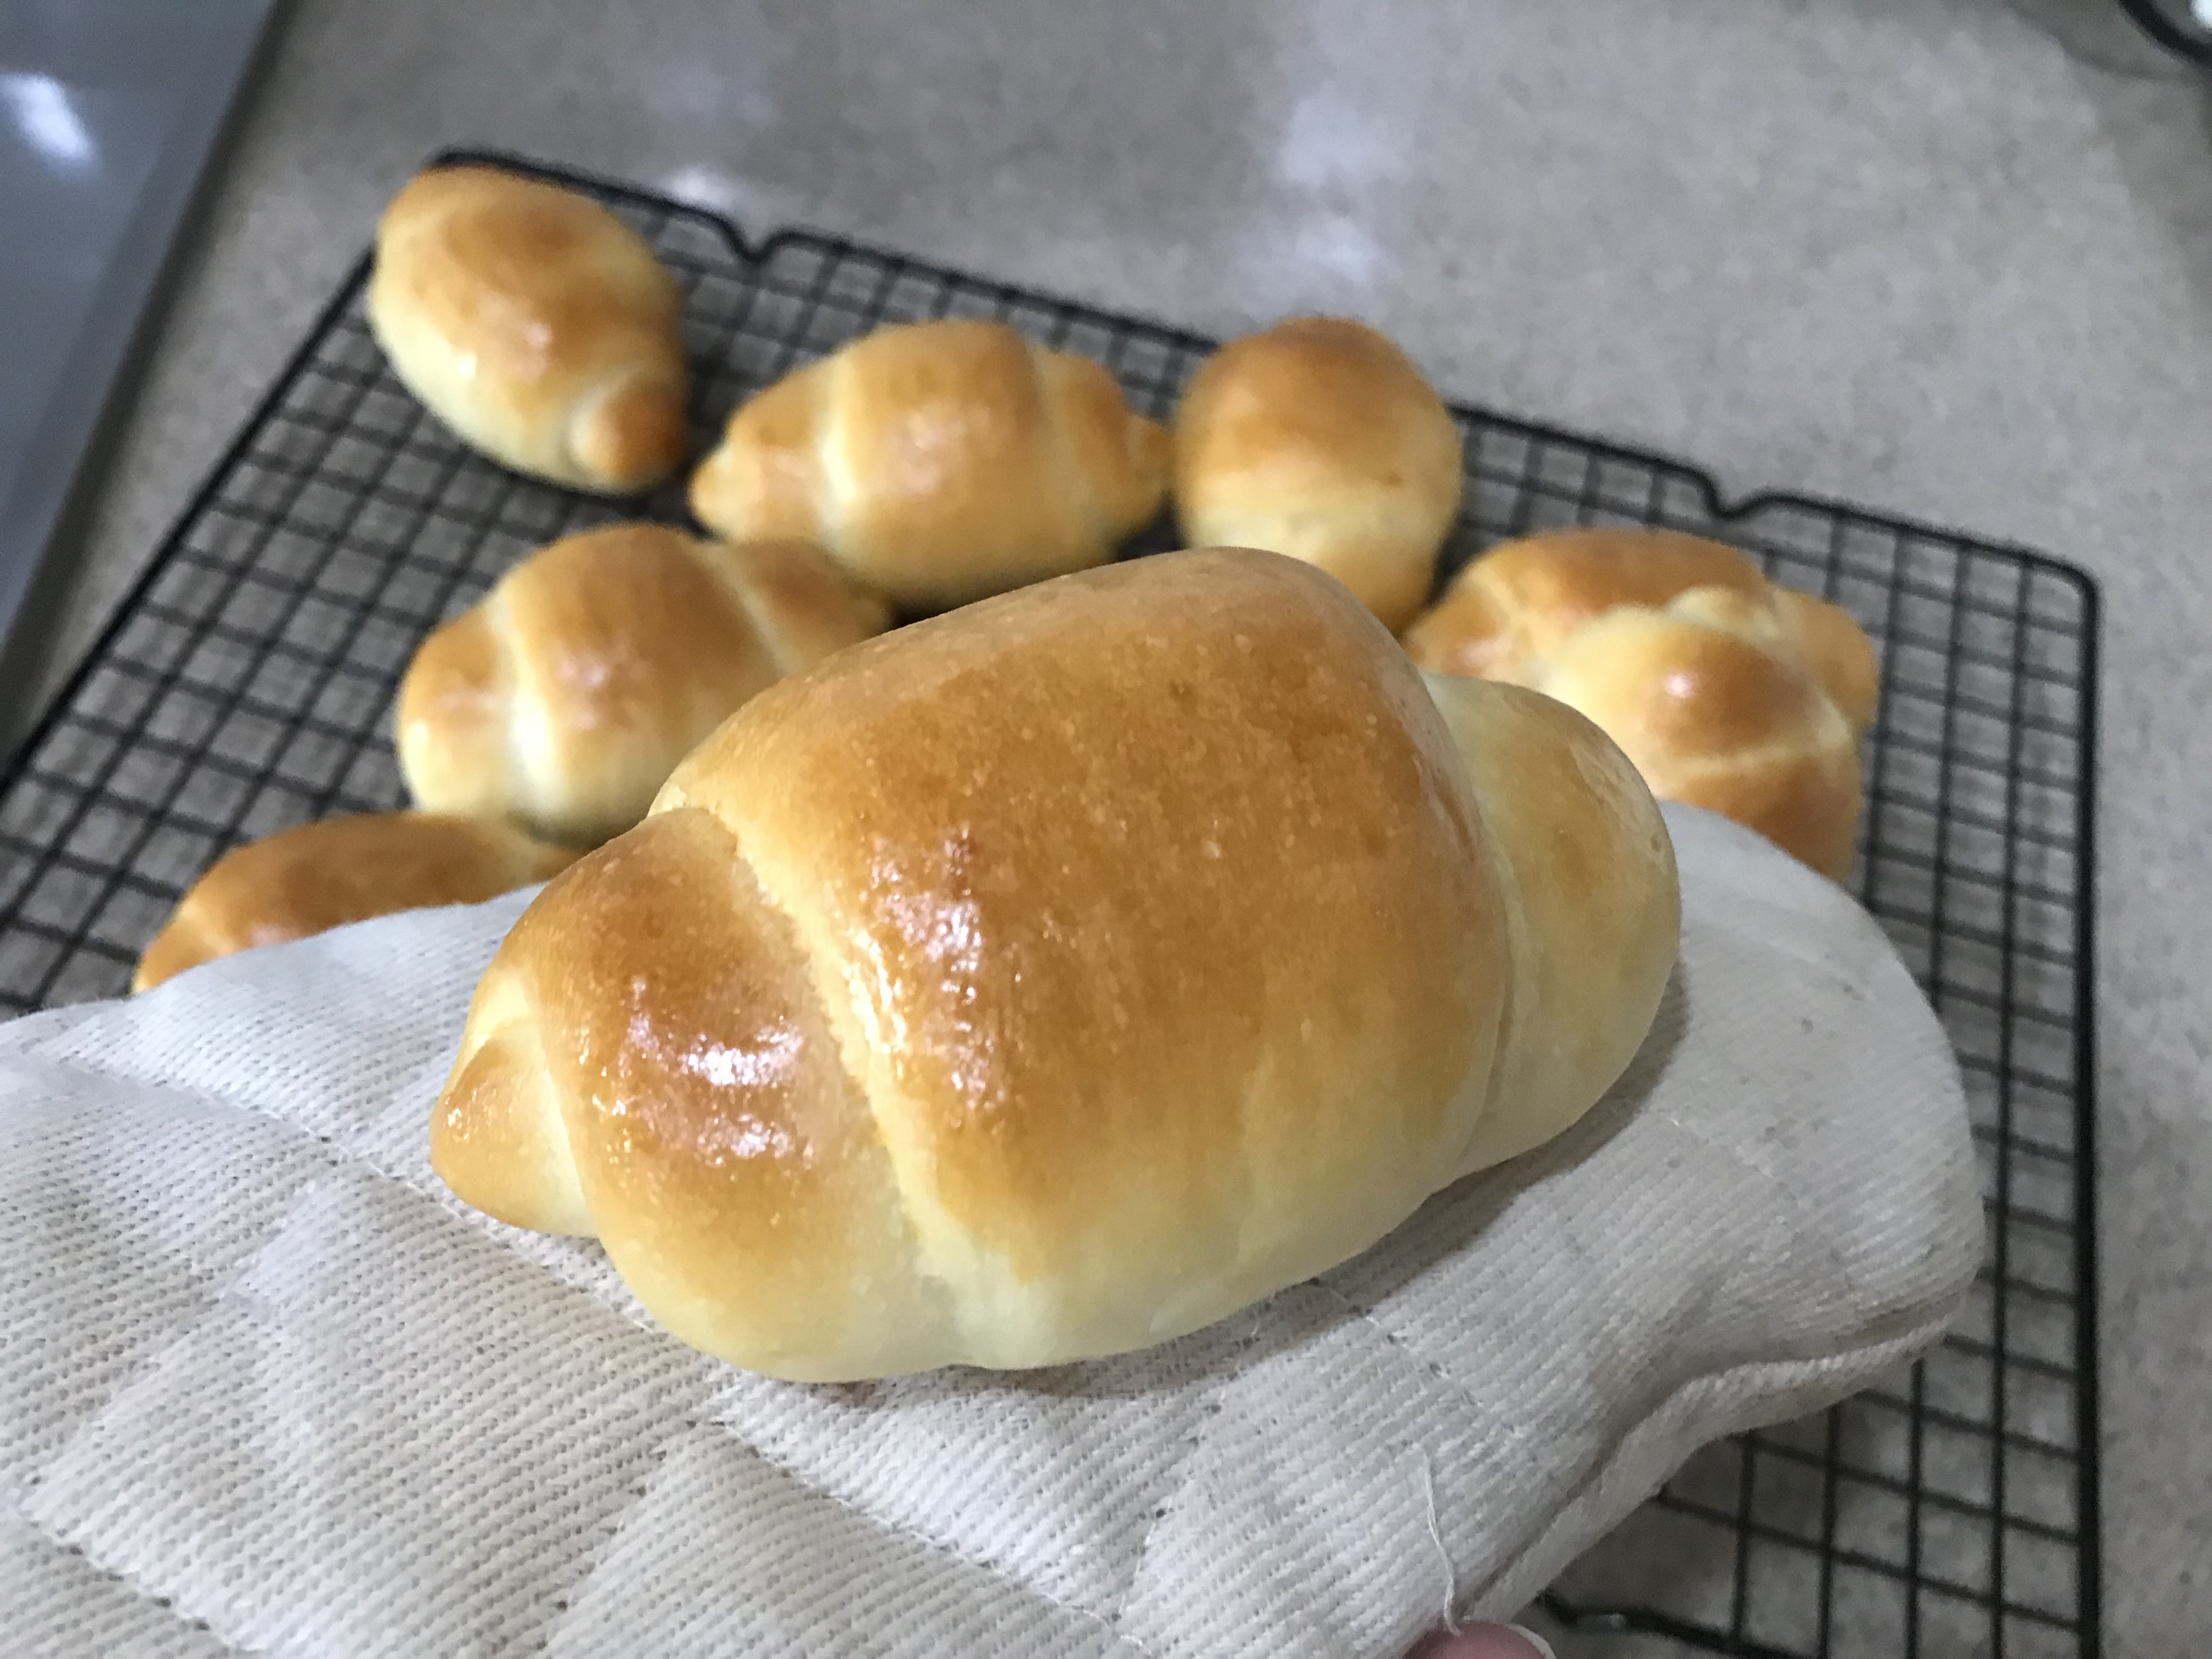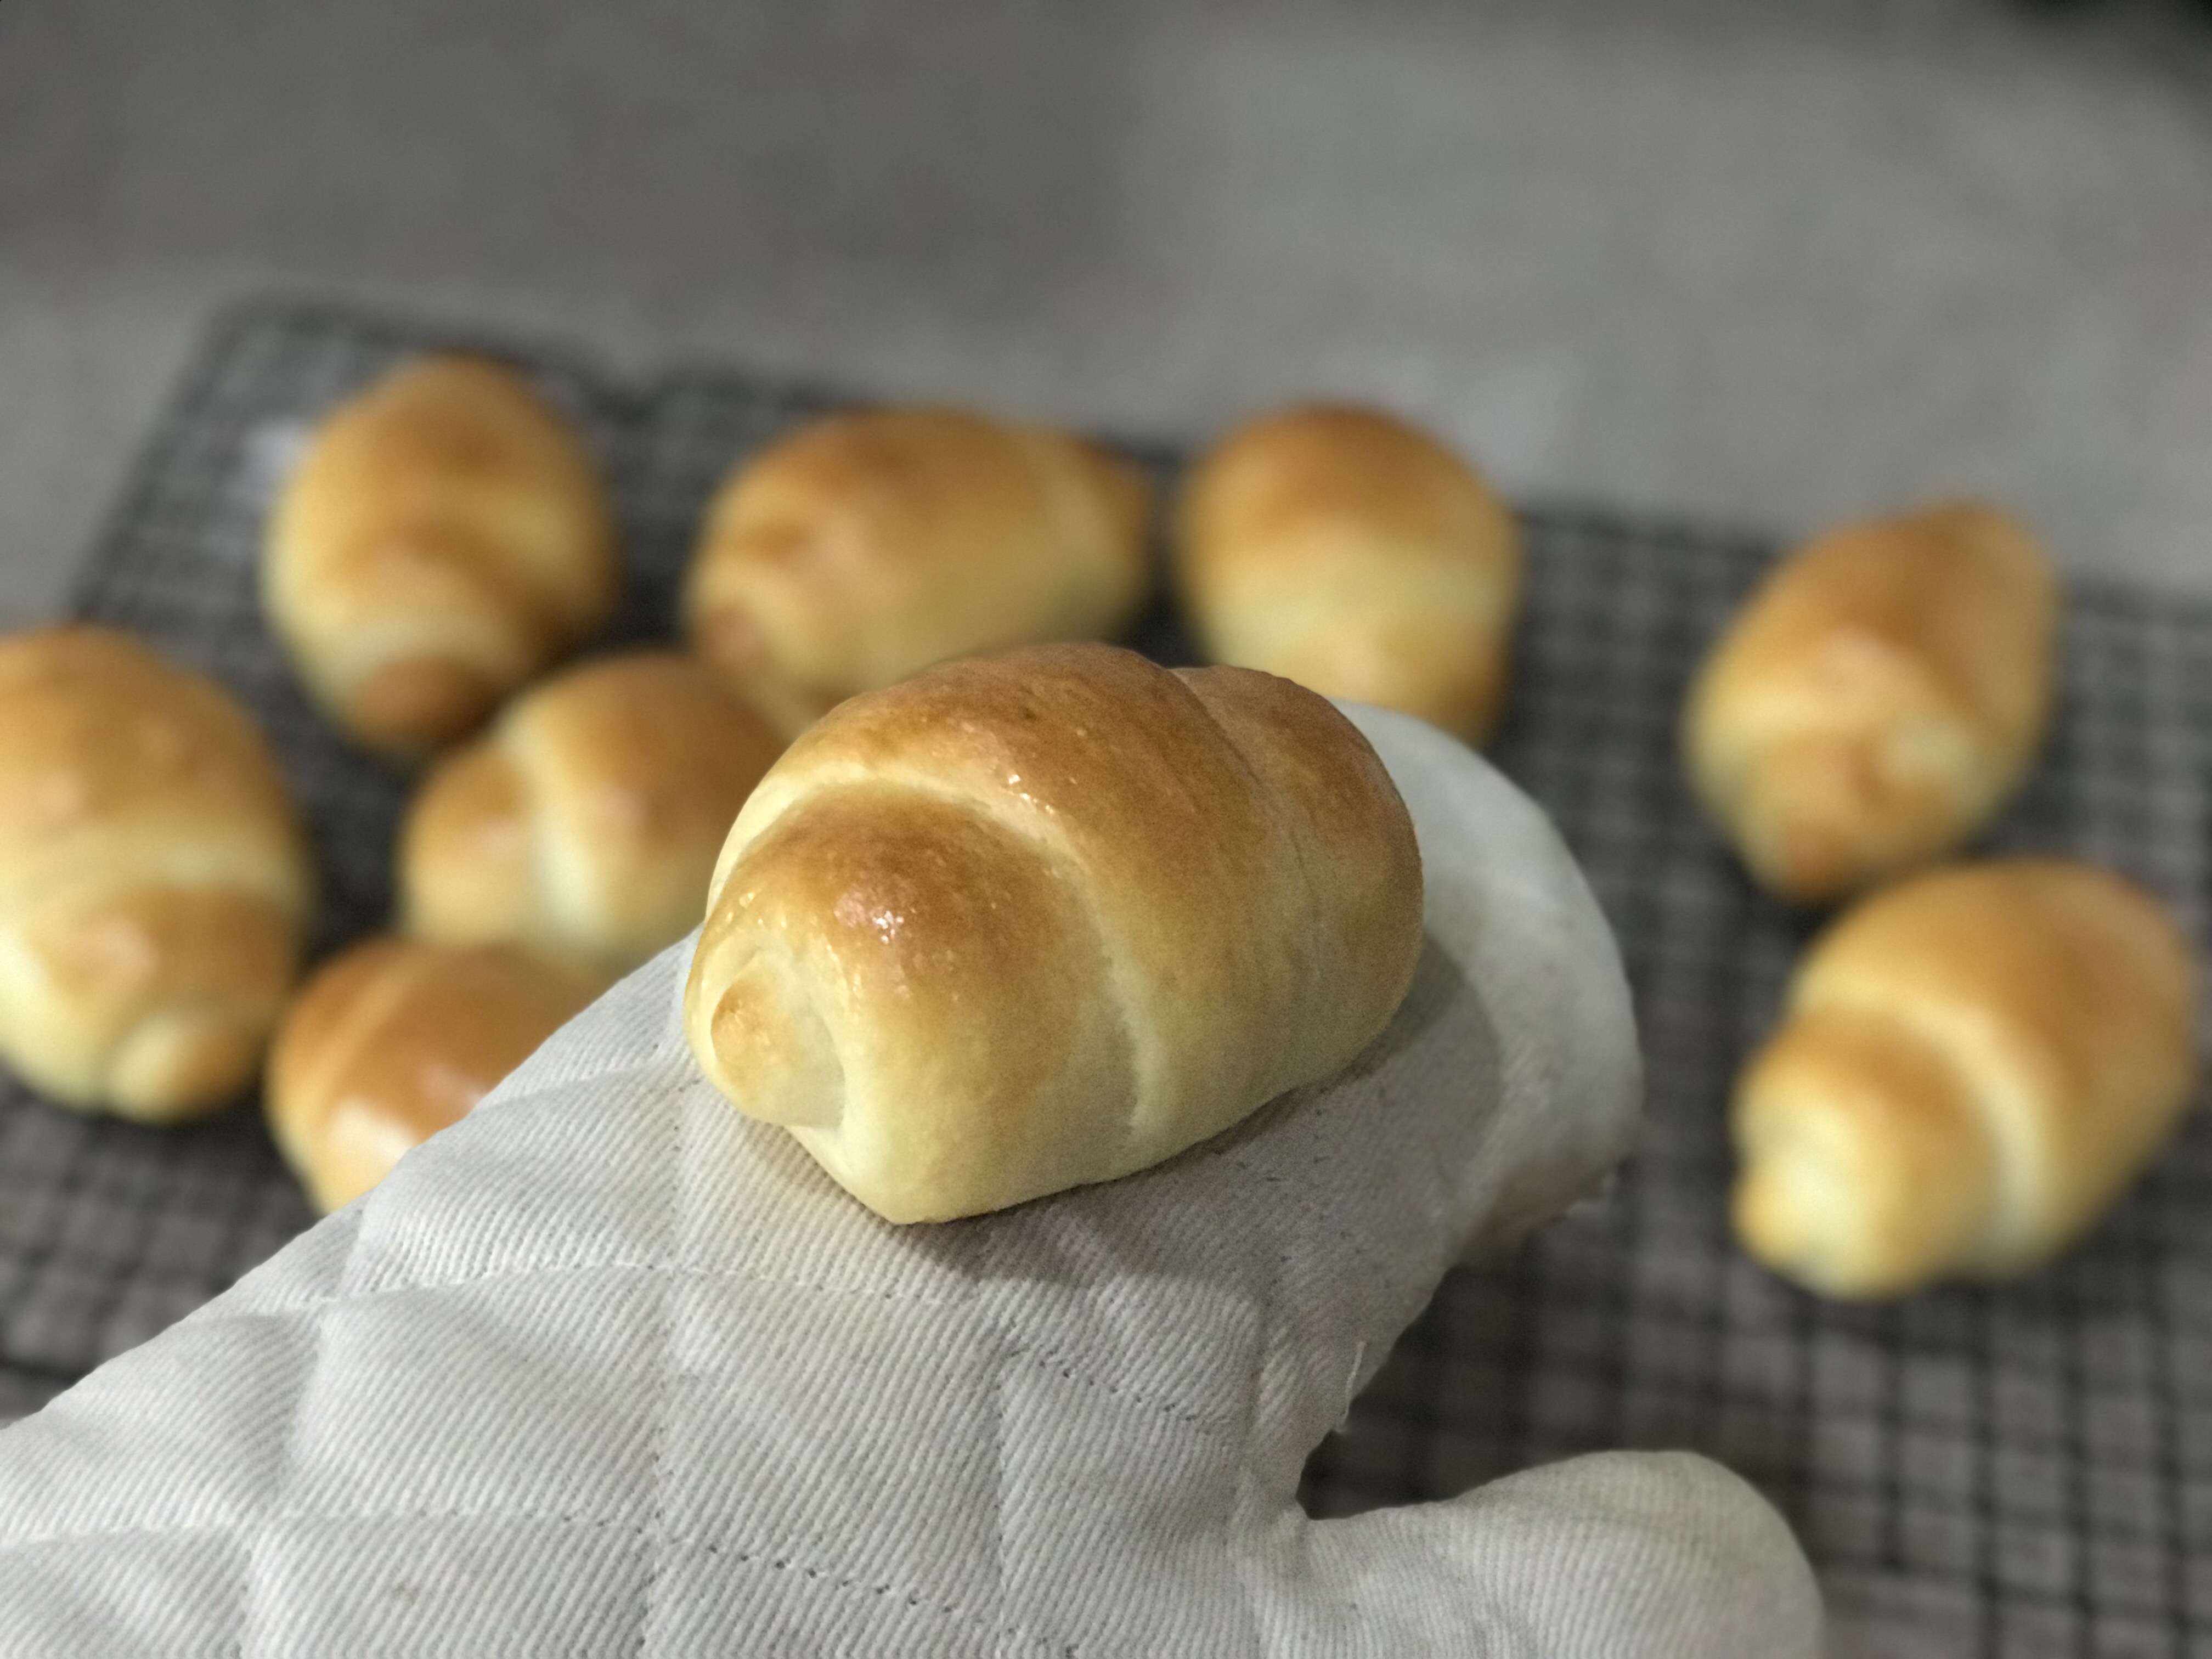
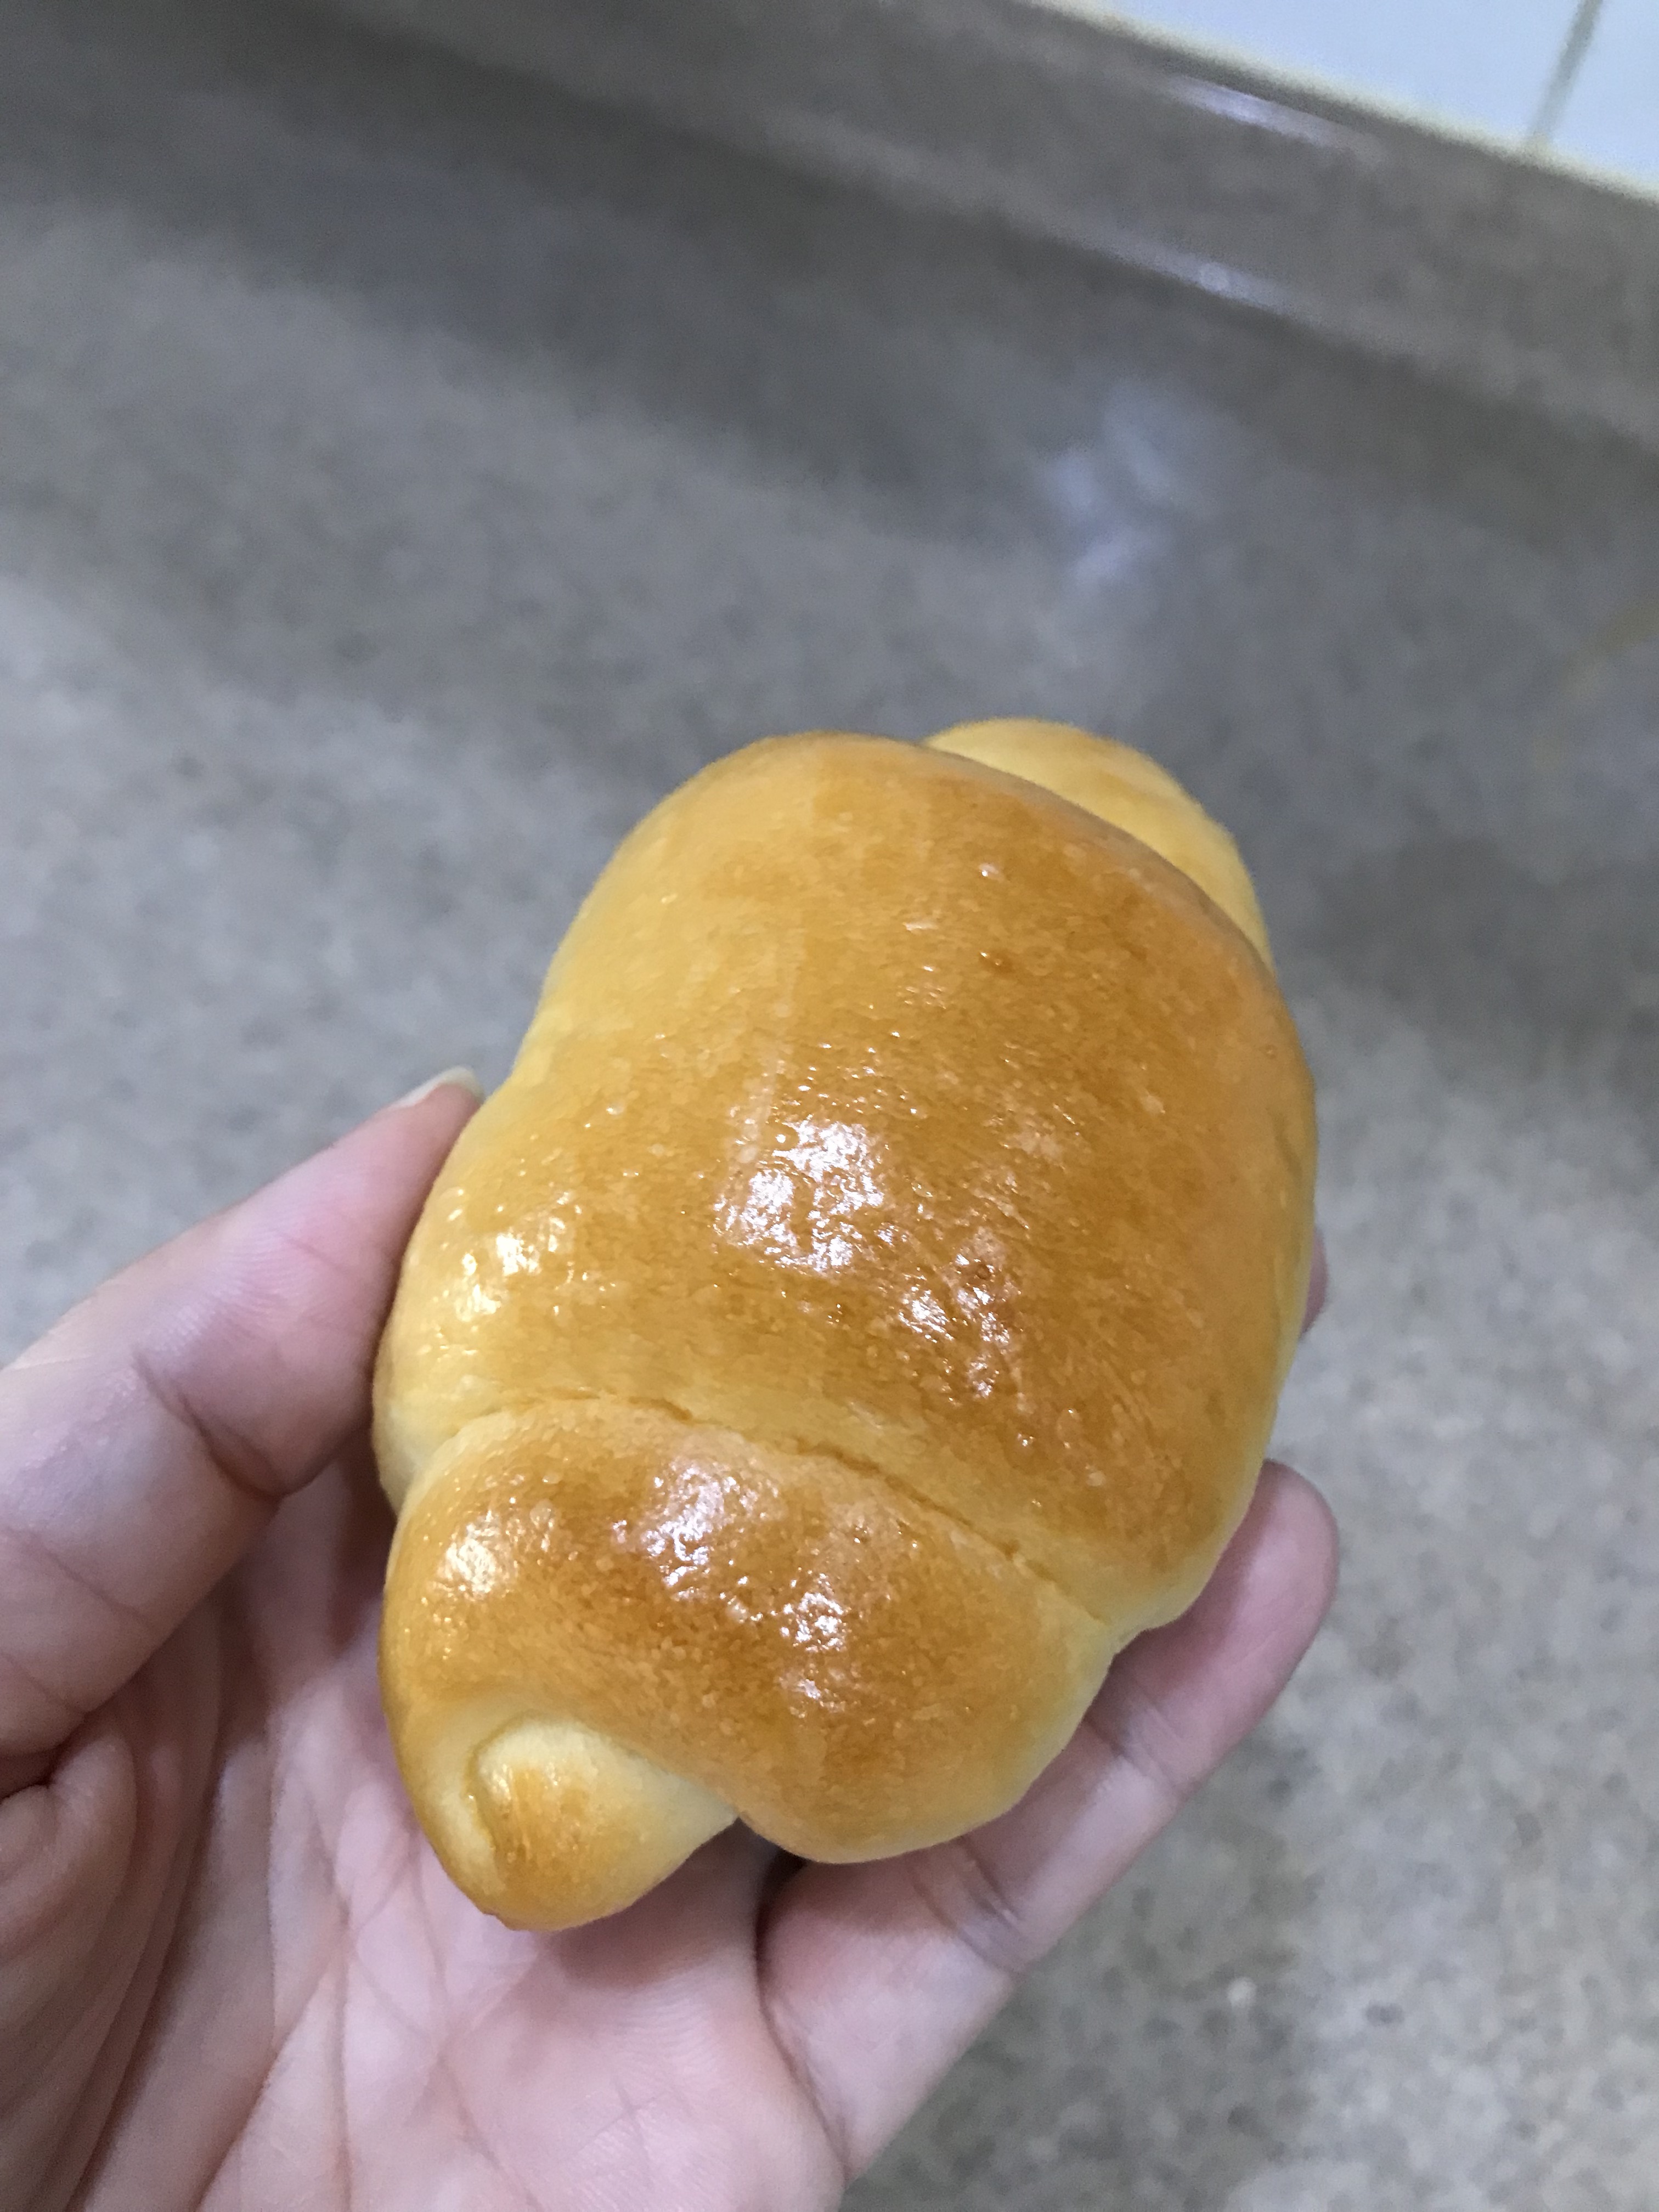
This post is more about shaping dinner rolls. Some tips to make sure that the rolls will be round and not tear during proofing/ baking
- During the final shaping using the rolling pin, don’t roll out the dough too thin (not less than 0.5 cm).
- When rolling it up, don’t make it too tight, to give room for expansion.
- Relax the dough intermittently while shaping and it will cooperate better.
- Don’t over proof the second proof so that the dough will have good oven spring. In turn, the layers will show up clearer.
- Don’t make the broad end too broad. You will end up with a thin, long roll. The broad end is about twice the width of the narrow end. Both will expand during proofing.

Recipe
- one dough from here

Method
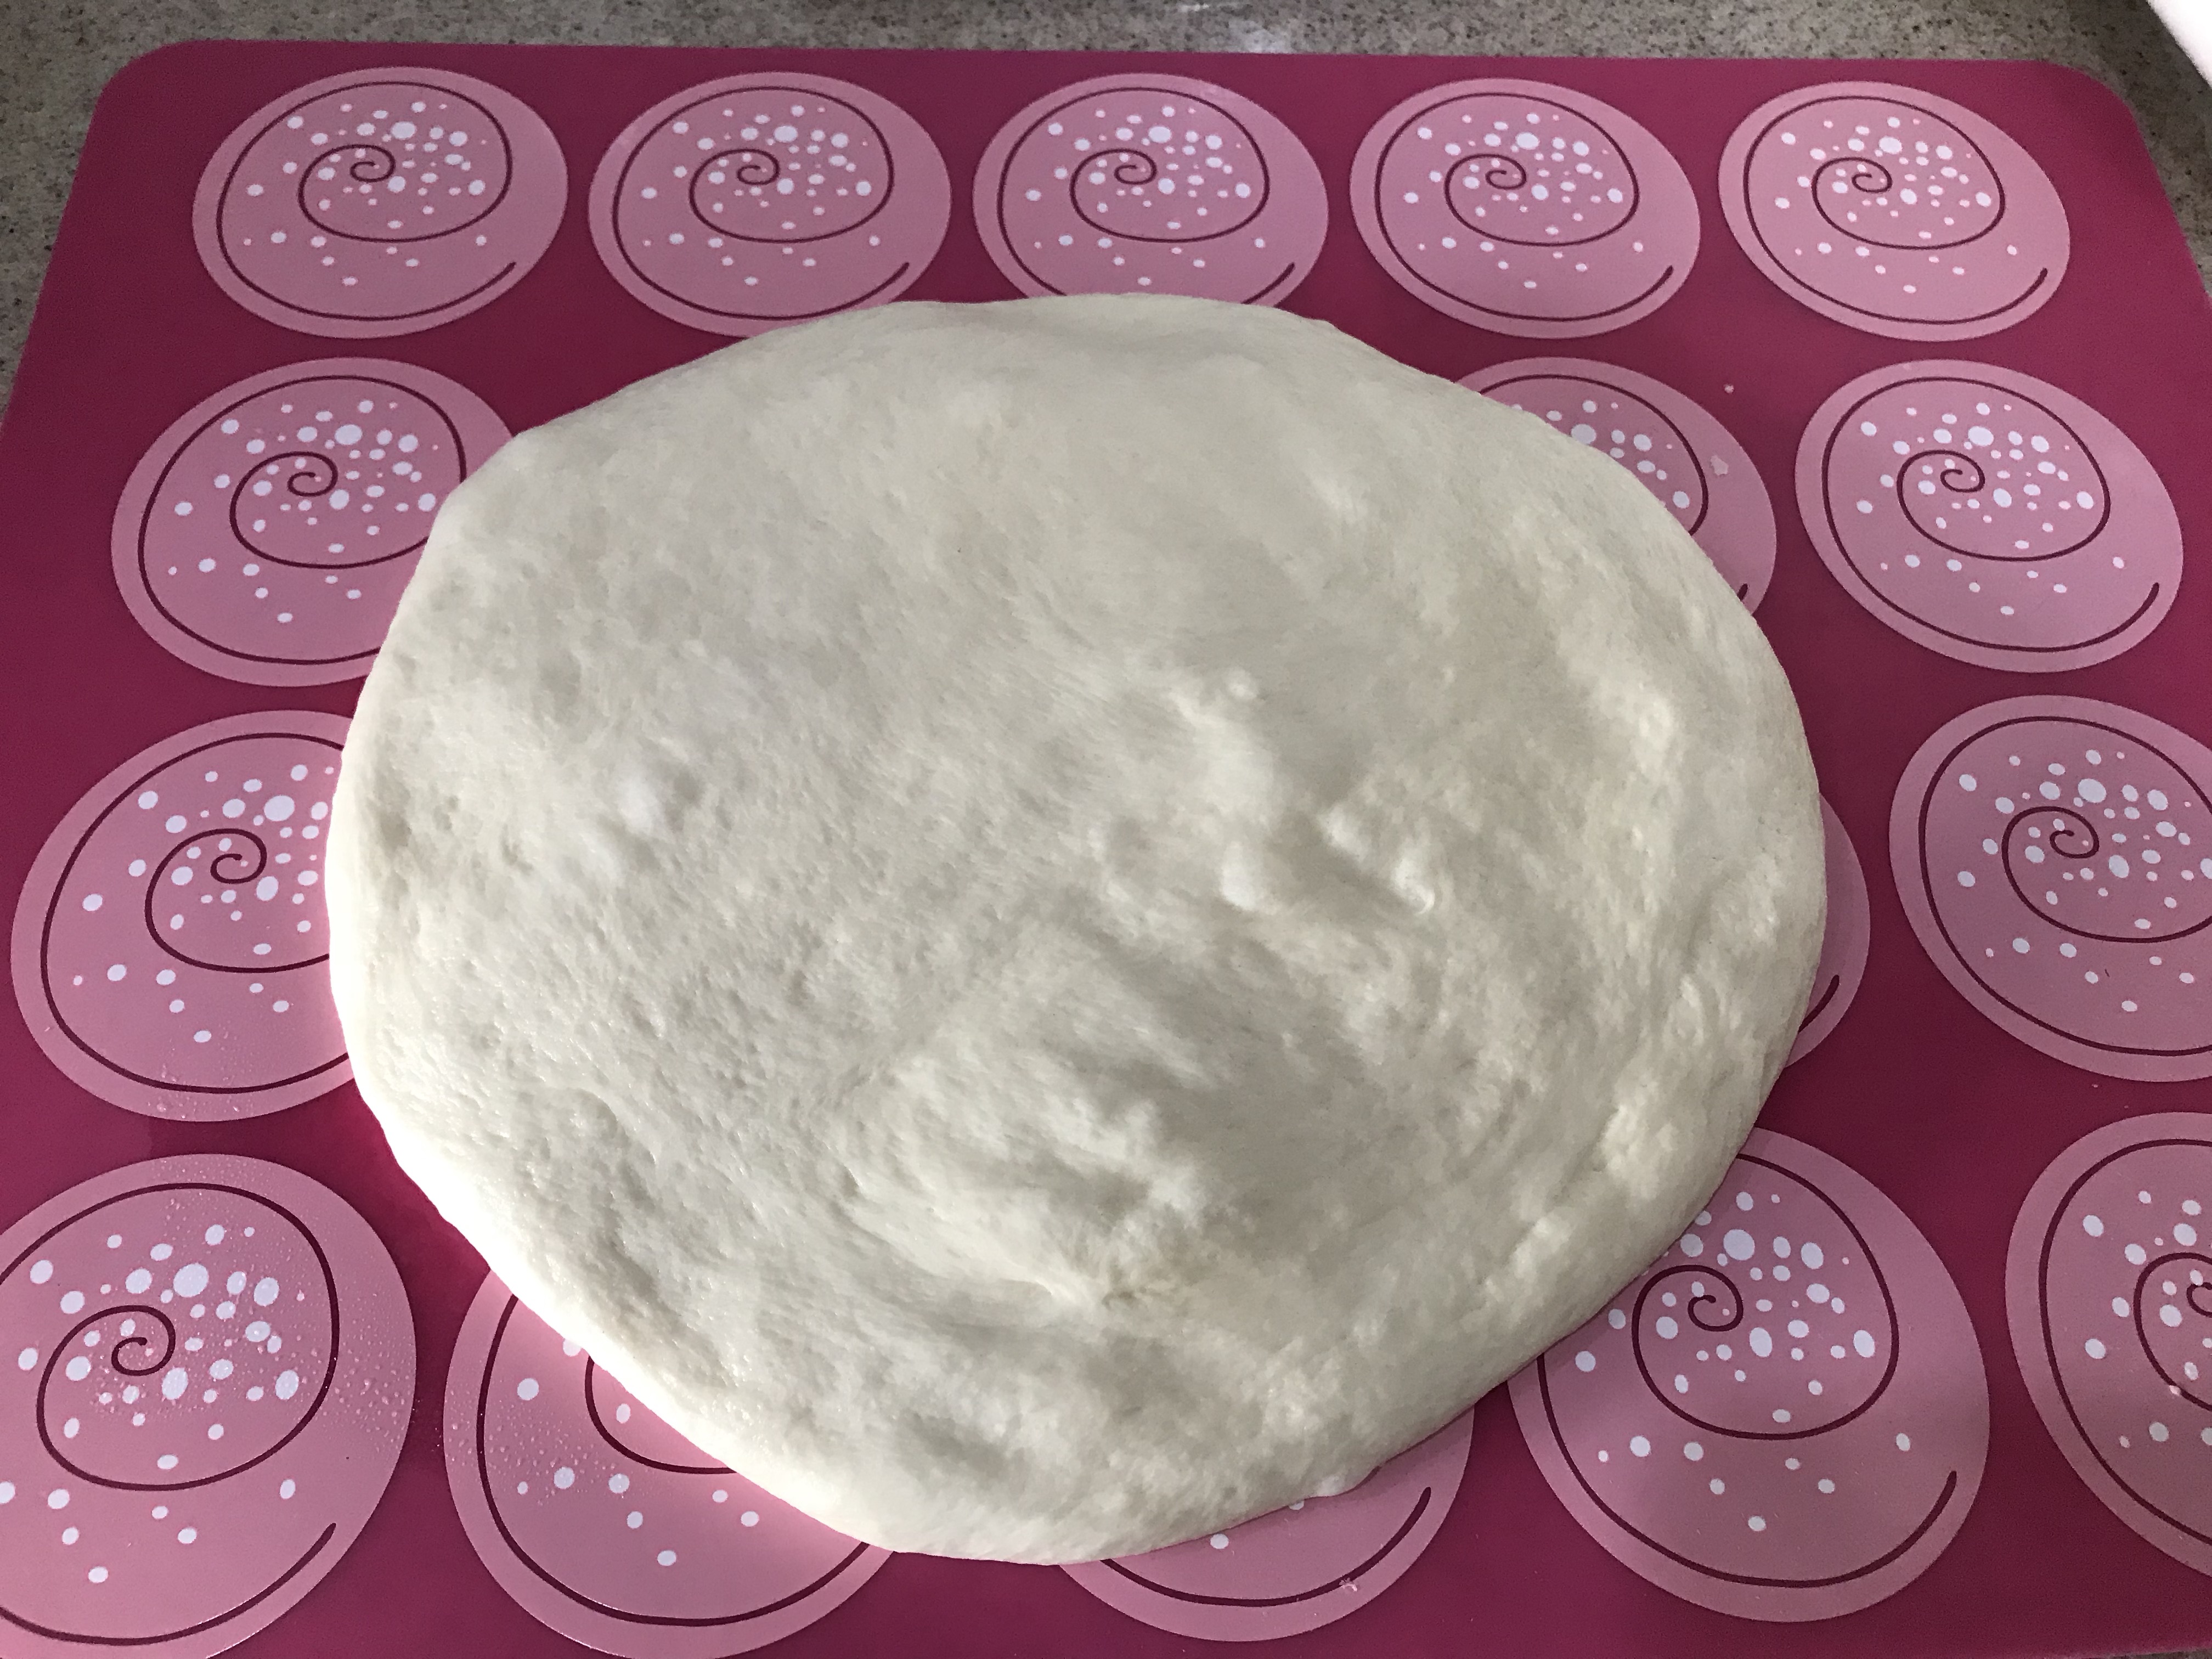
1. After first proof, turn dough onto counter and flatten with palm to remove big bubbles.
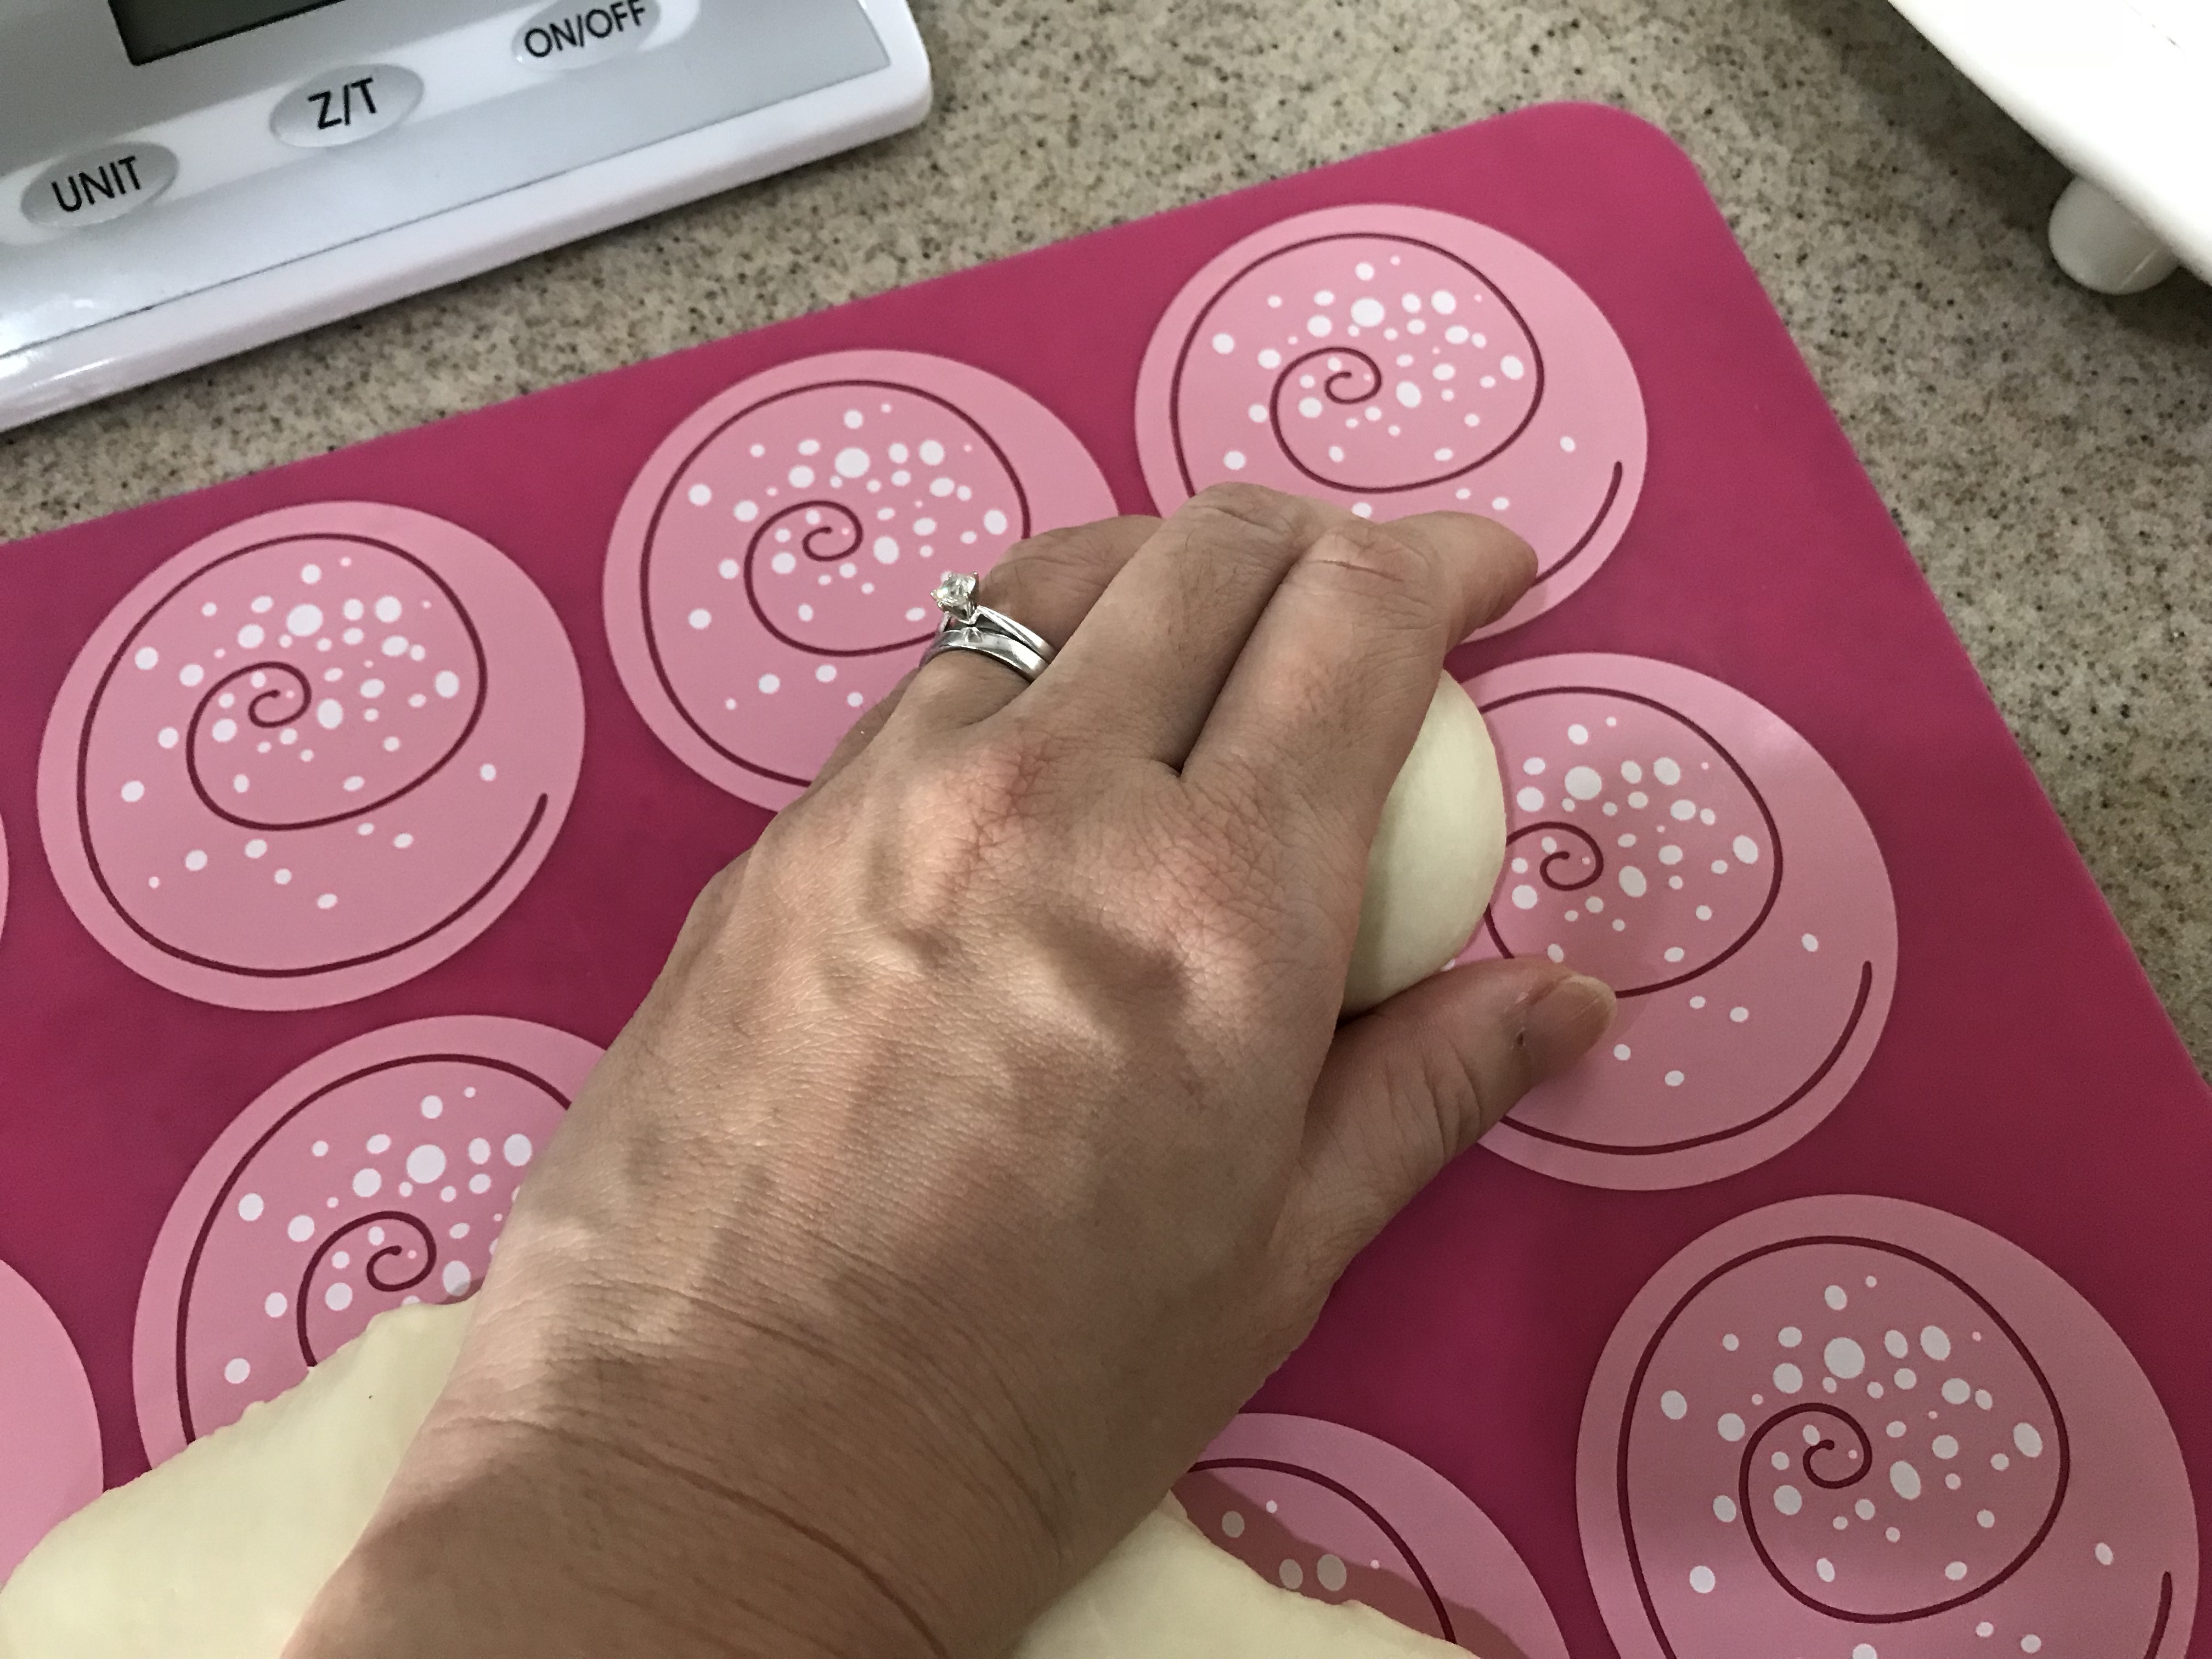
2. Do a ‘spiral’ cut as below to divide dough into 10 portions. About 50-55g.

3. Flatten individual portion, roll into a round dough.


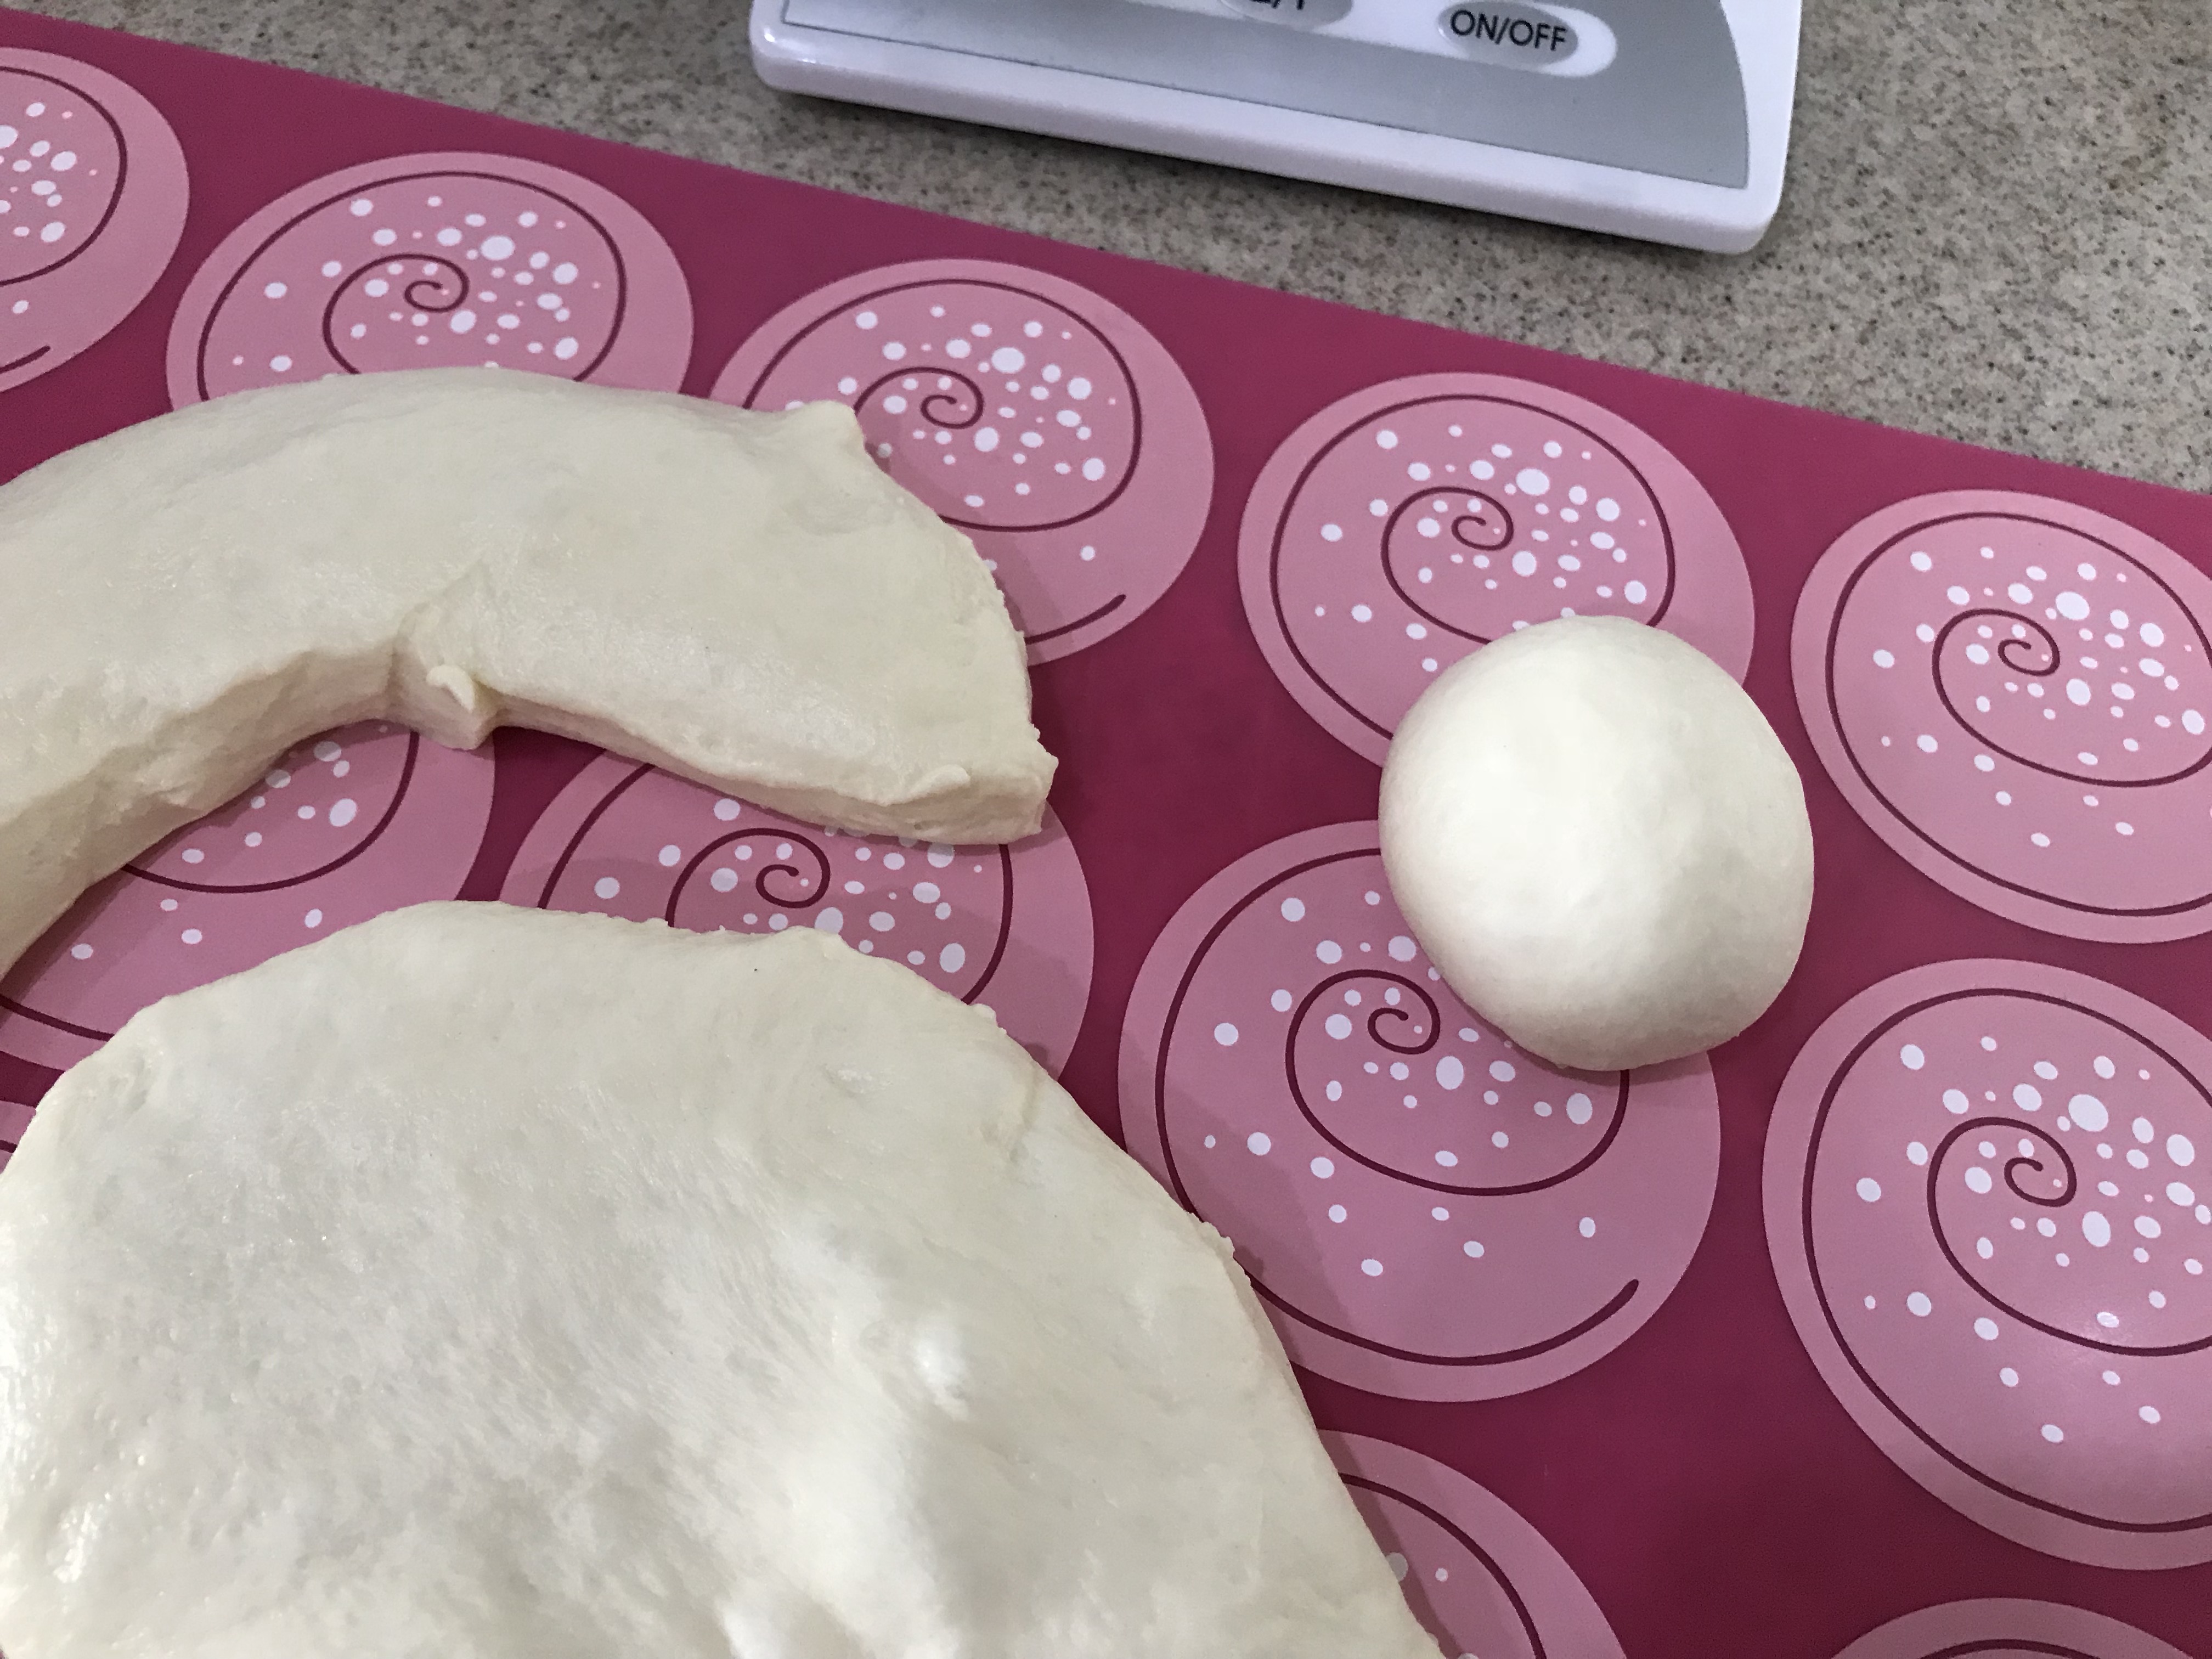
4. Repeat for all 10. Cover and rest 10 min.

5. Take a round dough, flip over. Lengthen and flatten slightly. Fold lengthwise in half and pinch together to shape into carrot shape.


6. Repeat for all 10.
7. Go back to the first dough and roll it longer with your palm. The smooth side facing up.

8. Then using rolling pin, roll it out longer.


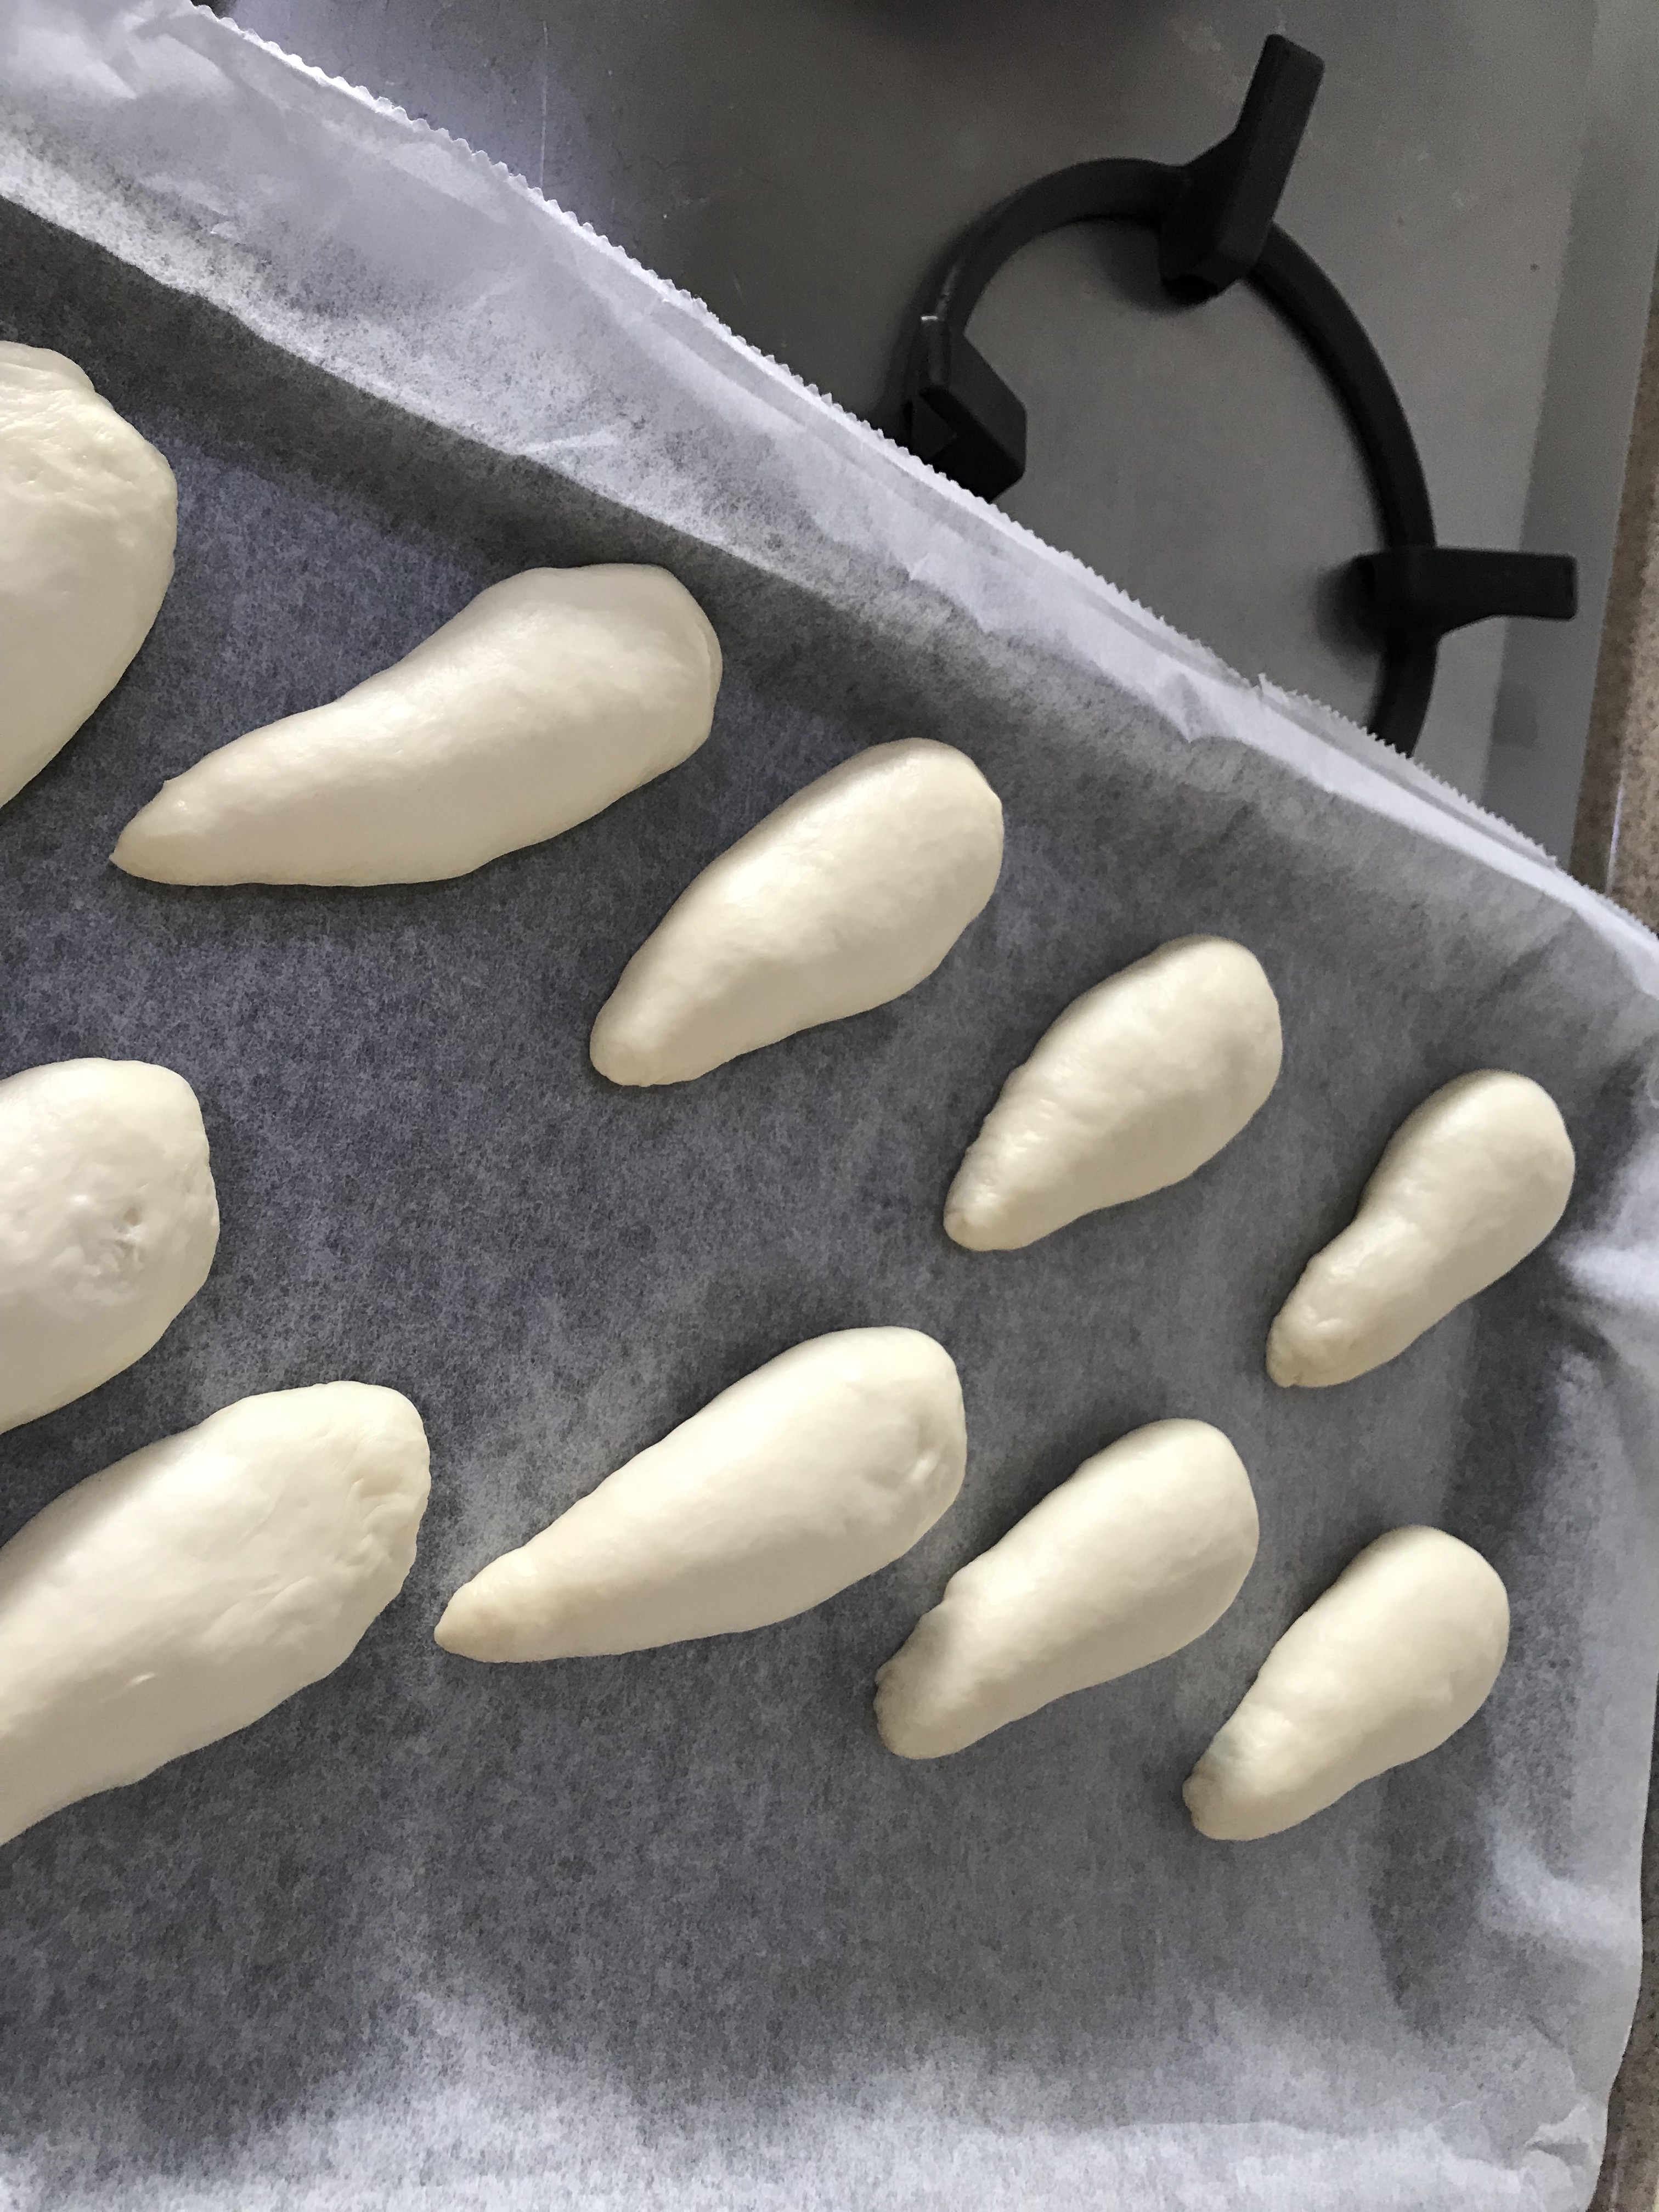
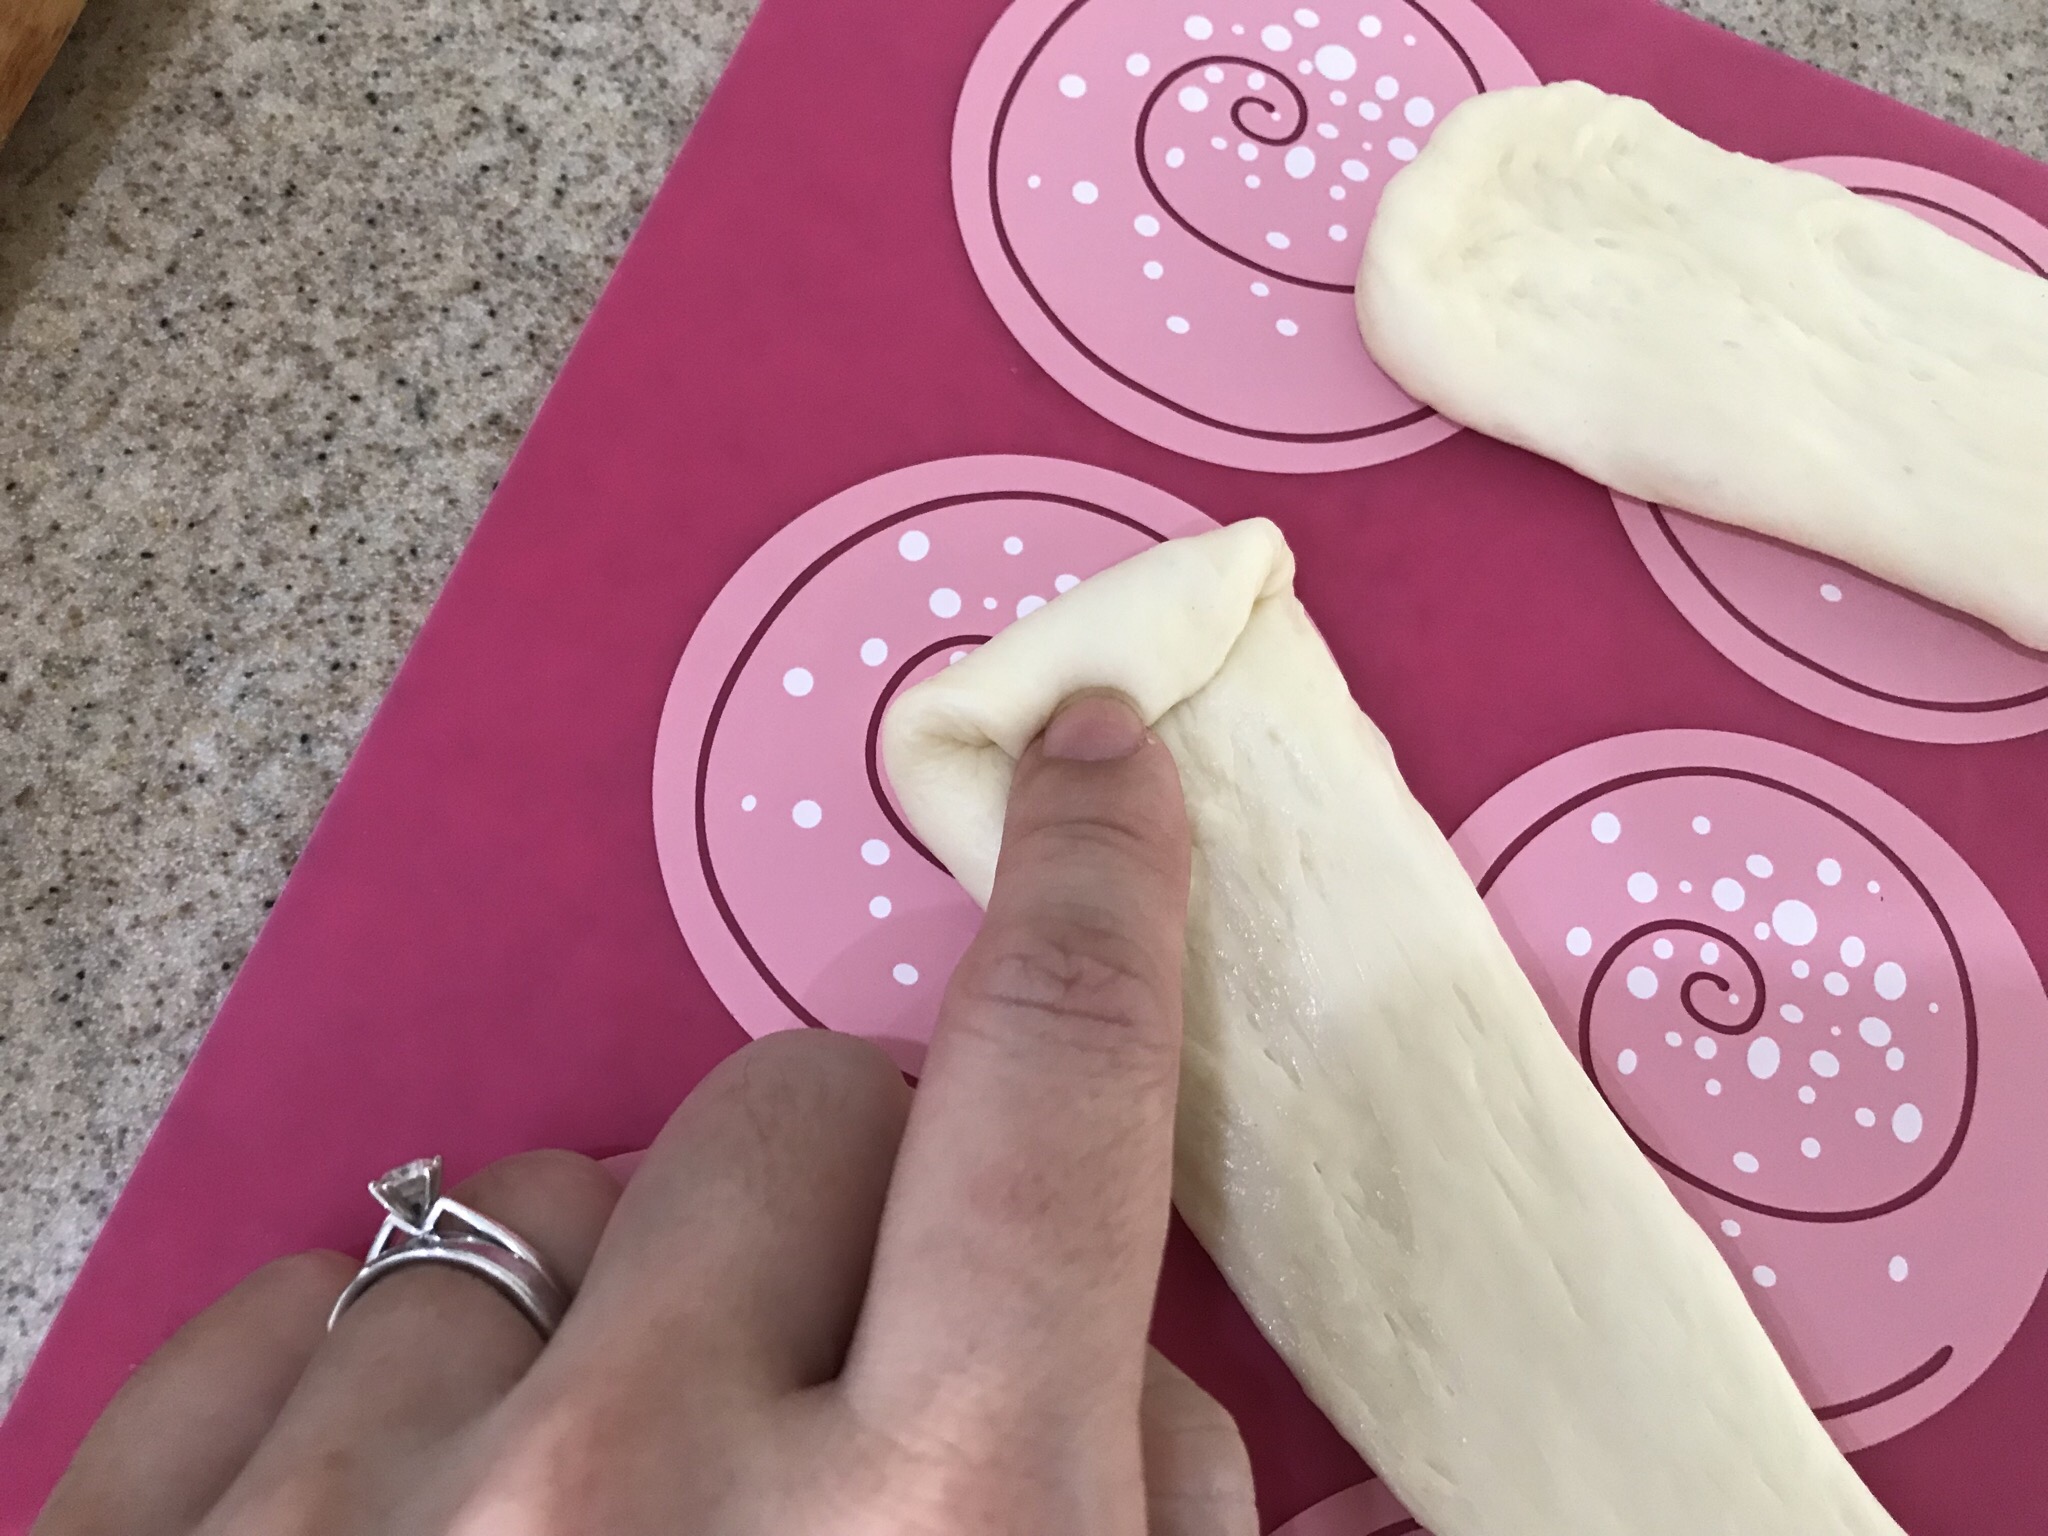
9. Turn the strip over. From the top, roll once and press down. Then gently roll it up.


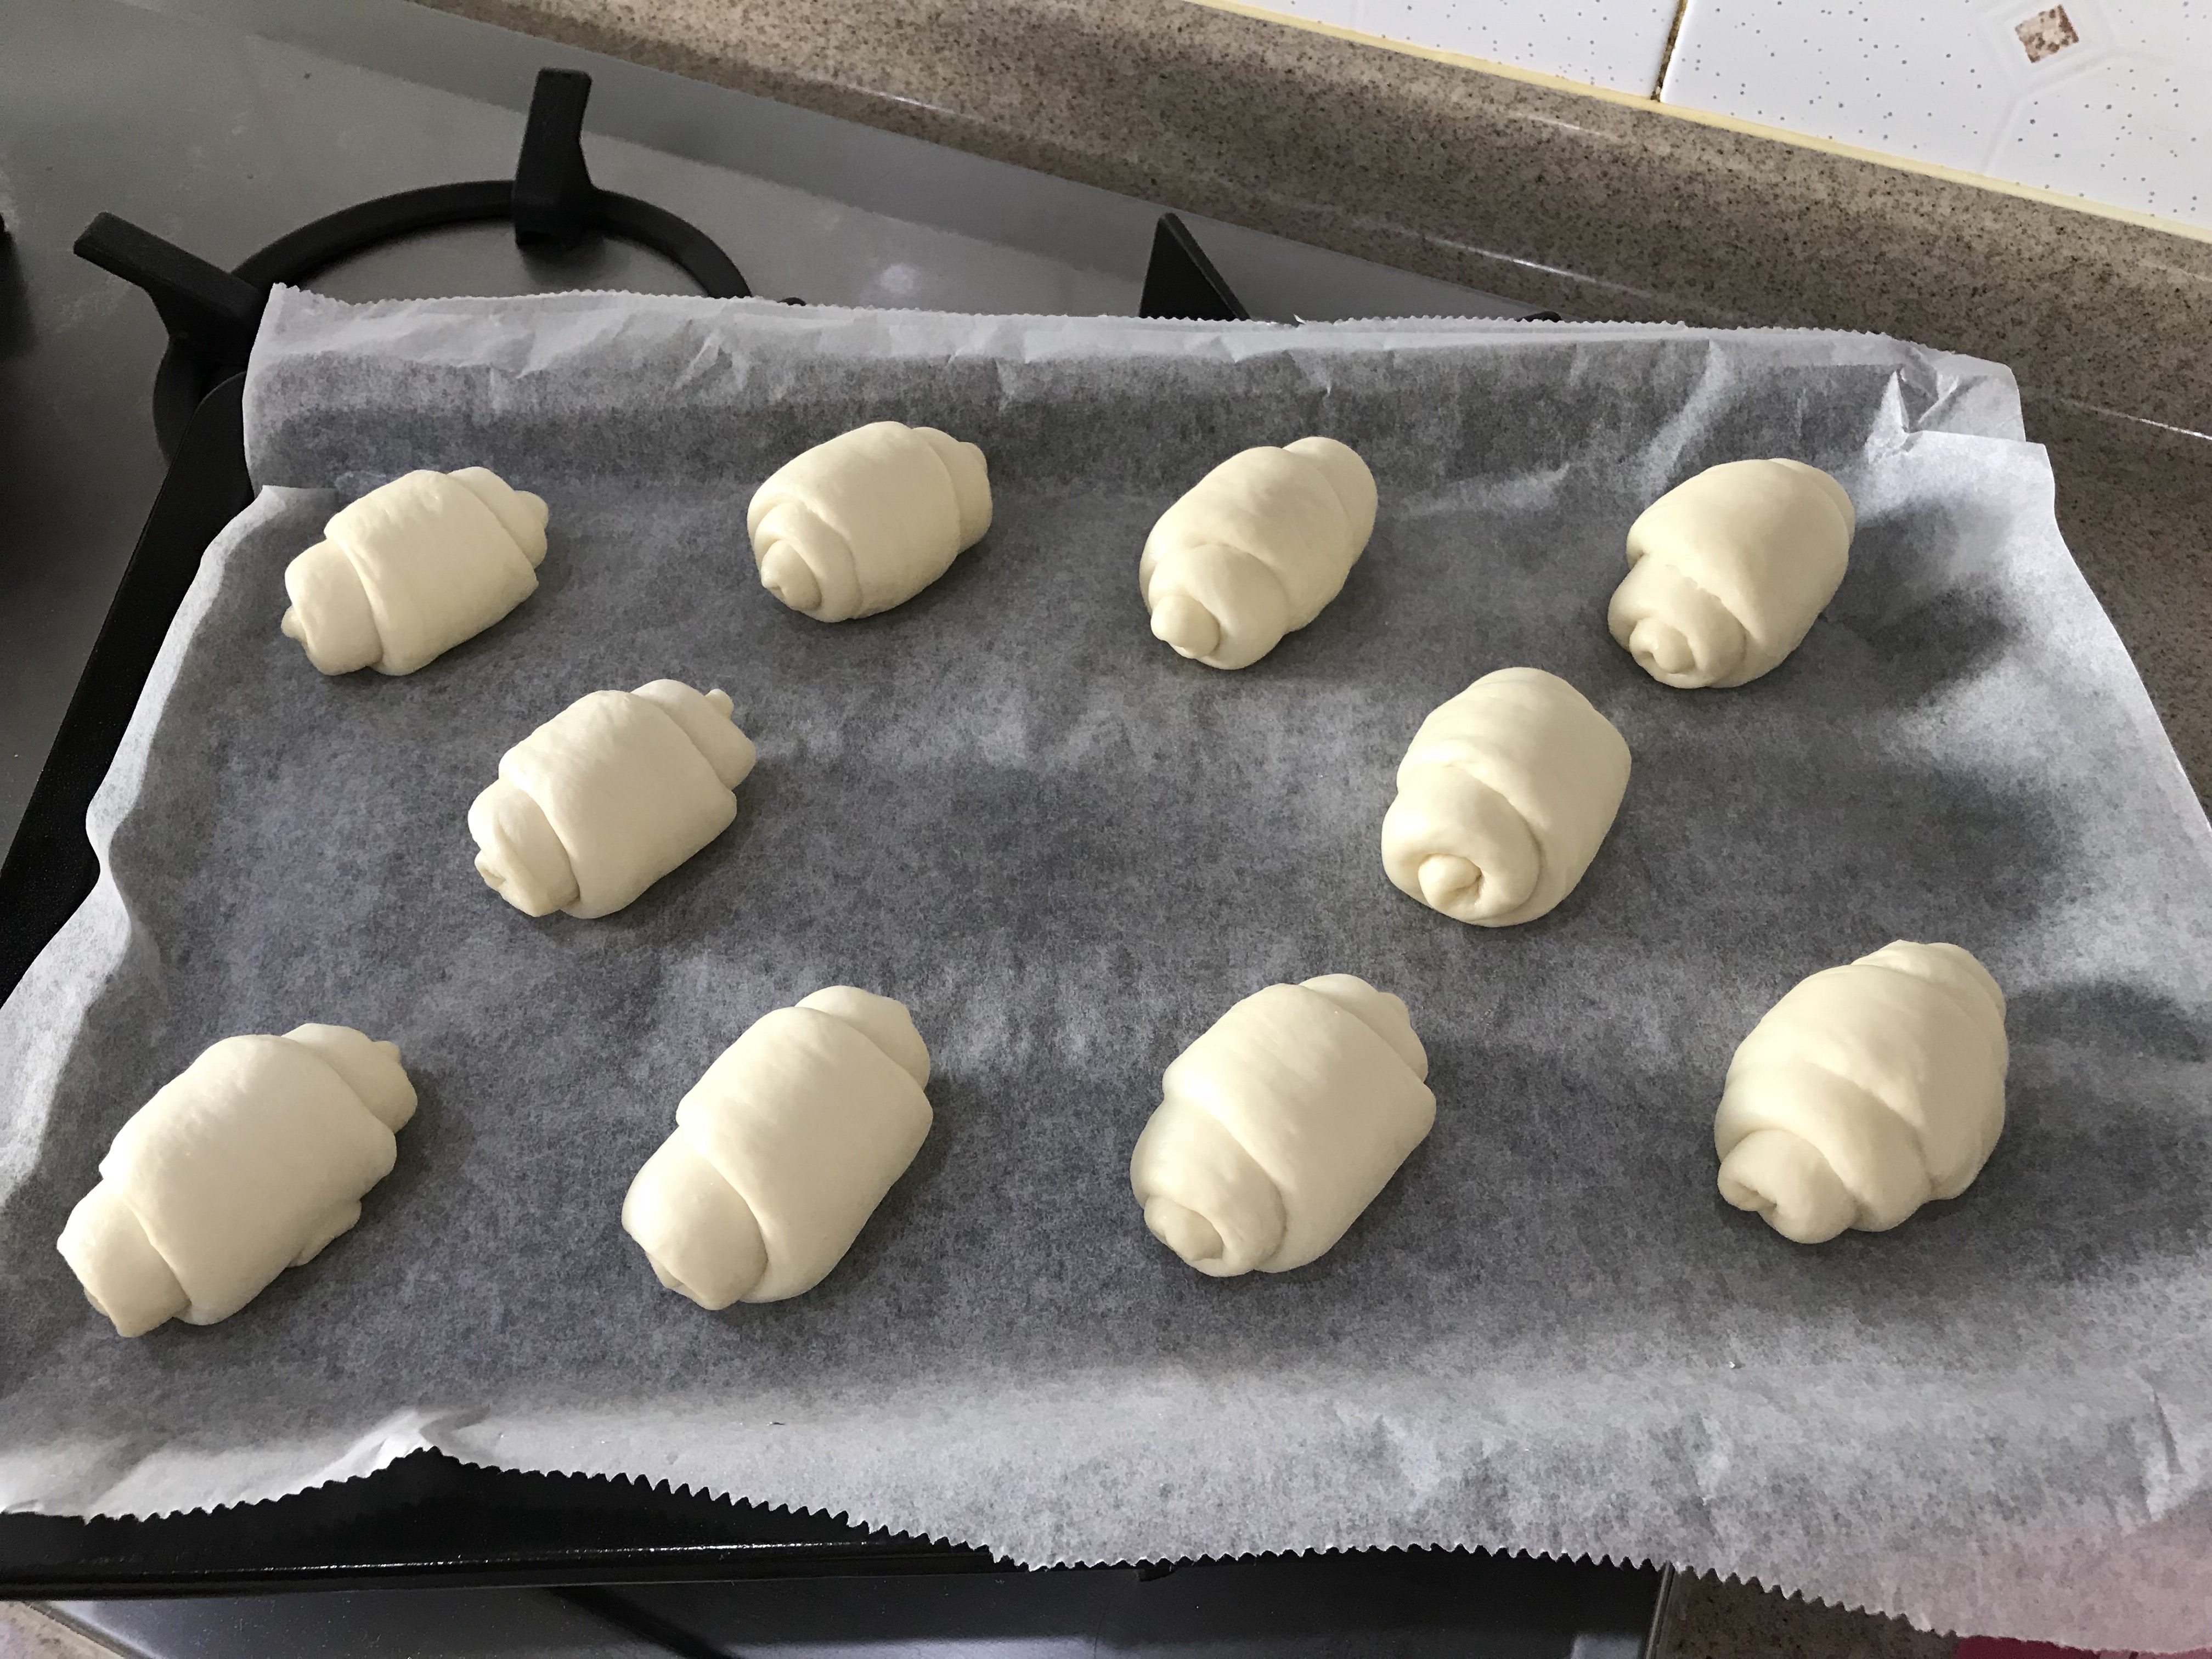
10. Place on lined baking tray, proof for 50 min. I proof in an off oven, with a cup of hot water.
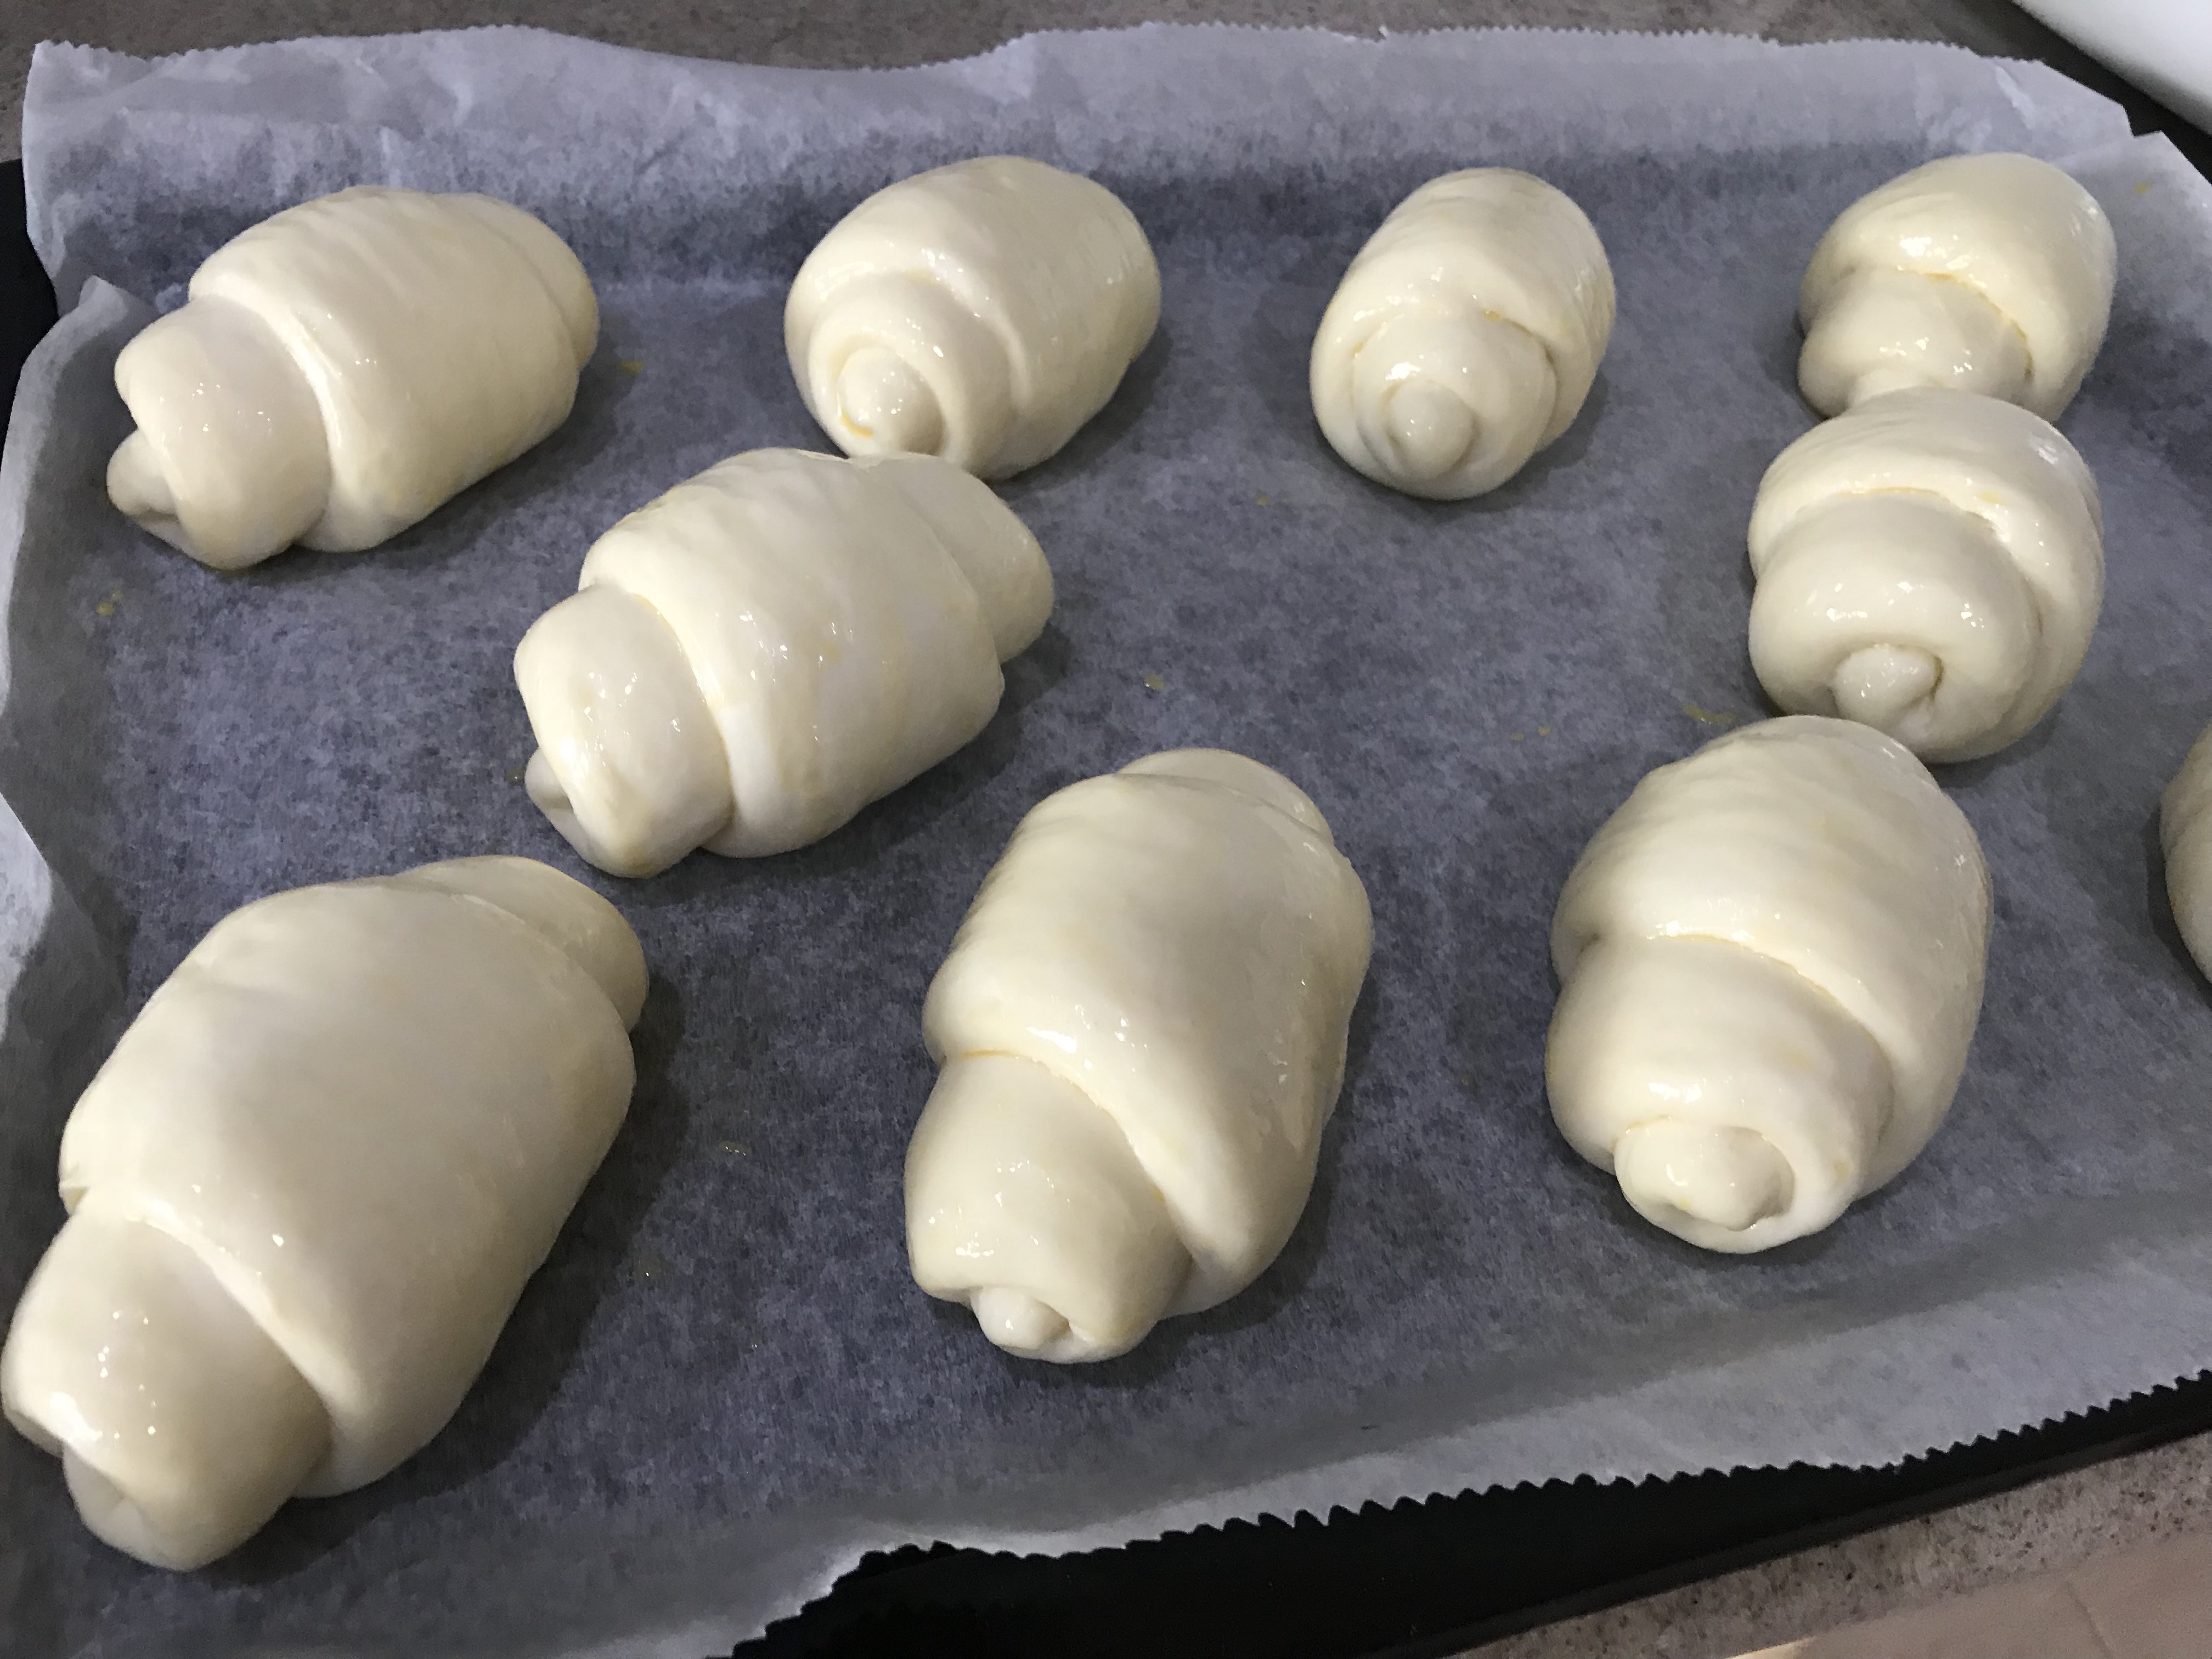
11. After proofing, egg wash with whole beaten egg.
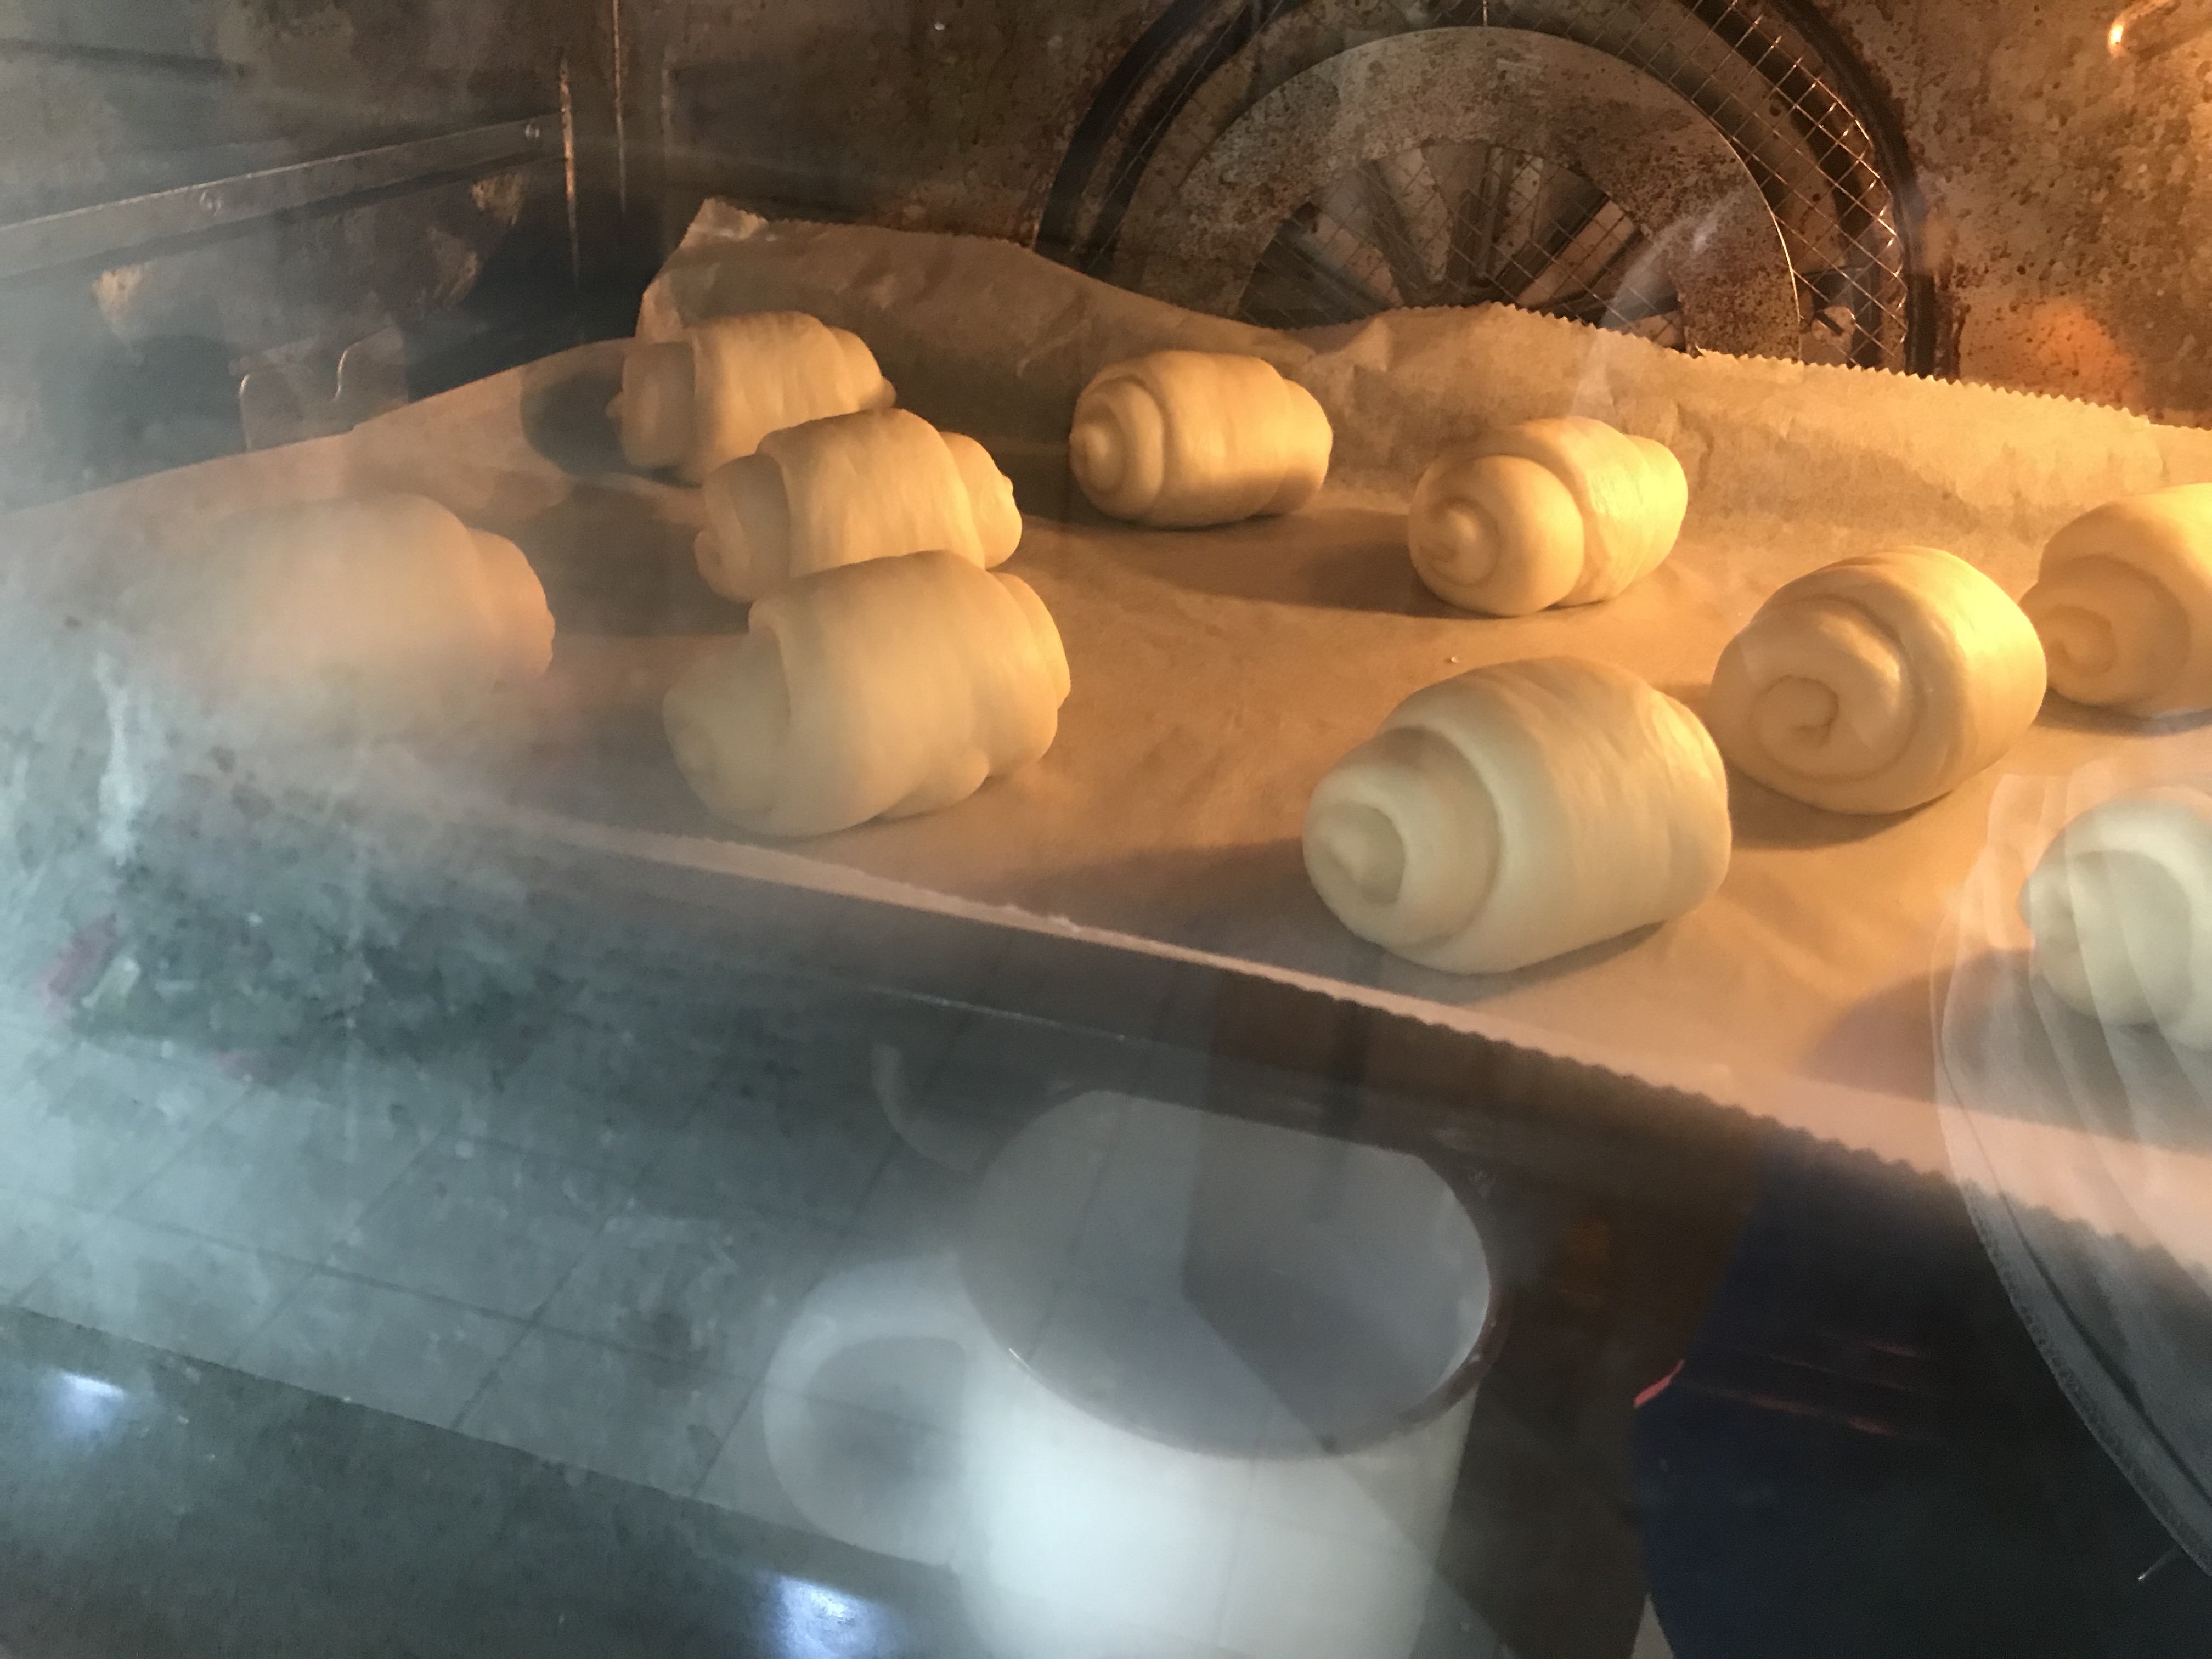
12. Bake at 170 deg C for 20 min. Turn tray around for even baking.