

Have a lot to say about this one (skip rant and go straight to Recipe below) – I don’t have natural starter, no Dutch oven, or banneton, nor time to wield at my convenience! But my whole family loves artisan breads (and all breads for the matter). I’ve tried some recipes involving days of fermentation until the dough turns gummy, or made some successful ones but they were so flat because the high hydration dough just had no strength to get puffed up nicely.


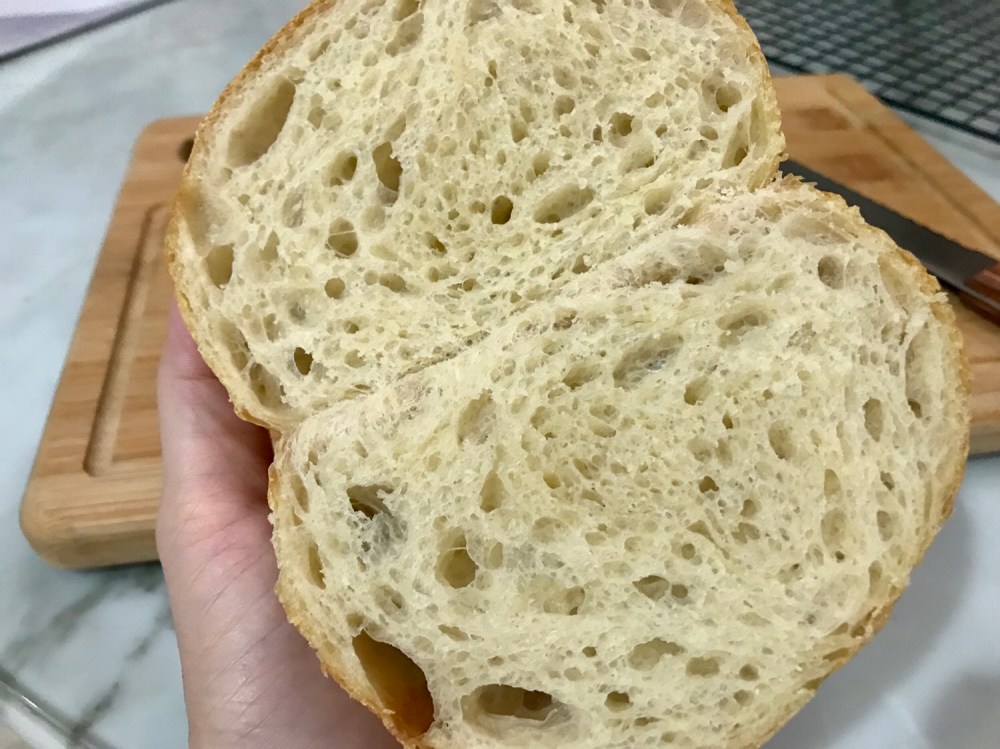
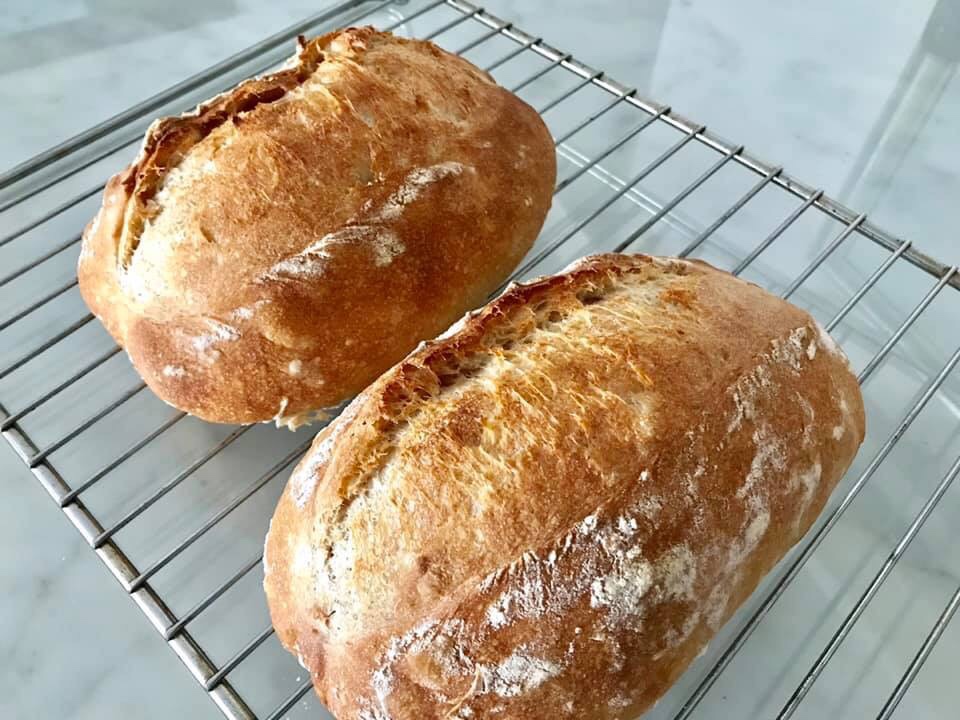
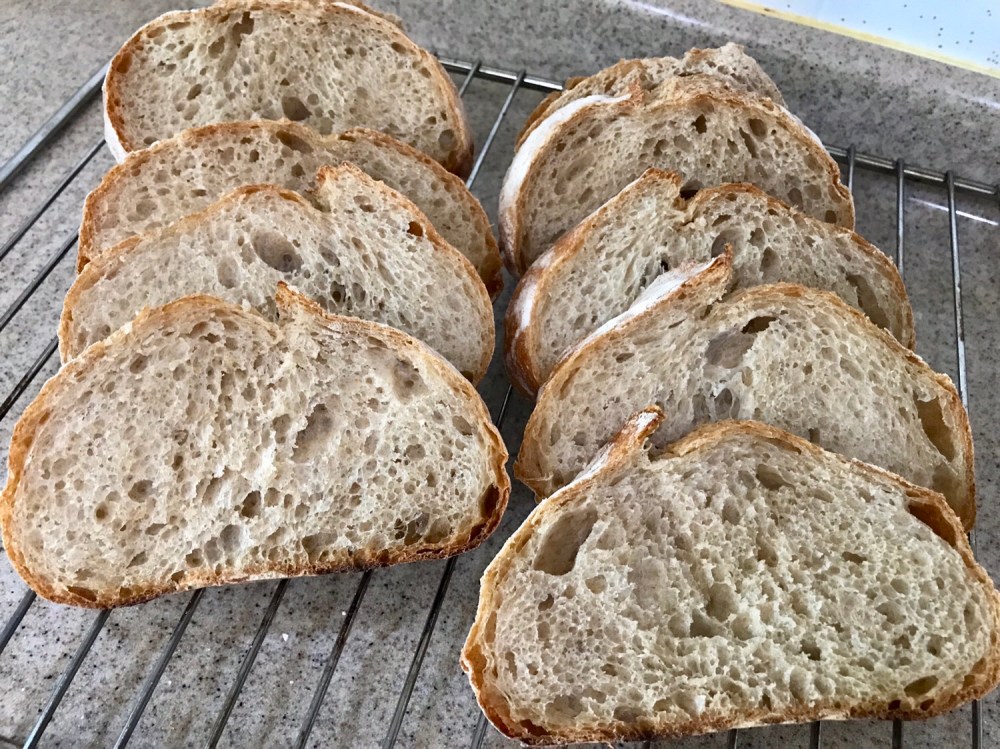
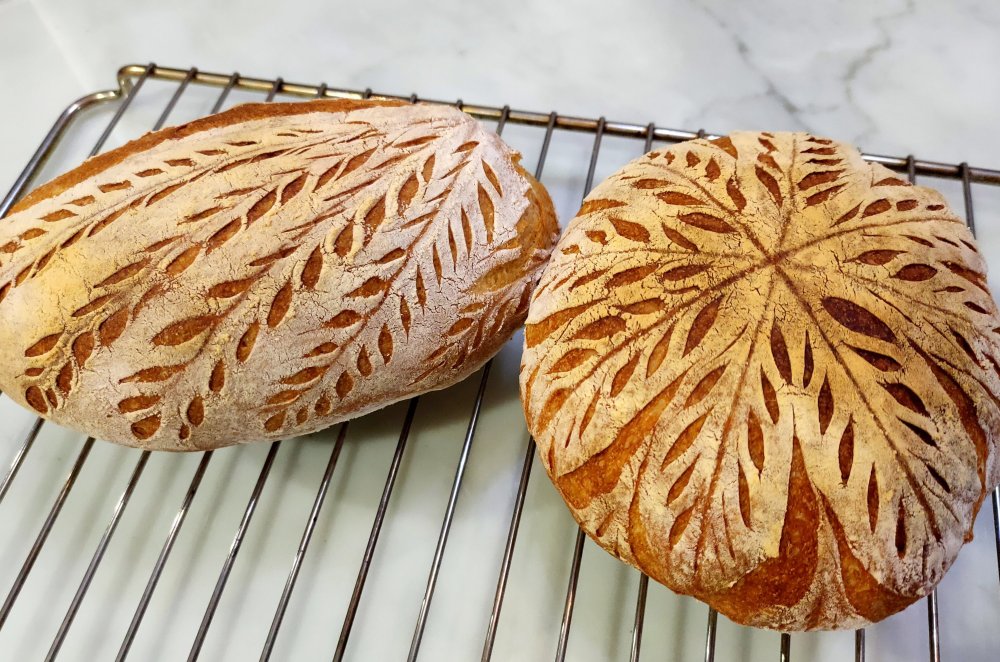
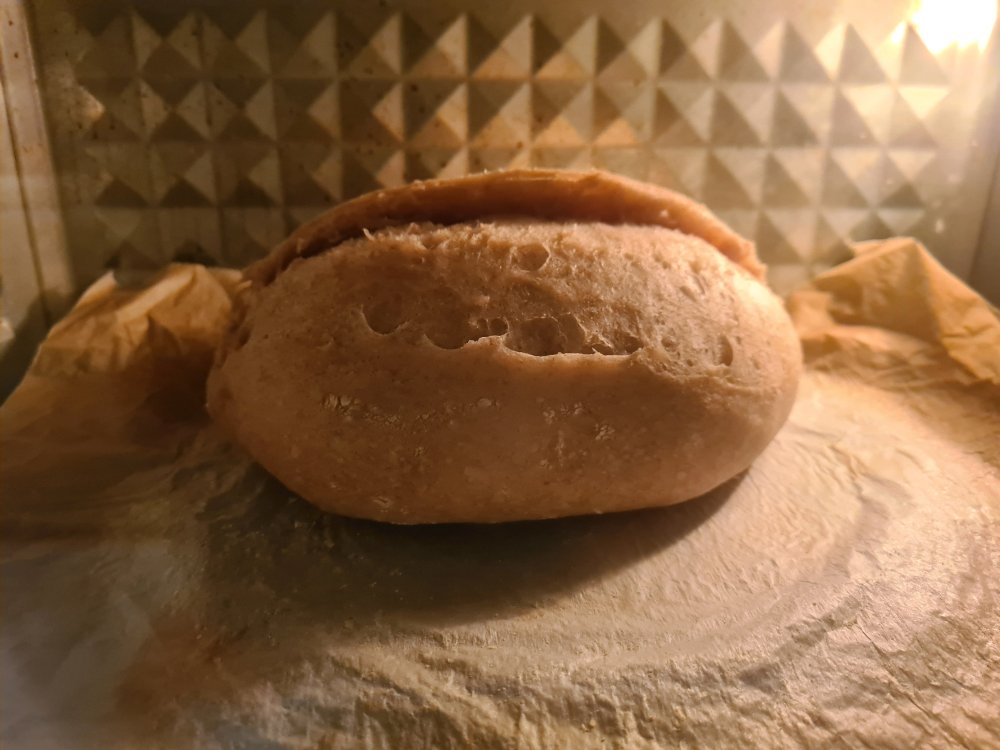
This one I will say is a huge success for me, it hits all the right spots in terms of crispy crust and soft airy interior. It puffed up a third in the oven, and showed a little round belly. First time I can get such a crumb. Tasters all gave the thumbs up – whether with a slab of butter or with oil-vinegar dip. I must thank Autumn’s Kitchen and John Liew videos because I incorporated many of their sourdoughq techniques.

The recipe involves very little elbow grease, but will still take minimally 5 hours.
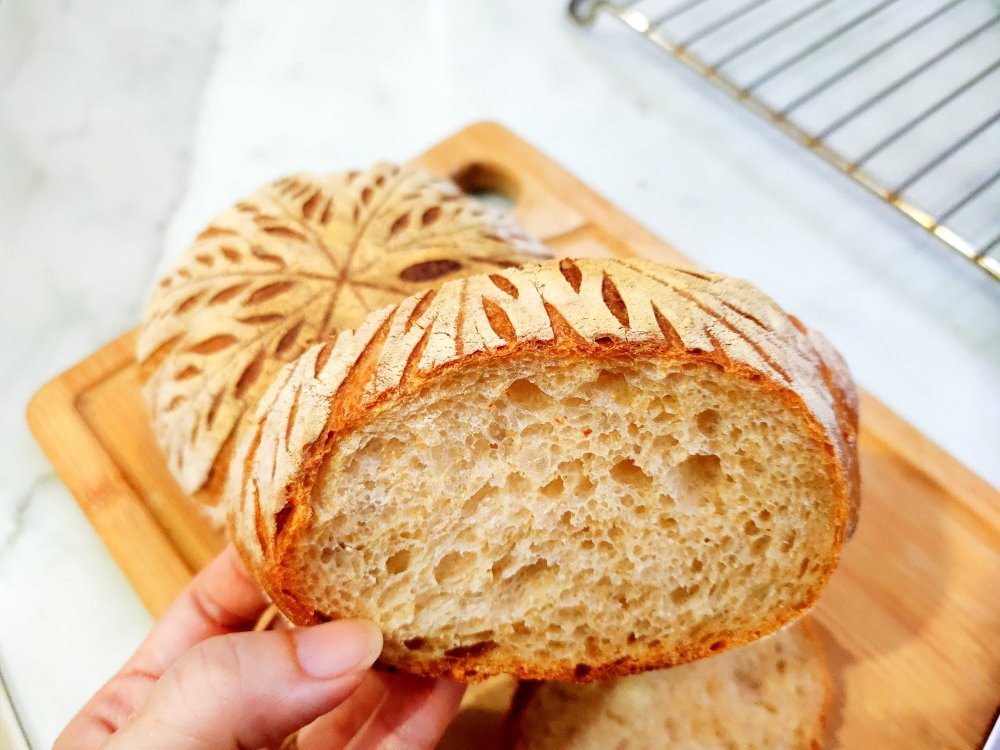
If you like fancy scoring patterns like the ones here, I have also added additional notes at the end of this post.

Recipe
- 300g bread flour (can replace with wholemeal up to 30%)
- 240g water
- 1/4 tsp instant yeast
- 1.5 tsp salt
- 12g olive oil
Method
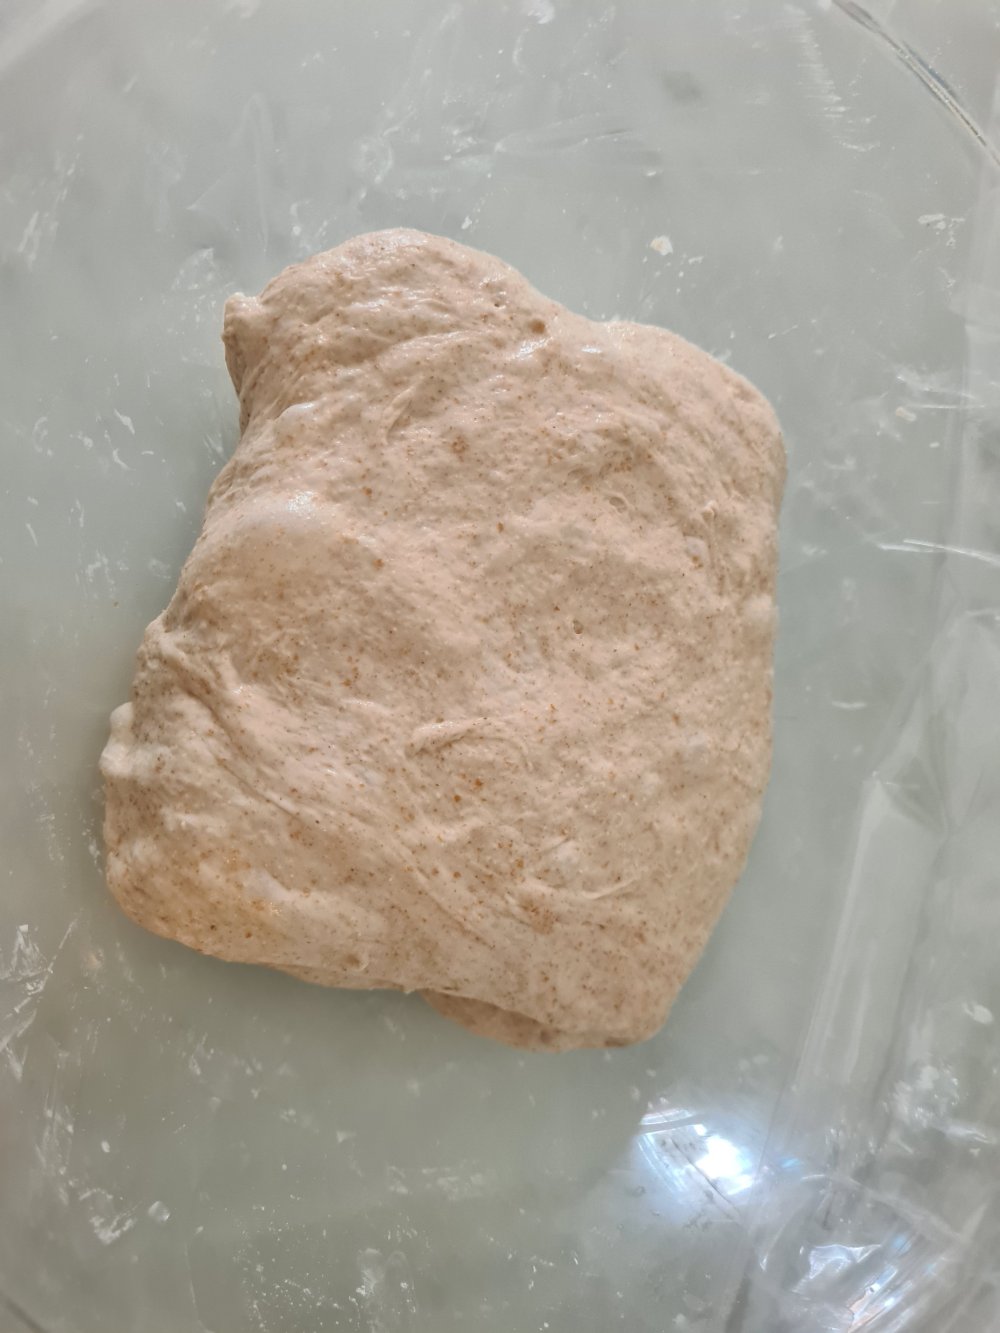
1. Add flour and yeast in a mixing bowl and mix. Make well in the middle, add salt, water and olive oil. Stir the liquid to dissolve the salt. Mix in flour using spatula till no dry flour.


2. Cover with cling wrap and leave on counter for 1 hour.
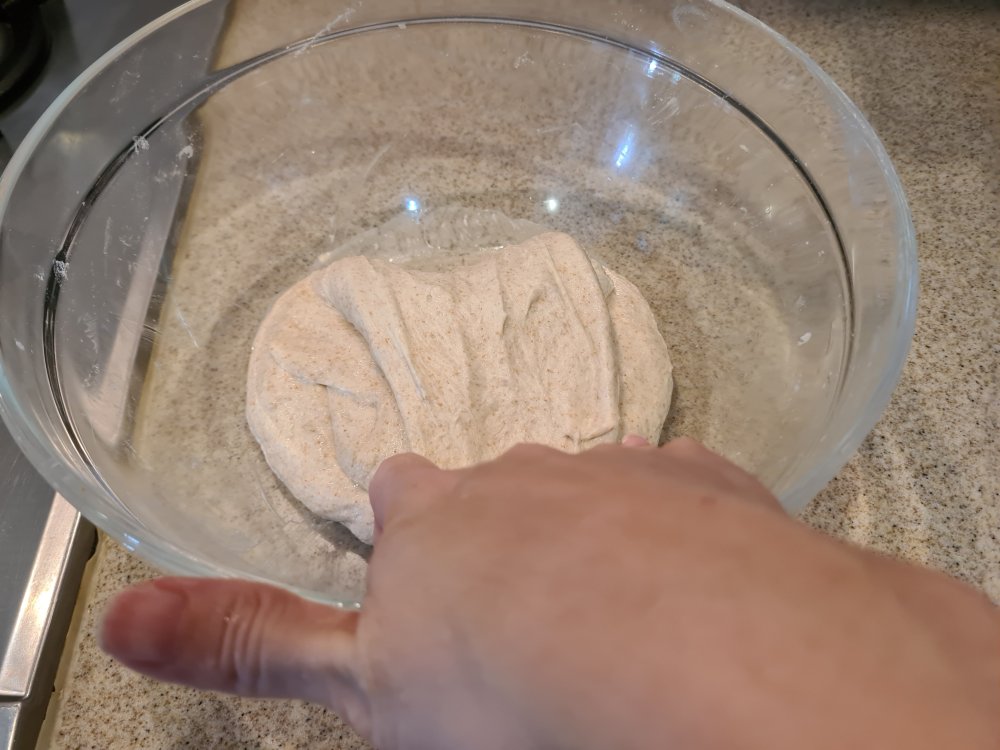
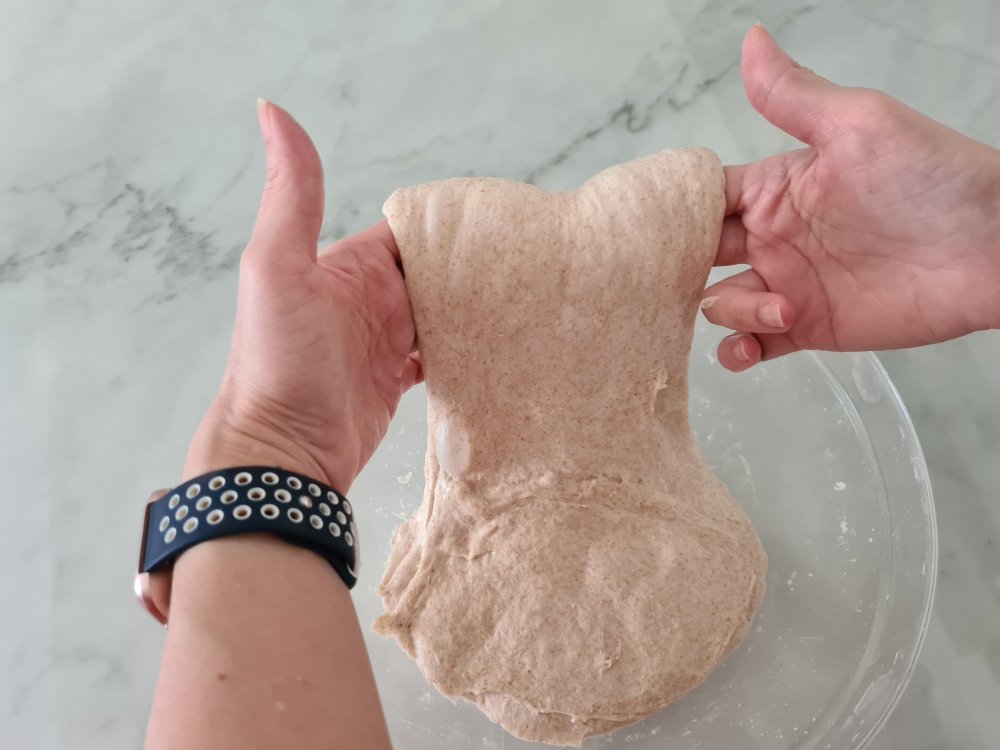
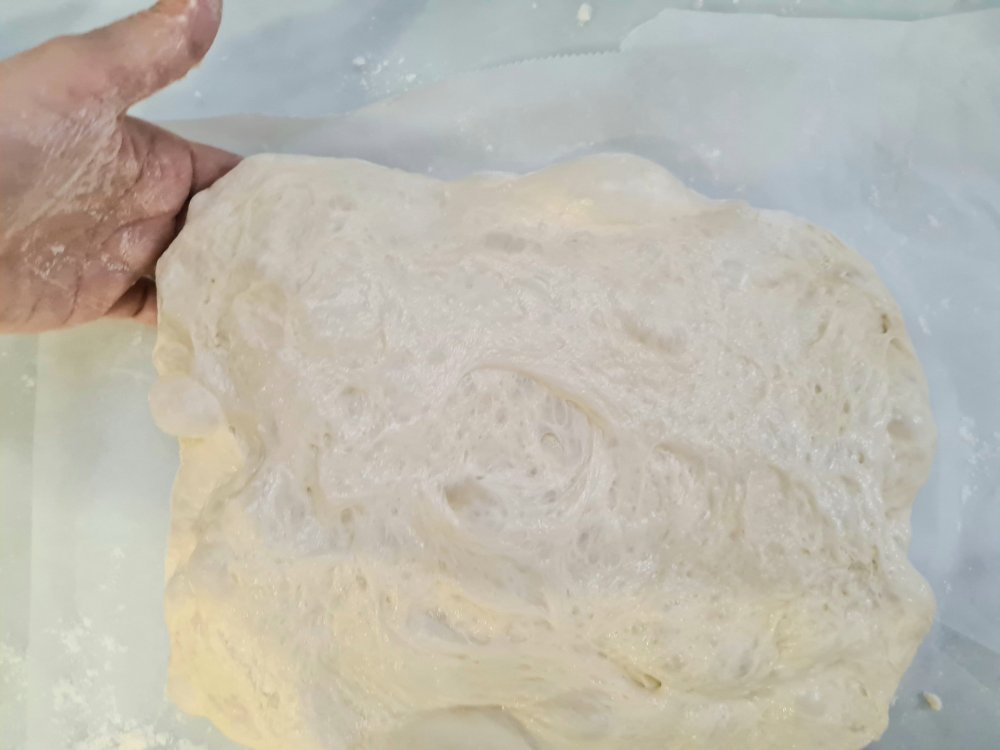
3. After 1 hour, so a set of stretch and fold in all directions. Turn dough around and cover again. Wet your hands to avoid sticking


4. After 30 min, repeat stretch and fold.
5. Cover and rest for 1 hour.
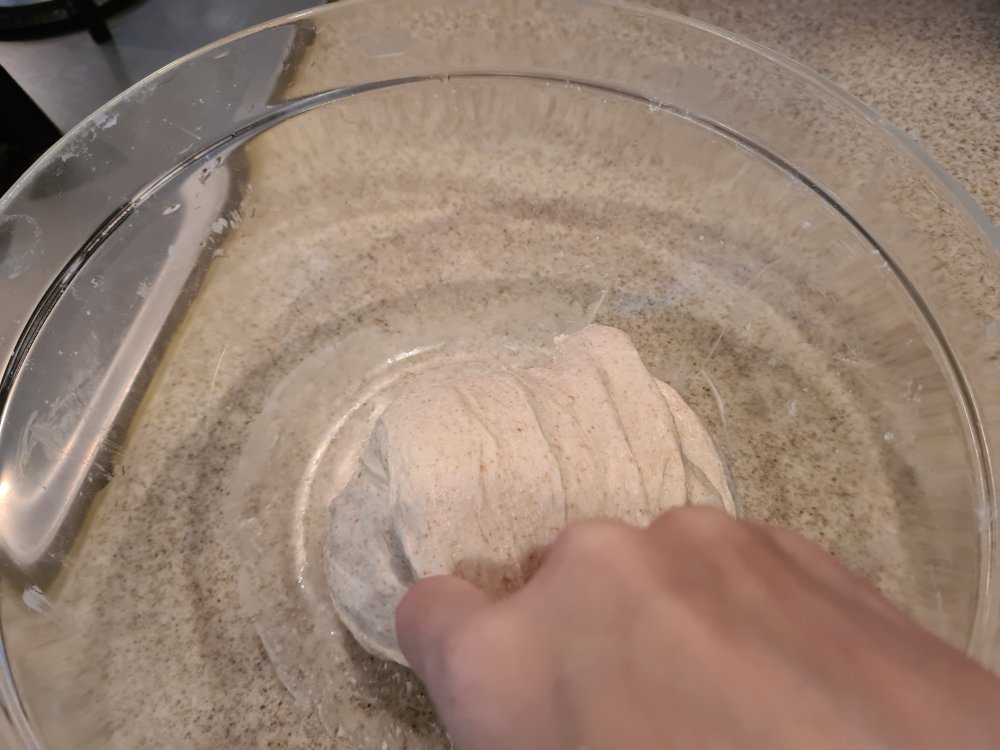
6. Now do a set of coil fold.


7. Cover and rest for 1 hour. Then repeat coil fold and rest again for 1 hour.
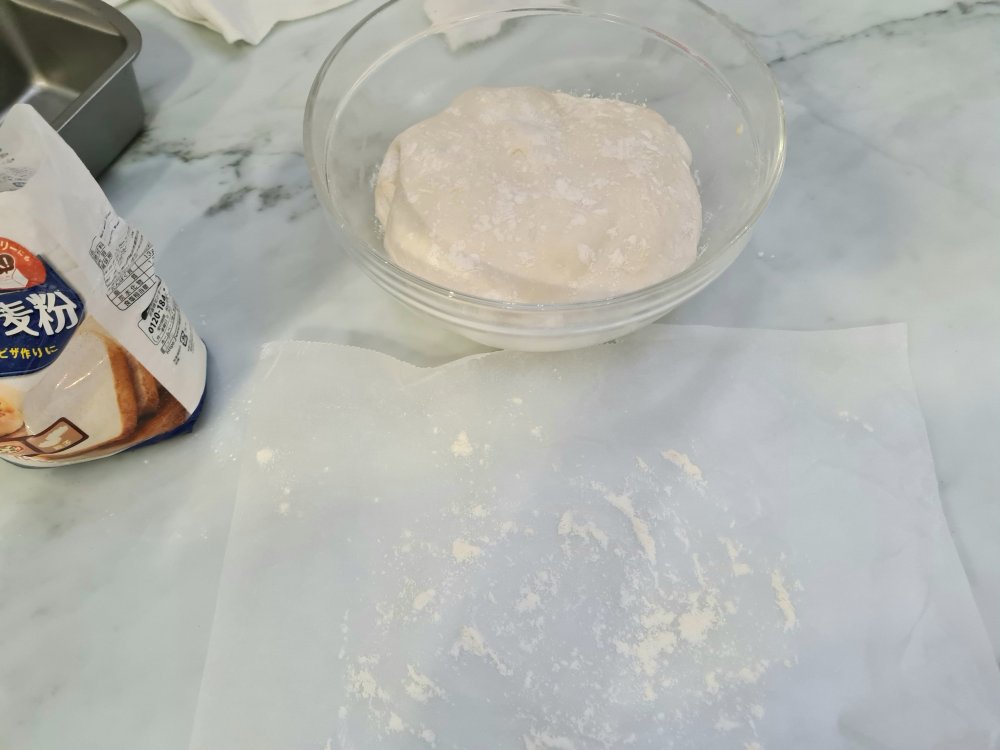
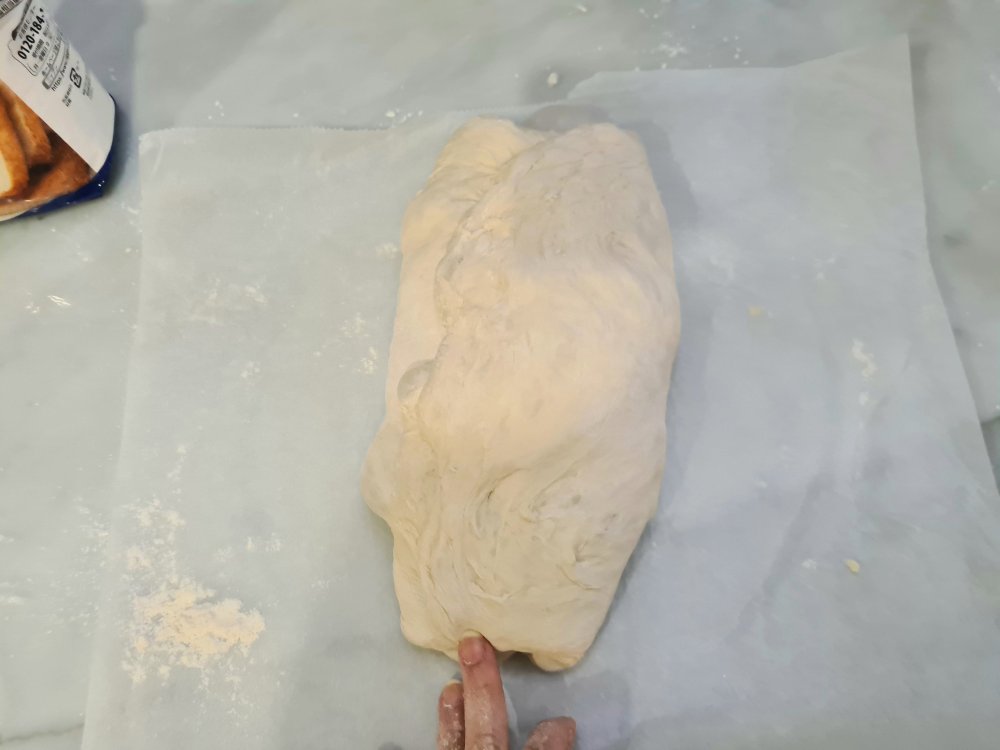
8. Overturn dough onto heavily floured baking paper to shape. Stretch out all sides, fold in 1/3 left and right, then Swiss roll up.


9. Place ‘upside down’ in a lined with baking paper and heavily floured baking tin or banneton. Tighten up the seam by cross pinching.


10. Freeze in freezer for 1 hour. OR place in chill section and cold retard for 12 hours.
11. Preheat oven to 230 deg C with baking tray or Dutch oven. Take dough out of fridge and make a cut.

12. Lift with baking paper and place into heated oven. As I don’t have Dutch oven, I used a steel mixing bowl to cover. The inside is wet with water to create steam.


13. Bake for 10 min, take dough out to repeat cut, to create a more pronounced ear. Return to bake with cover for another 10 min.
14. After 10 min remove cover and bake for 20 min more.

15. Cool completely before slicing, at least an hour.


Fancy Scoring
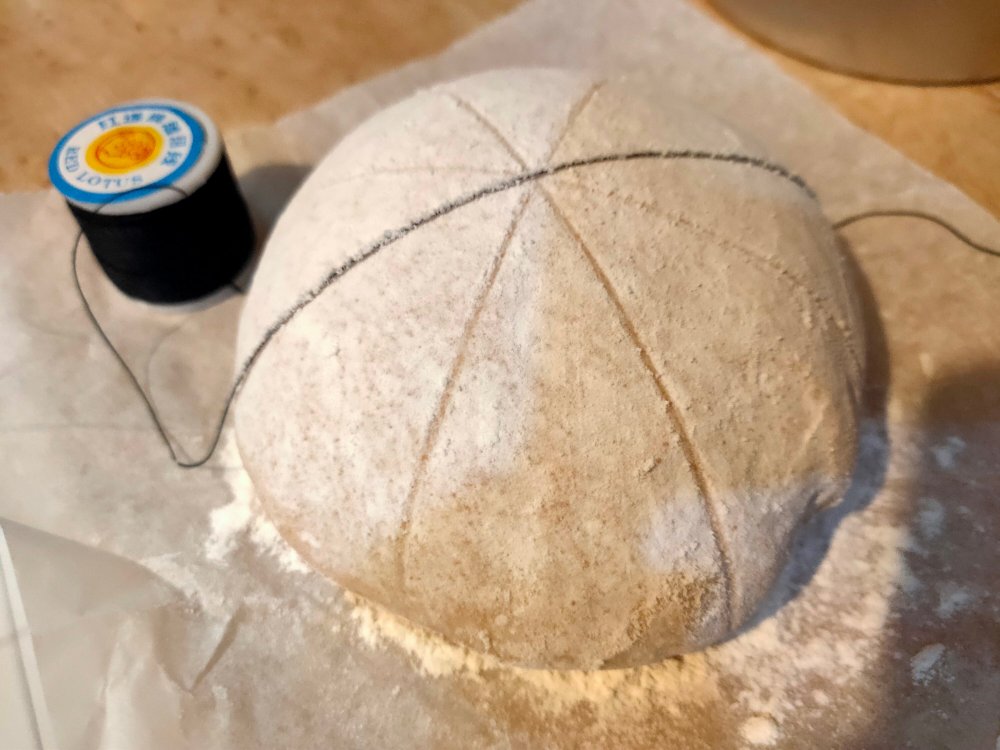
At step 11, when you have just taken the bread out of the fridge, dust heavily with flour.
Using a normal sewing string, make markings to divide the dough into sections lightly
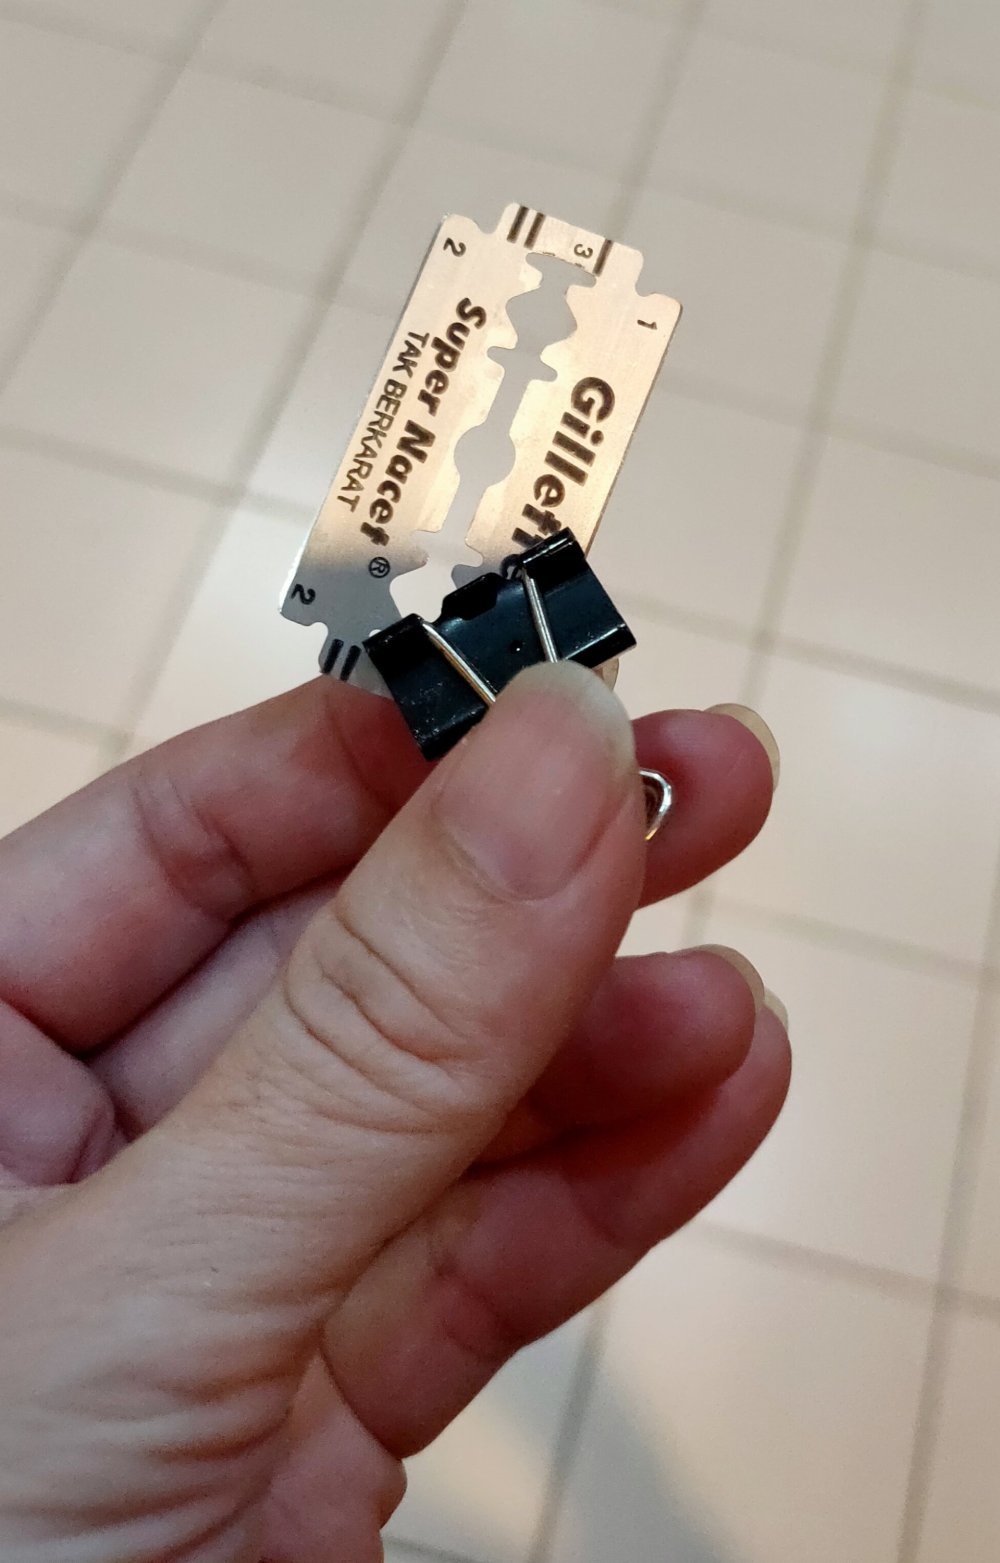
My makeshift lame is as shown. Use the binder clip to hold the razor safely and adjust the angle to your convenience.
Proceed to score wheat designs along the guiding lines.


Proceed to bake the bread at 230 deg C, covered for 20 min, then remove cover for another 20 min.


Hi hi may I know.. How do I prevent the dough from sticking to the parchment paper after baking? I tried putting flour as shown in your pic but still stick. Should I put more? And.. If I leave the dough to ferment overnight can I leave in airtight container?
In your pic saying to roll during the last s&f, it’s after the over night or 2hrs ferment right? Thank you so much. I tried your recipe and it works well. Just curious if I’m doing it right.. Esp the part it sticks to parchement paper after baking..
LikeLike
Hi you need to find the right non-stick baking paper. Then you won’t have this problem anymore.
Yes can use airtight container.
Not sure which step you are, but for step 8, the final shaping, this is after fermentation.
LikeLike
Thank you so much for your reply 🙂 I tried it and it’s wonderful 🙂
LikeLike
Can I replace all wholemeal flour. Thks & heard from u soon.
LikeLike
I think it will be rather dense. I have not tried before, usually I will use up to 30%.
LikeLike
Firstly, thank you for sharing your recipe. I really love all your bread recipes!
For this no need artisan bread, we need to proof it in the fridge for 3 to 5hours. Can I prepare at night and let it proof in the fridge till next morning? Bulk proof will be abt 8 to 9 hours if I leave it overnight. How do you suggest I work around so that we can have freshly bake for breakfast?
LikeLike
Yes ok to proof overnight in fridge.
LikeLike
Today I tried, thumbs up from my family. Thank you very much. Cant wait to try your other recipes.
LikeLike
Thanks, that’s great!
LikeLike
Any workarounds for ovens with only top heating element?
LikeLike
Then you may need to get dutch oven so that bread is covered during first part of baking.
LikeLike
Hello, do you have the videos to watch on the folding techniques? They way to fold? Thank you
LikeLike
Nope
LikeLike
Hi, my oven got only top n bottom heating, can I still bake this?
LikeLike
Yes, but you need to find something to cover the loaf for the first 10 min of baking
LikeLike
Hi hi, it looks so lovely.
Any idea if I were to use airfryer. What’s the correct temperature and time. Tia
LikeLike
I don’t have air fryer .
LikeLike
Hi, would appreciate your clarification for step 6.
1) Wet hands with water? not oil as in step 3?
2) S + F on all 4 sides of dough, is it the same as per steps 4 & 5?
Thank you very much.
LikeLike
Yes wet hands with water 😁. No not the same, really stretch and fold as I have shown in the pictures. If not clear, you can Google stretch and fold for a video to watch.
LikeLike
Hi, may i know which brand of bread flour do you use?
LikeLike
I used all kinds of bread flour like red man, Prima, bob red mills. I used bob red mill the most often.
LikeLike
Hi, may i know which brand of bread flour you used?
LikeLike
Have tried many, like prima, king Arthur, Bob red mill
LikeLike
May I ask, when u split ur dough into 2, do we consider each loaf to be 150g or 300g after baking?
LikeLike
Not sure, I don’t weigh them thereafter.
LikeLike
Hi thanks for sharing sure a great recipe. I follow you method of making but my bread always burnt on the bottom.
Is this a problem with temperature or the rack level of the oven? Which level of the rack you used?
LikeLike
Hi I used second rack from bottom, you can adjust or maybe lower temperature by 10 deg. Or about halfway if you notices that the loaf has risen to the max, can switch to top and bottom heat earlier.
LikeLike
I had tried many times making this no knead artisan bread. They came out beautifully. The only problem is each time my bread will shape like a log something like oblong. I would like to shape it round like the one you updated not long. Can you guide me how to do it? TIA.
LikeLike
That’s great to hear. If you like round shape, then at step 8, roll out in all directions, then pull the edges and fold inwards. Turn over and try to shape round with both hands.
LikeLike
HI, Thank you for this recipe and steps. May I know if we need to cover it at step 10 when we leave it in the fridge?
LikeLike
No need, I just wrap Around with the baking paper lightly.
LikeLike
Why did you say not to spray with water before entering the oven in the last example with more complex scoring but we should spray in the earlier example with just one slit?
LikeLike
The water will dissolve the flour and then the patterns will not show up nicely.
LikeLike
Hihi
Tried to bake this today
Used 240g water
The dough is very wet and hard to shape after the s+f. Any tips? Must use a lot of flour?!
LikeLike
Yes, can use more flour to help with handling. Try to use japaness bread flour. If not can reduce the water by 20g or so.
LikeLike